
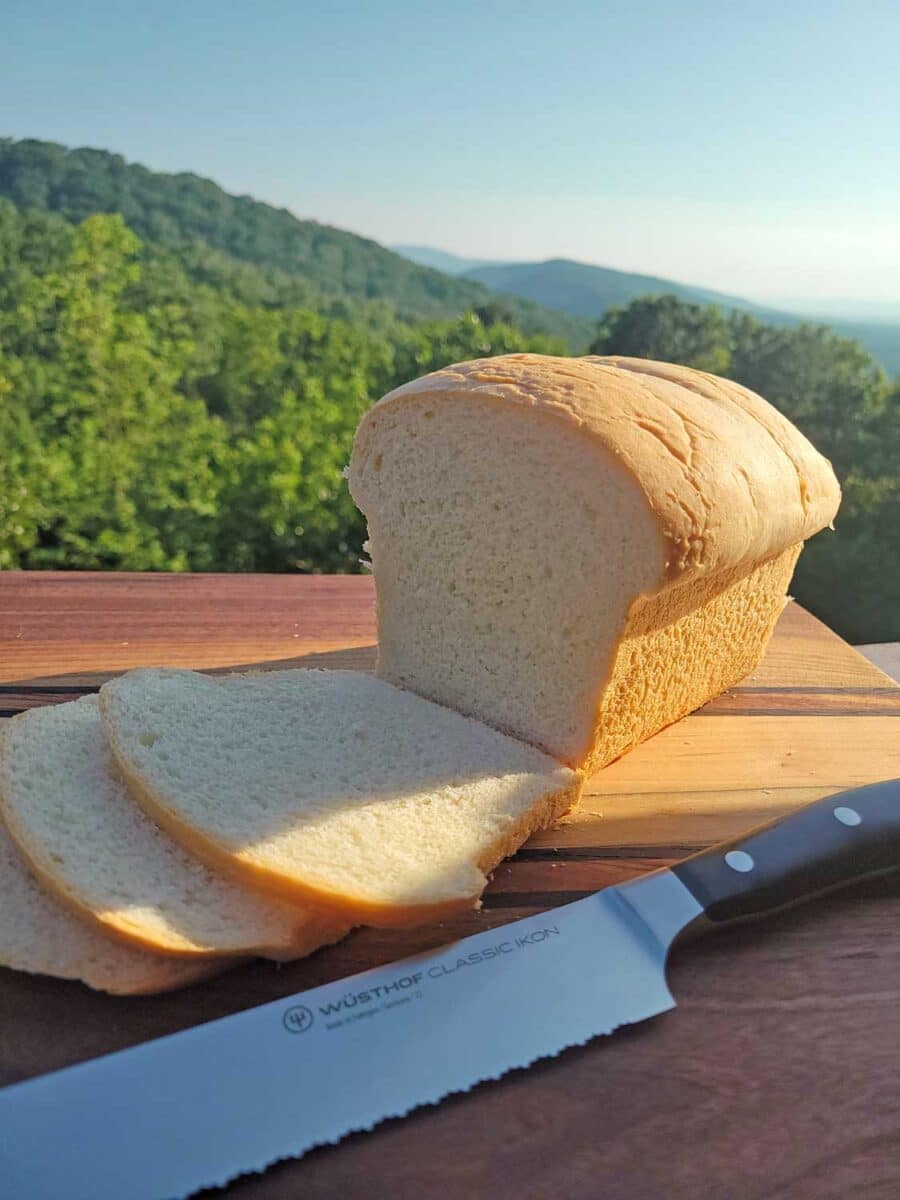
This easy sandwich bread recipe makes a soft, fluffy loaf made with simple ingredients and no preservatives, just real homemade flavor.
Y’all, I’ve officially sworn off store-bought sandwich bread. What even is in that stuff anymore? It ain’t the same bread I grew up with, the stuff doesn’t even mold!
I recall a science project in school where we placed a slice of bread in a bag and left it in a dark closet for a week. It turned green and fuzzy in no time at all. Fast forward to today… That same loaf from the store will sit in my pantry for weeks, looking as fresh as the day we bought it. That’s not normal.
I am not a baker, but all of that inspired me to figure out how to make my own sandwich bread at home. I started with a recipe from King Arthur Flour and made a few tweaks along the way.
After some trial and error, I landed on a version that’s pretty close to the soft, familiar bread I grew up eating, minus all the chemicals and preservatives. I’ve been baking it for about six months now, and honestly, it’s way easier (and tastier) than I ever imagined.
Let me show you how I make it from scratch.
Why You’ll Love This Recipe
- Soft and fluffy texture
- Really simple with a stand mixer, but it’s not absolutely necessary.
- Great for sandwiches, toast, or snacking – the BLTs and tuna fish salad sandwiches are magnificent!
- Beginner-friendly – if I can make homemade bread, you can too. I don’t like to bake!
Ingredients You’ll Need
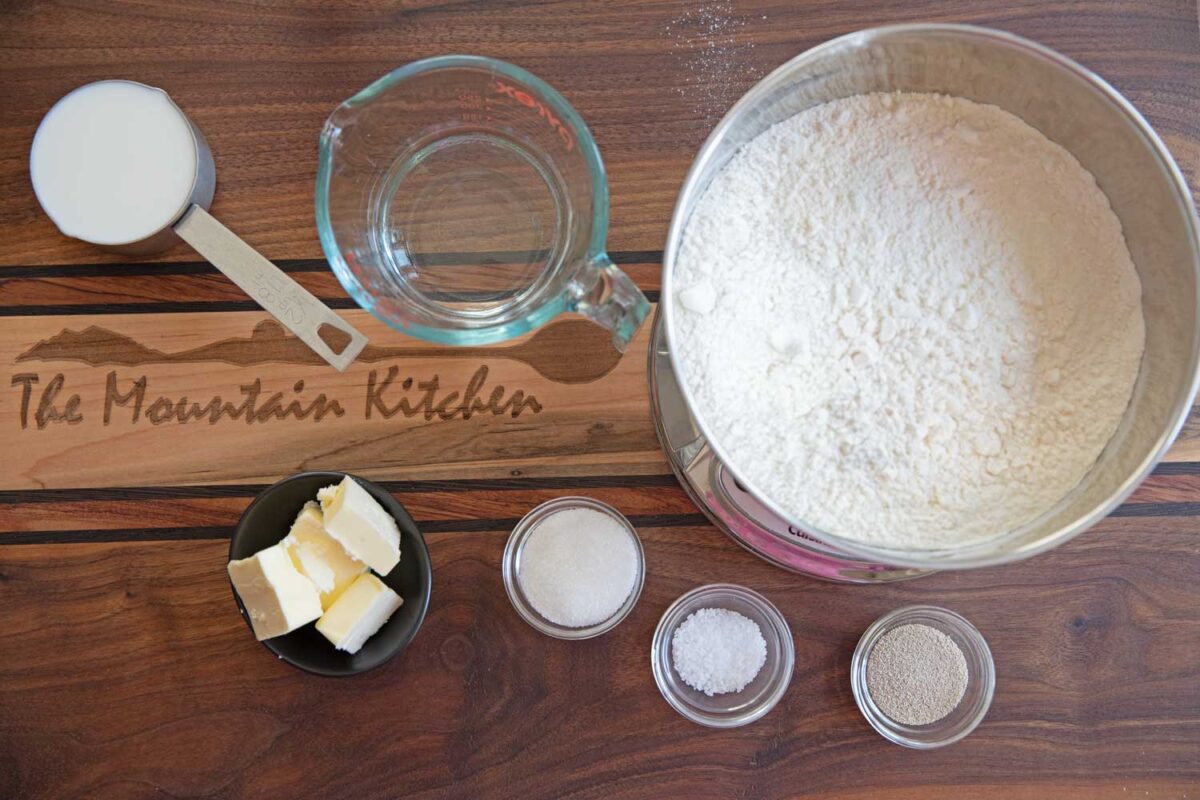
To make this soft and fluffy sandwich bread, you’ll need just a few pantry staples:
- Active dry yeast – helps the bread rise
- Warm water – activates the yeast
- Granulated sugar – feeds the yeast and adds a touch of sweetness
- Bread flour – gives the loaf structure and chew
- Kosher salt – enhances flavor
- Melted butter – adds richness and softness
- Whole milk – makes the crumb tender
- Olive oil (or any neutral oil) – used for greasing the bowl and pan
How To Make This Homemade Sandwich Bread Recipe
If you’ve never made homemade sandwich bread before, don’t worry, it’s a lot easier than you think. With just a few simple ingredients and a little patience, you’ll end up with a soft, flavorful loaf that beats anything on the grocery store shelf. Here’s a quick overview of the process:
Mixing and Kneading
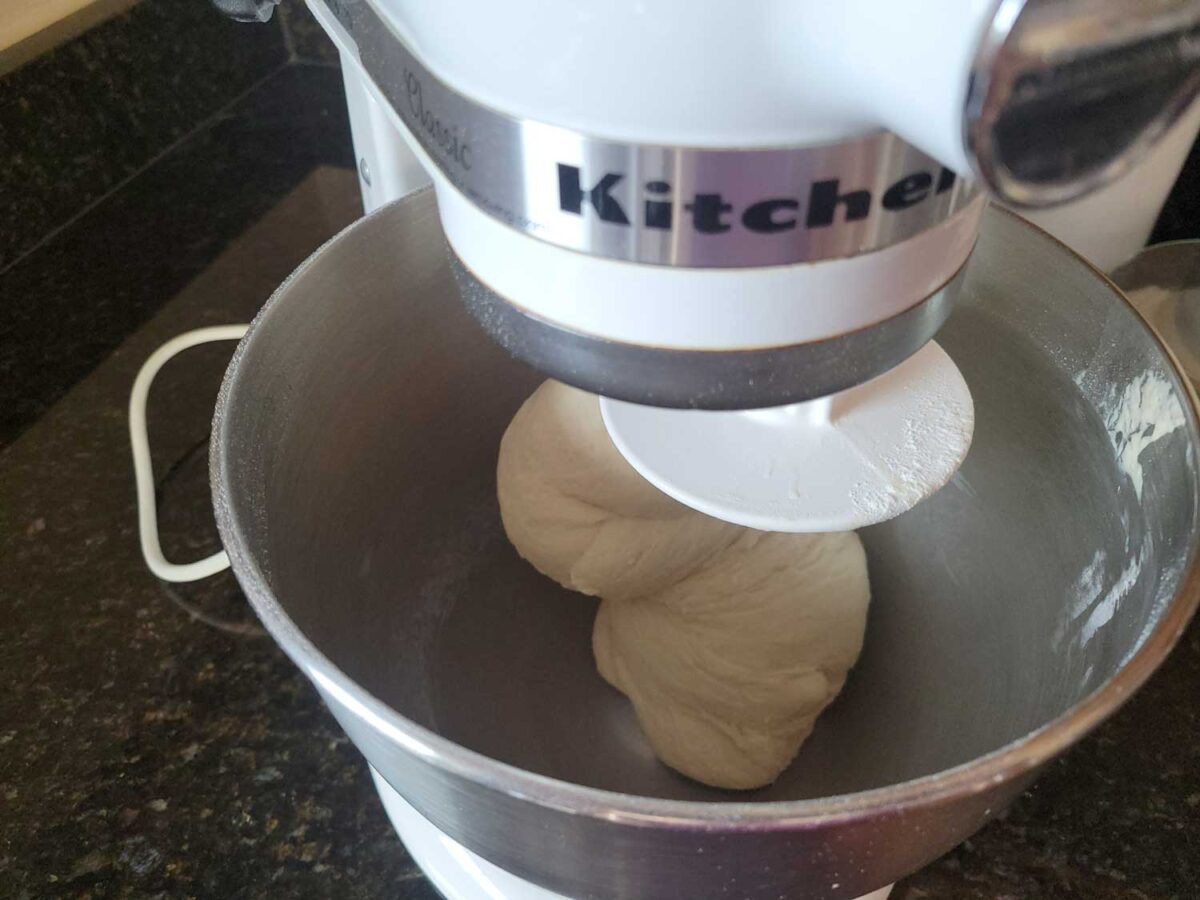
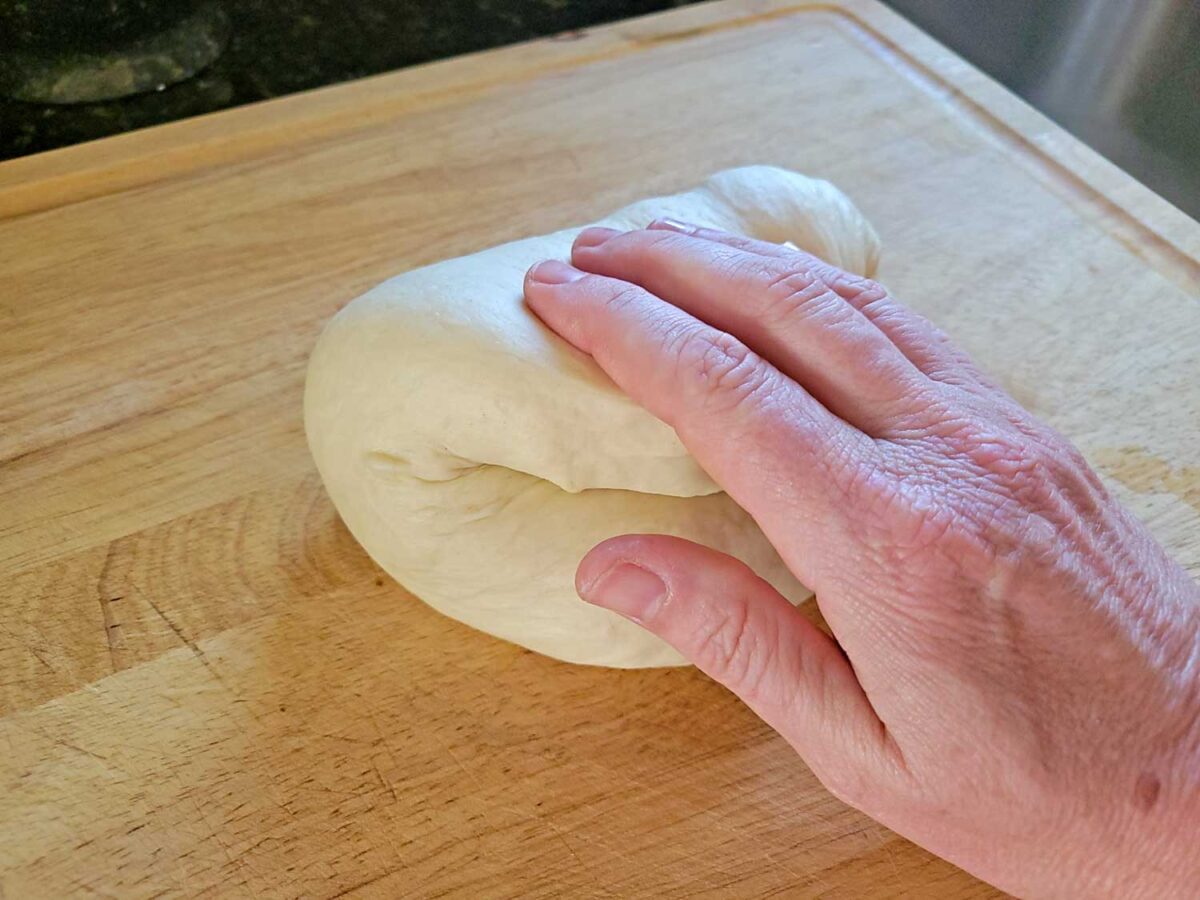
Start by activating the yeast, then mix all the ingredients to form a dough. Knead until smooth and elastic.
First Rise
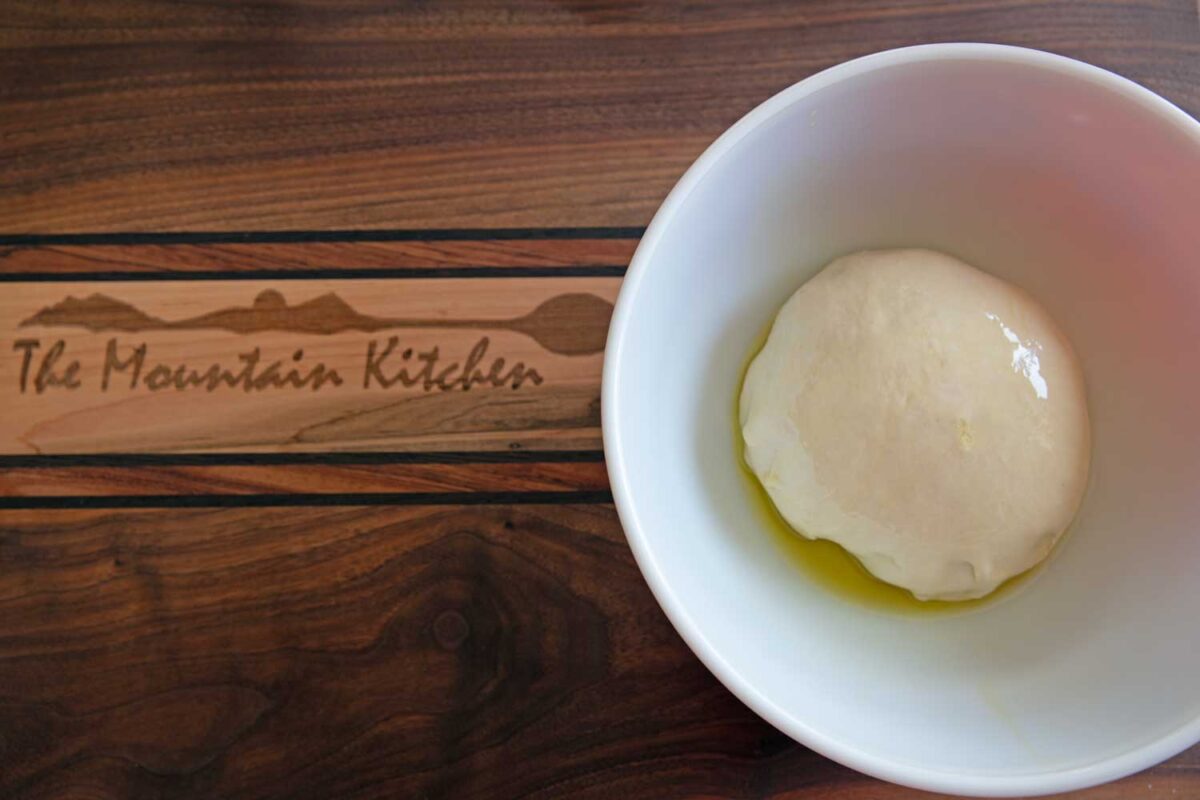
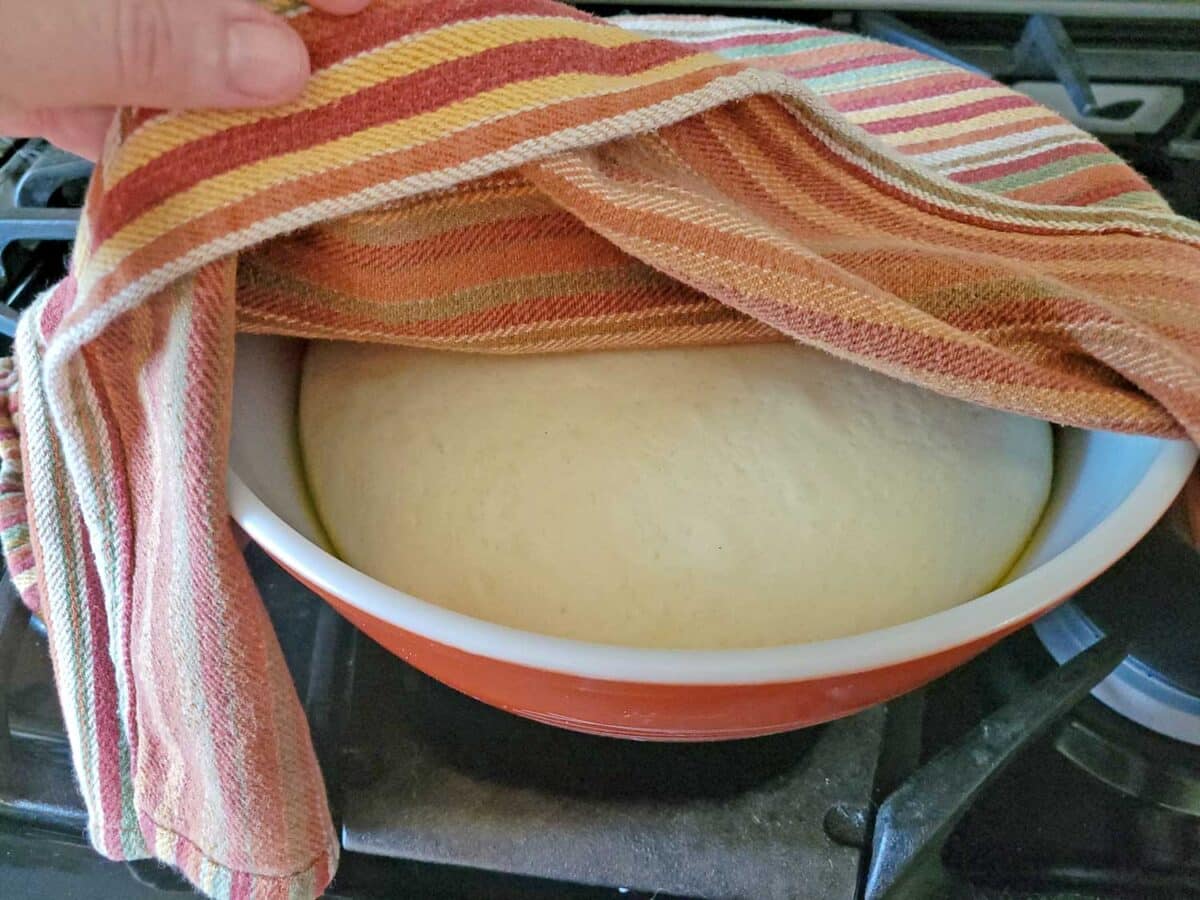
Let the dough rise in a greased bowl until it has doubled in size.
Shaping the Loaf
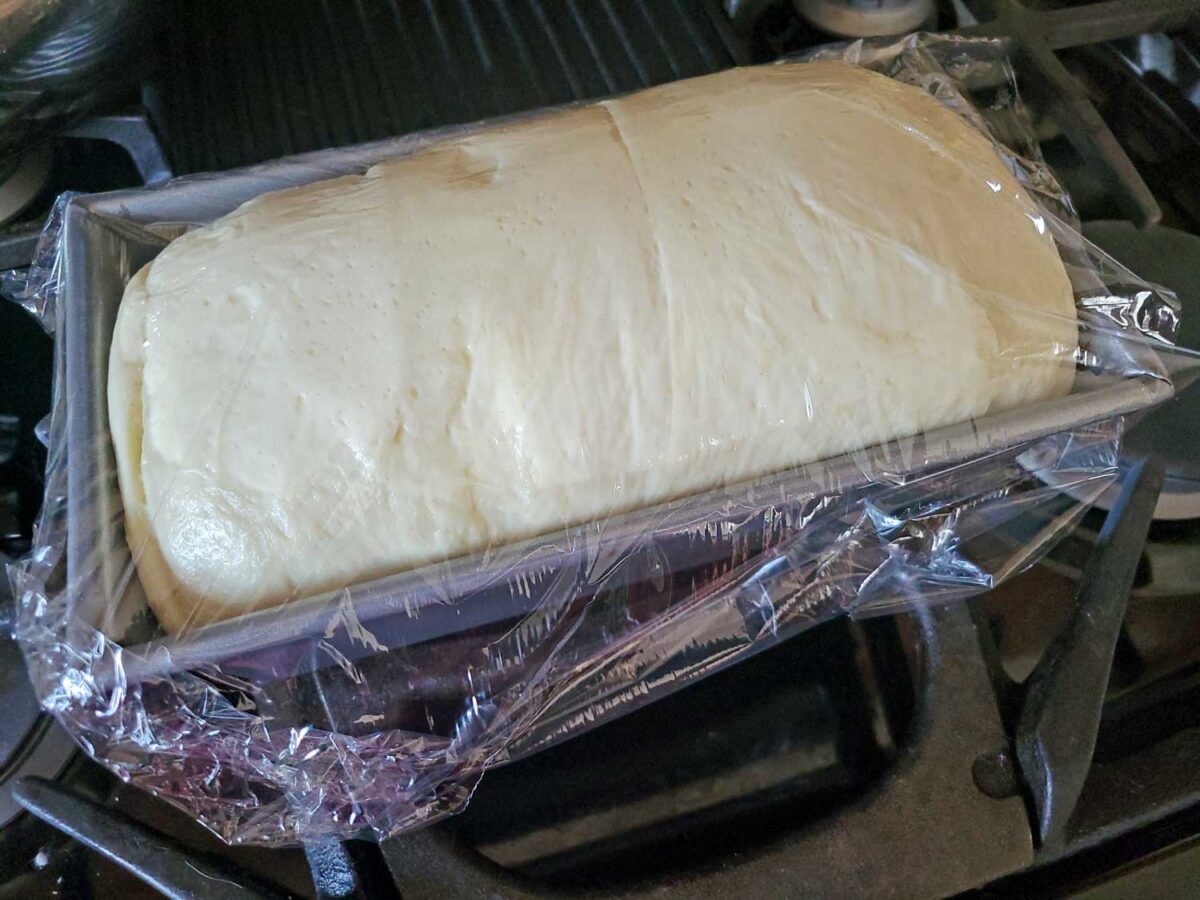
Once risen, gently deflate the dough and shape it into a loaf.
Second Rise
Place the dough in a loaf pan and let it rise again until it’s nicely domed.
Baking and Cooling
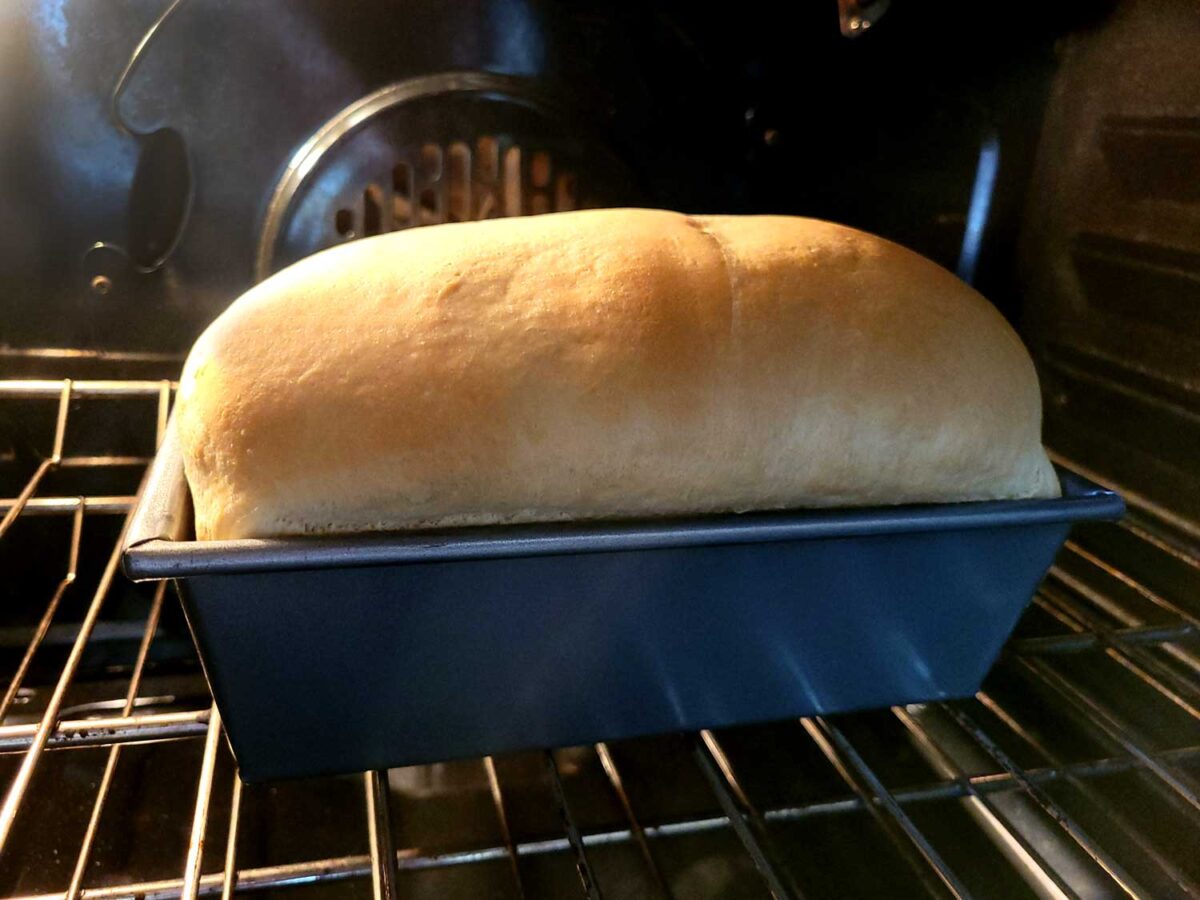
Bake until golden brown and cooked through. Let it cool before slicing.
For detailed measurements and step-by-step instructions, scroll down to the full recipe card at the end of this post.
White Bread Tips for Success
- Use the proper water temperature for yeast: Water that’s too hot can kill your yeast. Aim for 105 to 115 degrees F. If it feels warm but not hot to the touch, you’re probably good.
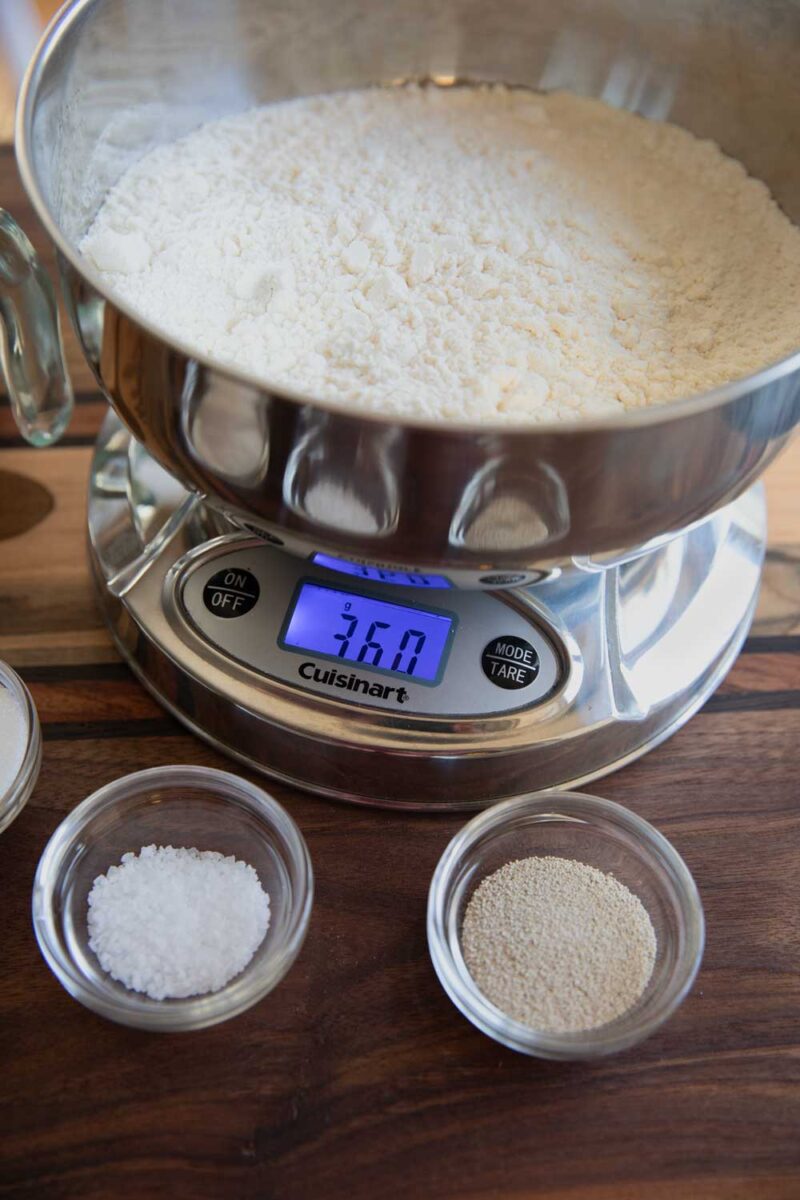
- Weigh your flour: For best results, use a kitchen scale (360 grams for this recipe). Too much flour = dry bread.
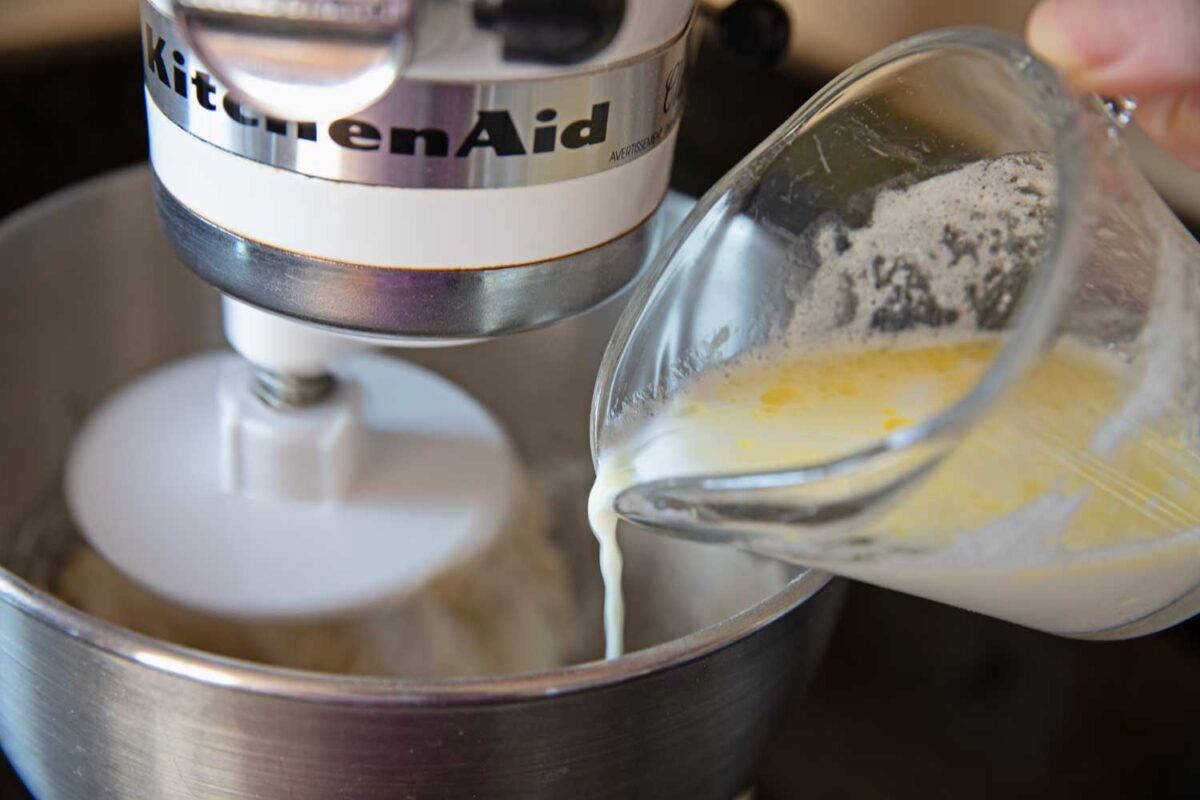
- Don’t skip the milk + butter step:
Mixing cold milk into warm, melted butter helps temper the temperature so you don’t accidentally kill the yeast. - Watch the dough, not the clock:
Rising time can vary depending on your kitchen. The dough should double in size, not simply sit for a set amount of time. - Test the second rise with a poke: Gently press the dough with your finger. If the indentation springs back slowly, it’s ready to bake.
- Use a thermometer if you’re unsure: The inside of the loaf of bread should hit 190 degrees F when fully baked. That’s your go-to number if you’re not confident just by looking.
- Cool completely before slicing: It’s tempting to cut into it while it’s warm, but letting it cool gives you a soft, even crumb and keeps the loaf from squishing.
- Store it right:
Once cool, keep your bread in a plastic bag at room temperature for 4-5 days. After that, slice and freeze what’s left.
Recipe FAQs
Yes, you can! All-purpose flour will still yield a good loaf, although it may be slightly softer and less chewy than if you use bread flour. If you have the choice, stick with bread flour for that classic sandwich texture. The original recipe I adapted from King Arthur Flour used All-Purpose Flour.
Look for the dough to double in size. A great trick is the finger poke test: press your finger gently into the dough. If it springs back slowly and leaves a slight indentation, it’s ready. If it springs back quickly, it needs more time.
Absolutely. You can mix the dough by hand with a sturdy spoon, then knead it on a clean counter for about 8-10 minutes until it’s smooth and elastic. It takes a little more effort, but it works just as well! I’m lazy and don’t like kneady dough, 😏so I love working it out with my mixer.
Well, there you have it. Everything I know about making a good loaf of homemade sandwich bread. From mixing it up to letting it rise, it’s not hard at all once you get the hang of it. I hope you’ll give this recipe a try and serve your family better bread. It’s an easy sandwich bread recipe, it tastes better, and there’s nothing quite like pulling a warm loaf out of your oven. Your whole house will smell like bread heaven!
With love and flavor,

p.s. If you truly enjoy this recipe and it becomes your go-to sandwich bread, I highly recommend investing in a Wusthof Bread Knife. It’s excellent for customizing the size of your bread slices.

Homemade Sandwich Bread Recipe
Ingredients
- 1 packet active dry yeast
- ½ cup warm water (105–115°F)
- 2 tablespoons granulated sugar
- 360 grams (3 cups) Bread Flour I use King Arthur
- 1¼ teaspoon kosher salt
- 4 tablespoons melted butter (½ stick)
- ½ cup whole milk
- Olive oil (or any neutral oil), for greasing
Instructions
Activate the yeast:
- Combine warm water, yeast, and sugar in a measuring cup. Stir and let sit until foamy, about 5-10 minutes.
Prepare the dough:
- In a large bowl (or stand mixer), add flour and salt. Stir melted butter and cold milk together, then add to the bowl along with the yeast mixture.
Mix & knead:
- Knead in a stand mixer with a dough hook for 8-10 minutes, or knead by hand until the dough is smooth and elastic. It should clean the sides of the bowl and have a slightly tacky feel. Remove the bread dough from the mixing bowl and place onto a lightly floured surface. Knead by hand a few times to ensur the dough is smooth.
First rise:
- Transfer the dough to a lightly oiled bowl. Cover and let it rise in a warm spot for 1-2 hours, until it has nearly doubled in size.
Shape the dough:
- Punch down the dough, turn it onto a lightly oiled surface, and shape it into an 8-inch log.
Second rise:
- Place the dough in a greased 8 ½ x 4 ½-inch loaf pan. Cover loosely and let rise for another hour, until it domes about 1 inch above the pan. When gently pressed, the dough should spring back slowly.
Preheat the oven:
- About 15 minutes before baking, preheat the oven to 350°F (convection, if available).
Bake:
- Bake for 35-40 minutes, until the top is golden and the internal temperature hits 190°F.
Cool & store:
- Let the loaf cool in the pan for 10 minutes, then remove and cool completely on a rack. Store in a plastic bag at room temperature for up to 5 days. Freeze leftovers or turn them into croutons.






Leave a Reply