
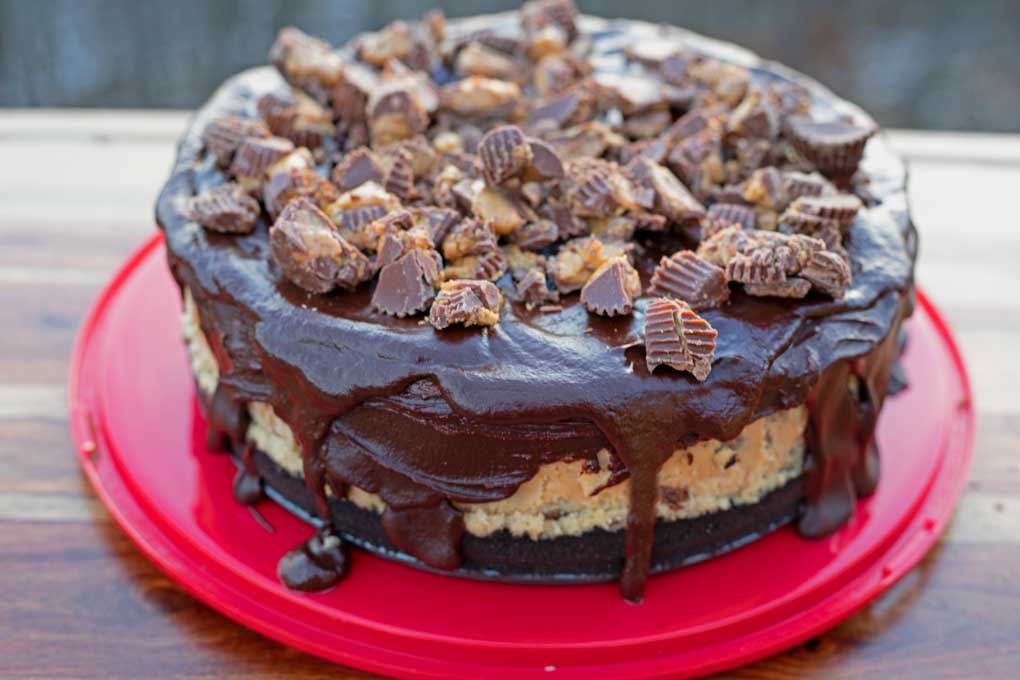
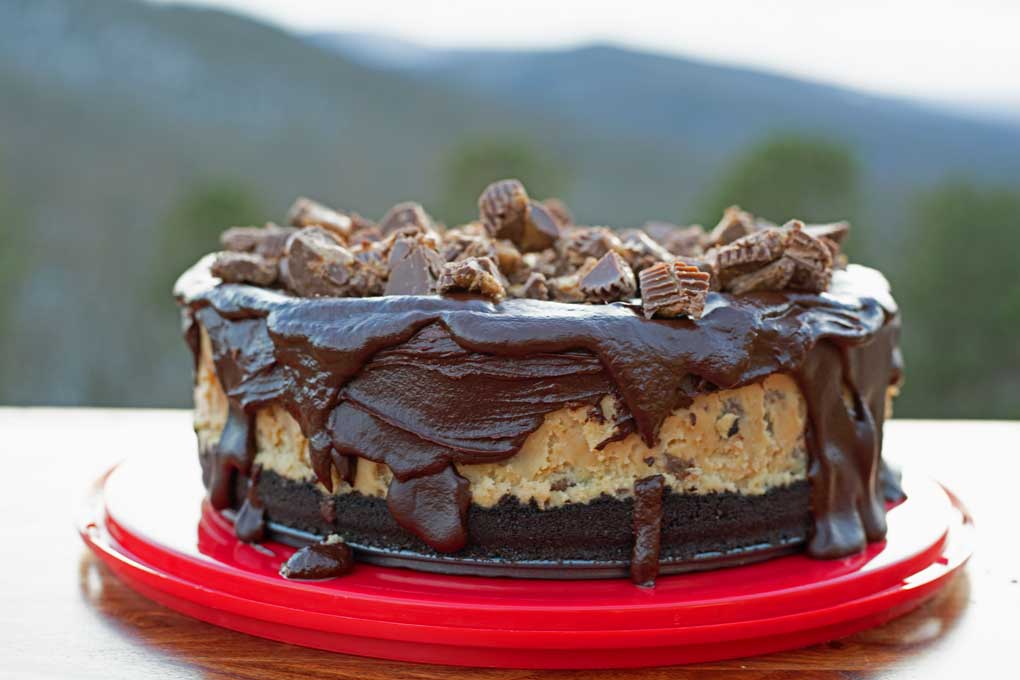
Super-rich and extra-chocolaty, this Reese’s cheesecake has an Oreo cookie crust, peanut butter filling with peanut butter cups, and chocolate ganache.
Reese’s cheesecake is sinfully indulgent but so worth it!
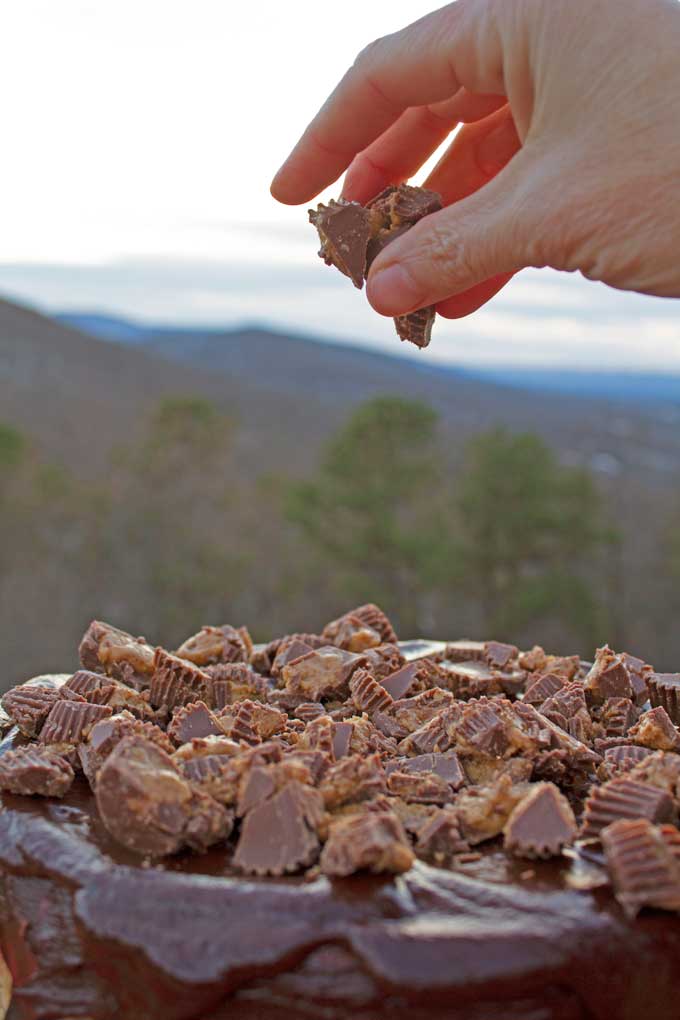
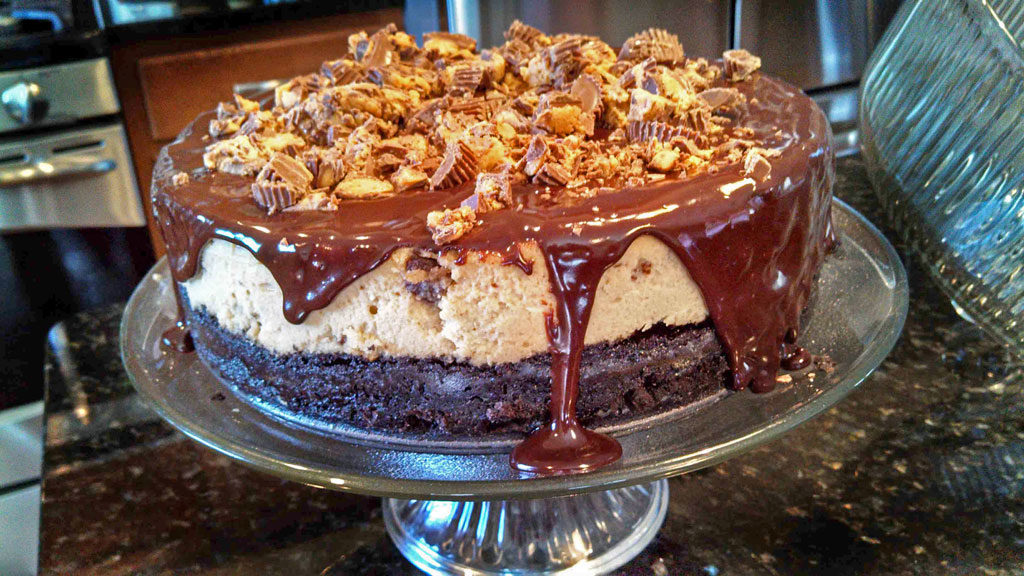
This cheesecake begins with a buttery Oreo crust topped with creamy peanut butter cheesecake with Reese’s peanut butter cups swirled within. Then, this cheesecake is drenched in a rich chocolate ganache sprinkled with a mound of peanut butter cups.
I made this cheesecake for the first time when my best friend and her husband visited the mountain many moons ago. I hardly ever make dessert for just David and me, so I wanted to make something indulgent. That’s when I decided to make this cheesecake.
I have made this cheesecake many times since then. It never fails; it’s a hit for parties, especially for the holidays.

What I Love About This Cheesecake
What’s not to love, right?!? Perhaps the following reasons will persuade you to make this cheesecake:
- Make-Ahead: I encourage you to make this cheesecake well in advance. The peanut butter and chocolate flavors meld together and intensify as the cheesecake sits.
- Simple Ingredients: This recipe uses simple pantry staple ingredients—nothing over the top or too fancy.
- Feeds a Crowd: This cheesecake goes a long way because this cake is so rich and decadent. Thinly sliced, this cheesecake can serve 20 people! However, it’s so good most are going to want a chunk!
- Freezer Friendly: This cheesecake is freezer-friendly. Keep reading to find out more about how to freeze cheesecake!
The Cheesecake Water Bath
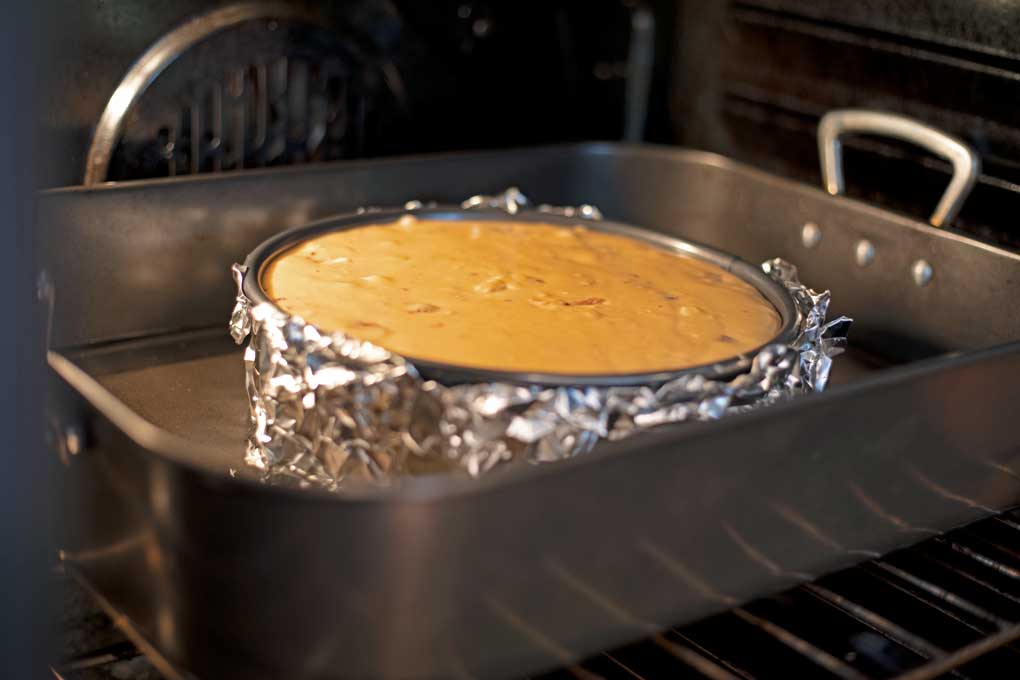
Cheesecake batter is a delicate custard with eggs and cream that loves a humid environment. Therefore, a cheesecake should be baked in a round springform placed inside a larger pan with hot water. Inside a water bath, the cheesecake bakes slowly and gently inside, which helps prevent curdling, darkness, and cracks.
Tips for Making a Water Bath:
- Use Hot Water. Don’t rely on the oven to bring the water temperature up. Instead, use a kettle or pot to heat the water before pouring it inside the pan for baking.
- Wrap the Springform Pan In Foil: To prevent water from spoiling the cheesecake, use a double layer of aluminum foil that goes high up on the edges of the springform pan.
- I found that using a large roasting pan with handles works the best. Use one if you have one, but any pan that will hold the 9-inch springform will work.
How to Make Peanut Butter Cheesecake
The recipe card at the end of this post provides a detailed list of ingredients.


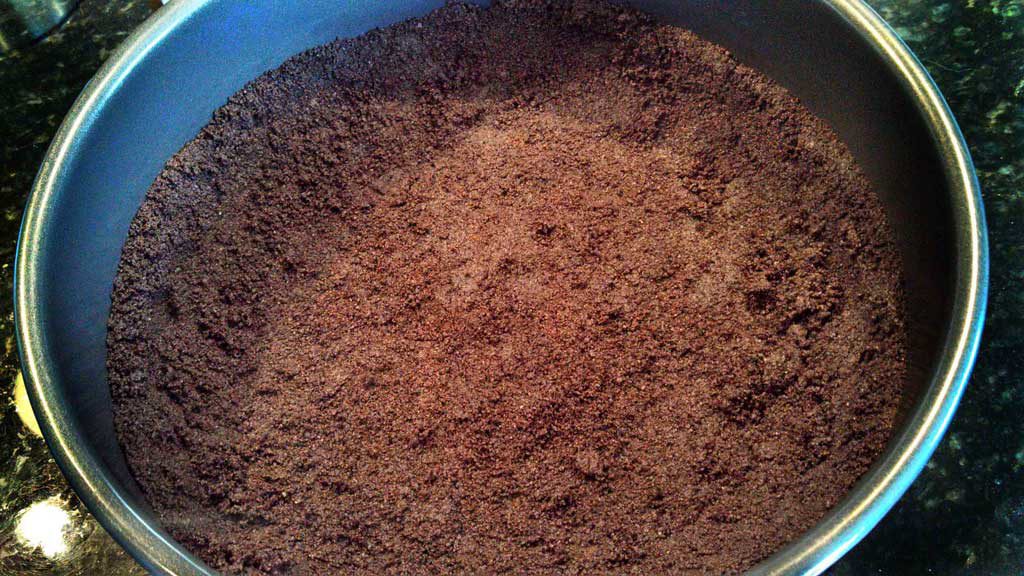
The Crust:
3-Ingredients: 1 package of Oreo Cookies, unsalted butter, and salt.
Only three ingredients: Semi-sweet chocolate chips, cream, and peanut butter cups. Find complete measurements in the recipe card at the end of this post.
- Use a food processor or blender to blend the cookies into fine crumbs. You could use a rolling pin, but the crumbs won’t be as fine or uniform.
- Pulse in the melted butter (melt in a microwave-safe bowl the microwave) and salt. The cookie crumbs should resemble moist garden soil (usually described as wet sand) once combined.
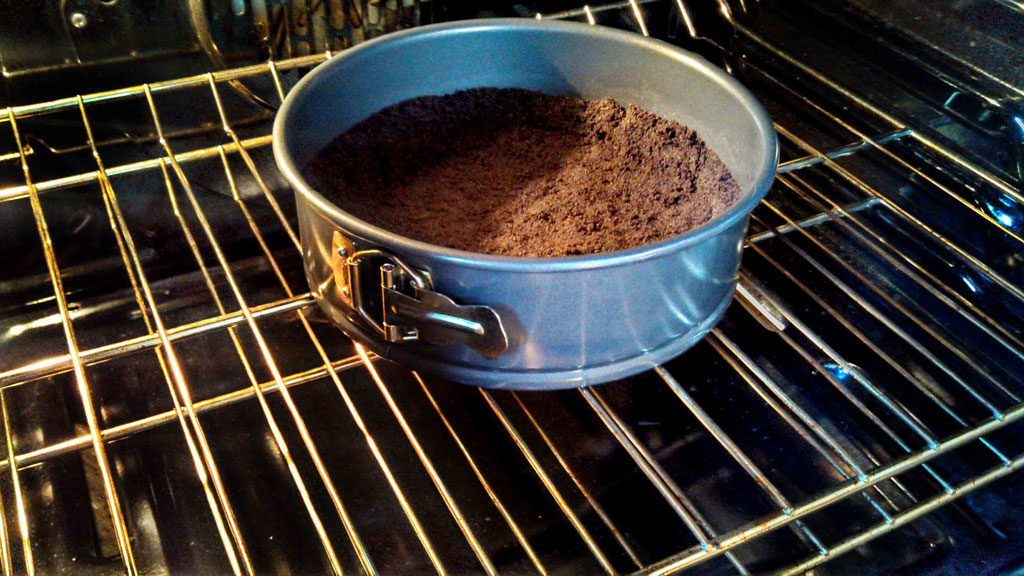
- Use a glass or flat round surface to help press the cookie crust down into an even layer.
- Use your fingers to pull the crust ¼-inch up on the sides of a 9-inch springform pan.
- Bake inside a 325-degree F preheated oven for 10 to 12 minutes.
- Remove from the oven and let the crust cool while preparing the cheesecake.
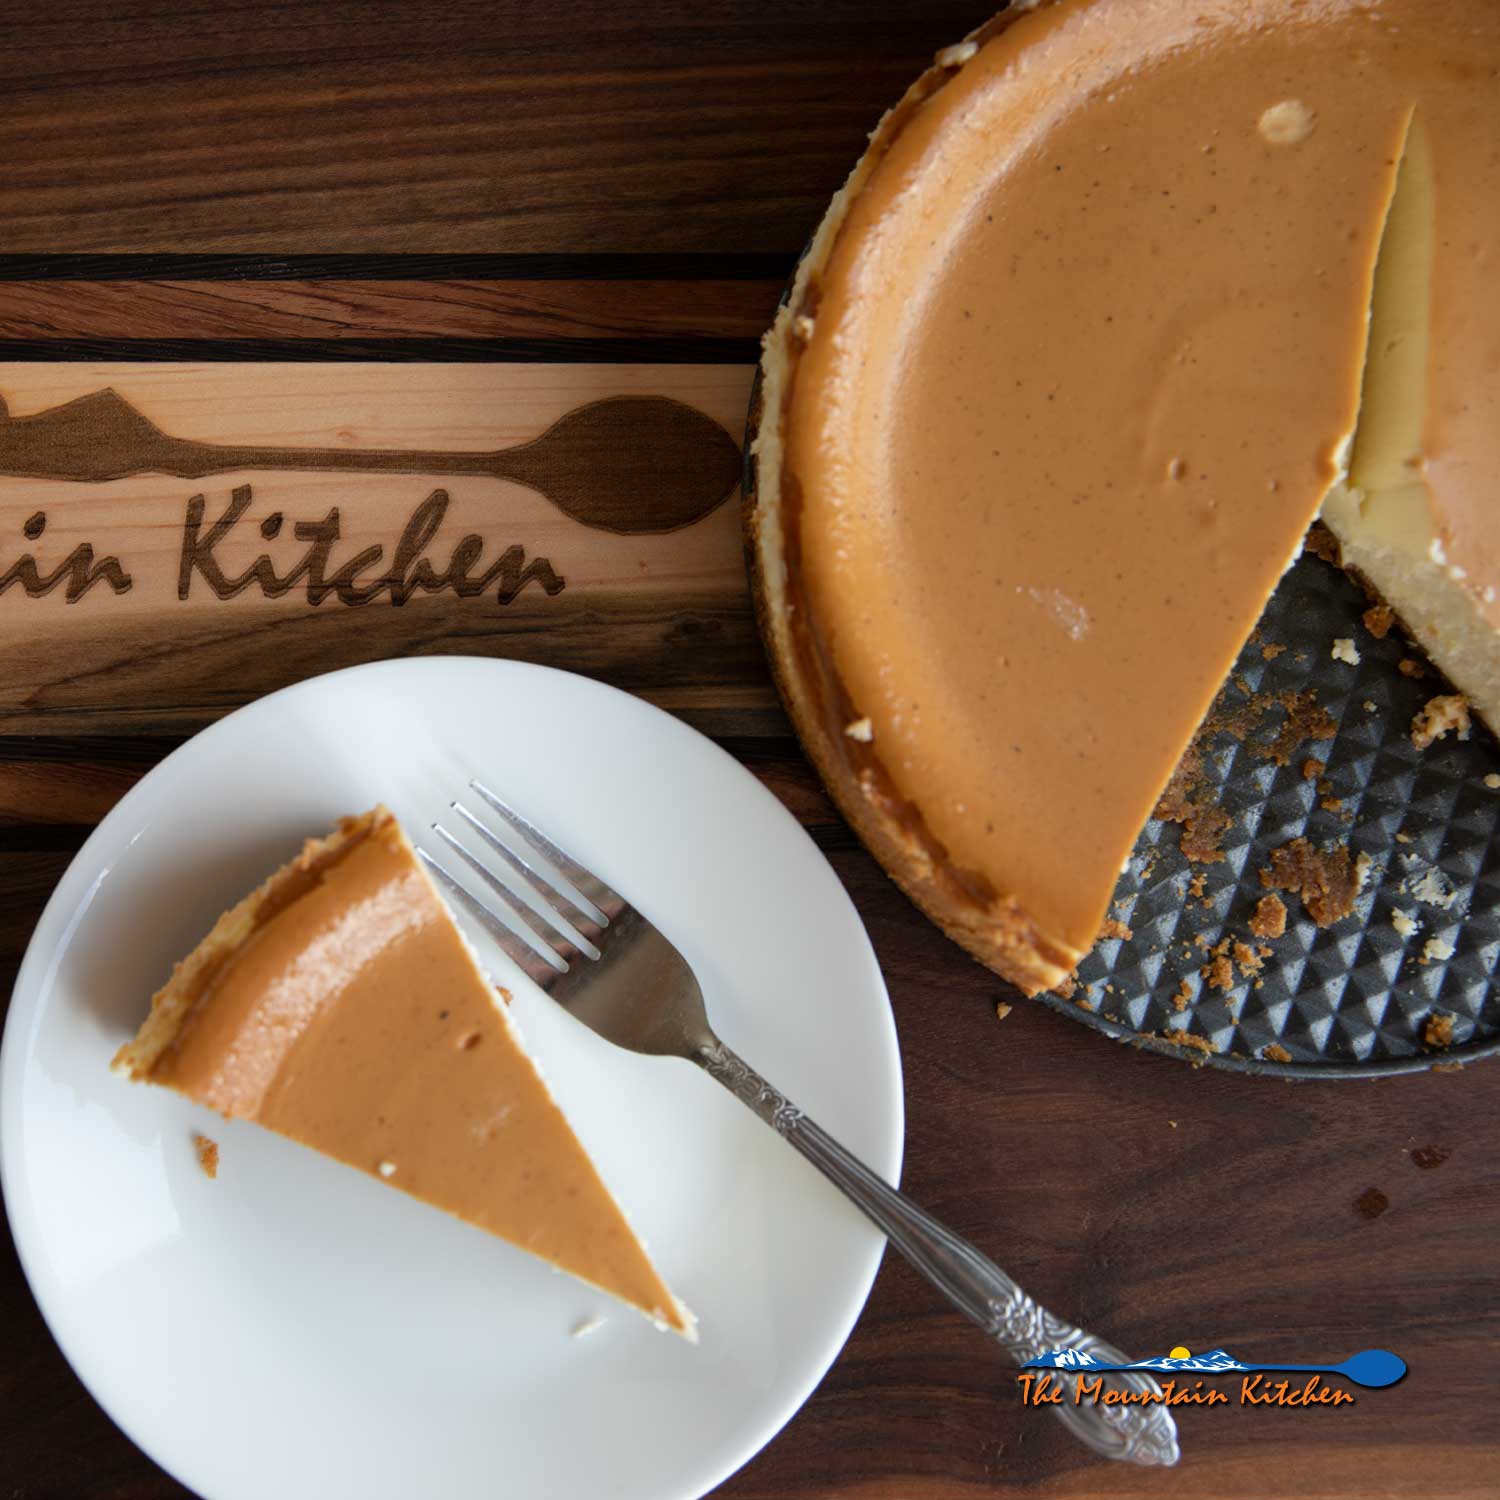
The Cheesecake:
Heat a kettle or pot of water for the bath while combining the cheesecake.
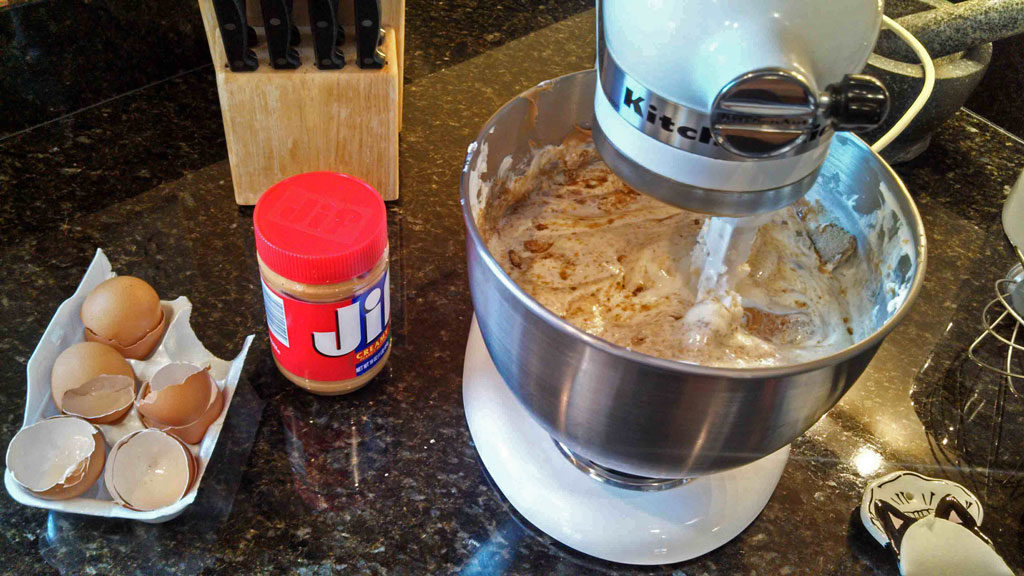
7 Ingredients: Cream cheese (full-fat), eggs, brown sugar, smooth peanut butter, cream, vanilla, and chopped Reese’s peanut butter cups.
Only three ingredients: Semi-sweet chocolate chips, cream, and peanut butter cups. Find full measurements in the recipe card at the end of this post.
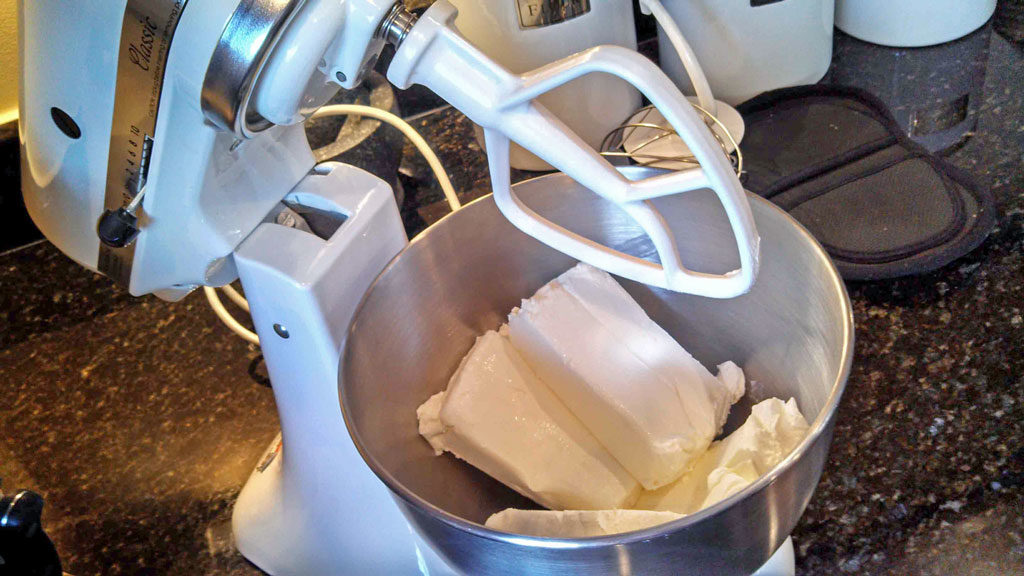
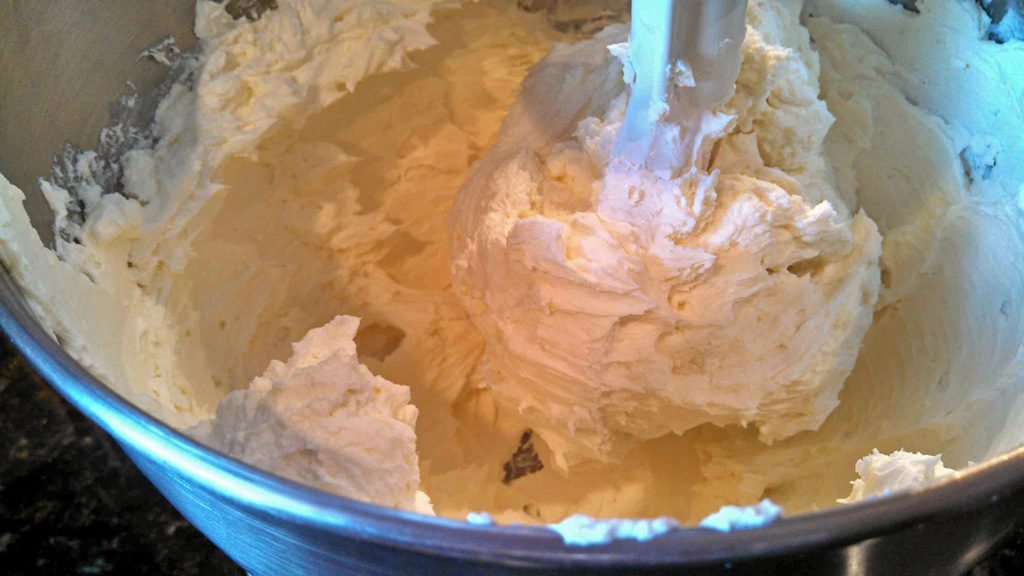
- Beat the room-temperature cream cheese with a mixer until smooth, scraping down the sides at least once.
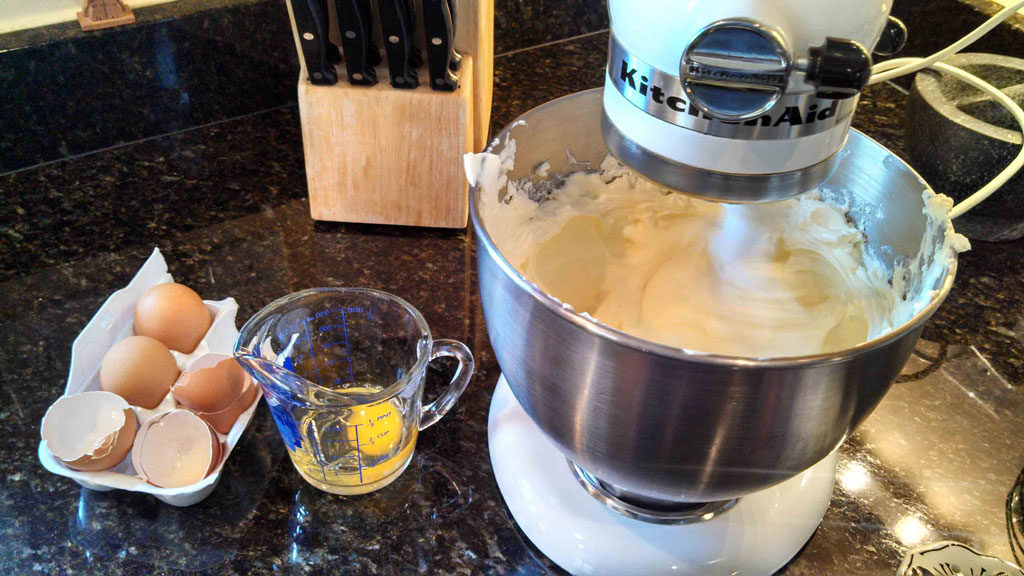
- Add the eggs one at a time, scraping down the sides of the bowl after each addition.
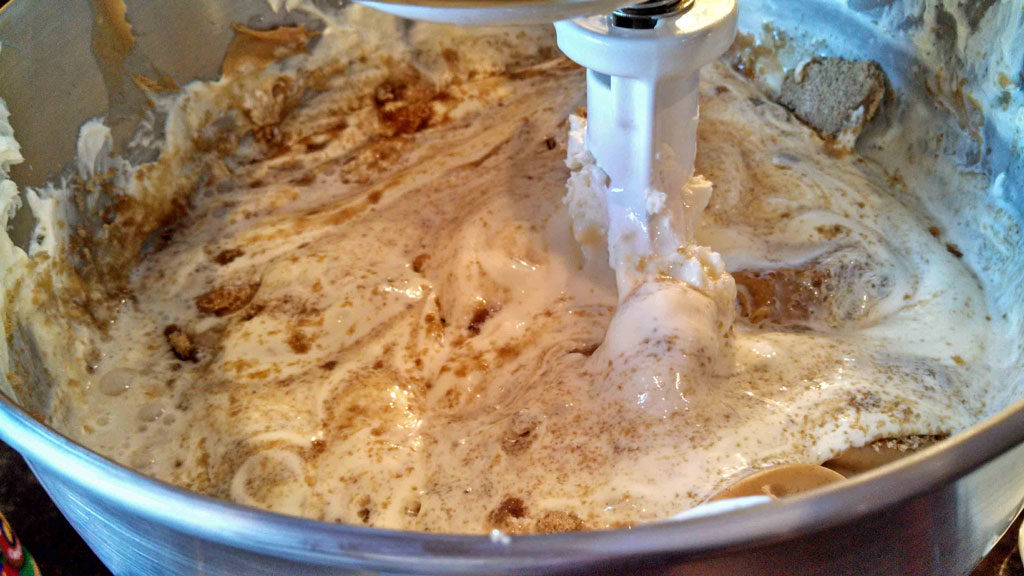
- Add brown sugar, peanut butter, cream, and vanilla; beat until combined. Scrape down the sides of the bowl a few times while beating. It will take a few minutes to get the peanut butter mixed in.
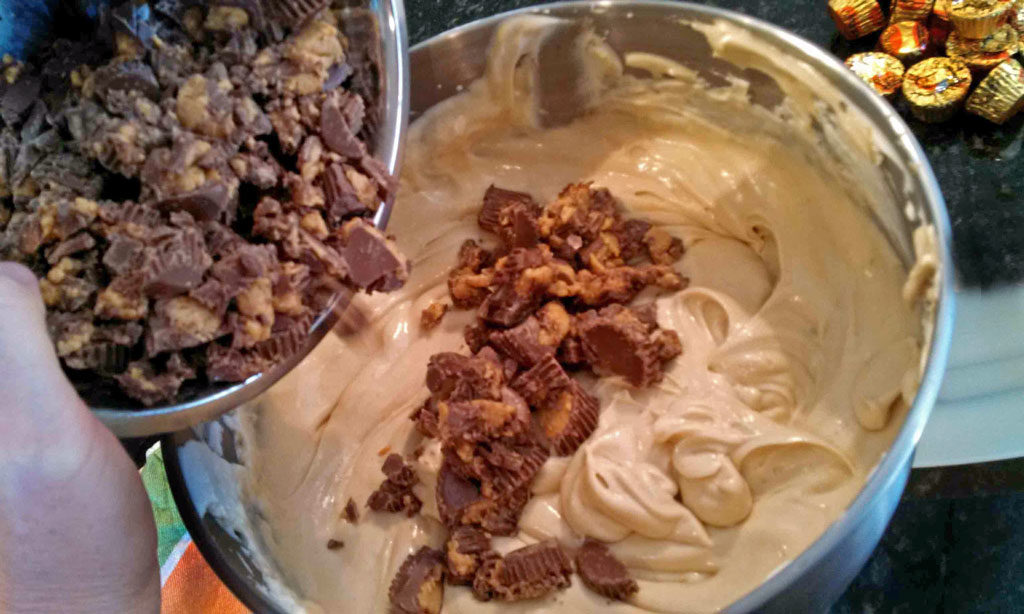
- Gently fold in the chopped peanut butter cups with a spatula.
- Cover the bottom of the springform pan with a double layer of aluminum foil that goes high up on the sides. Then, pour the mixture onto the cooled crust inside the foil bottom-covered springform pan.
Bake the Cheesecake:
- Place the foil-lined springform pan inside a larger pan. Carefully pour the hot water into the larger pan until the water is about 1 inch up the sides of the springform pan.
- Bake the cheesecake until just set, about 1 hour and 15 minutes. There will be a 2-3 inch wobbly area in the center. A wobbly center is completely normal!
Cooling the Cheesecake:
- Turn off the oven, but leave the cheesecake inside. Allow the temperature to come down gently inside the range.
- Let the cheesecake sit for about an hour, then remove the cheesecake from the oven.
- Cool completely, then refrigerate until completely cool on a wire rack, about 2 to 3 hours before topping.
The Ganache Peanut Butter Cup Topping:
Only three ingredients: Semi-sweet chocolate chips, cream, and peanut butter cups. Find full measurements in the recipe card at the end of this post.
- Pour the cream into a small saucepot. Heat until simmering, but not boiling.
- Remove from the heat and pour in the chocolate chips.
- Allow the mixture to sit for a few minutes, then stir until smooth.
- Pour the chocolate mixture over the top of the cheesecake, allowing it to drip down and ooze down the sides.
- Sprinkle the peanut butter cups over the top of the cheesecake, or decorate however you like.
Tips for Making Reese’s Cheesecake
Room Temperature Ingredients: The cheesecake comes together better when the ingredients are at room temperature. The cream cheese can be chunky instead of smooth when cold.
Scrape Down the Bowl: To ensure a smooth, creamy texture, scrape down the bowl’s sides after each addition when mixing the ingredients.
Do Not Overmix: Overmixing the ingredients can cause cracks. However, overmixing is hard not to do, especially using a mixer. Try not to overmix the ingredients, but if you do, IT IS NOT the end of the world. If your cheesecake cracks, it provides a nice crevice for the chocolate ganache to pool into, and no one will ever see it with all the peanut butter cups on top, anyway!
Miniature Peanut Butter Cups: I think miniature peanut butter cups have the best chocolate-peanut butter ratio. They work the best for this cheesecake.
Stir in Peanut Butter Cups: When the cheesecake is mixed, stir in the peanut butter cups with a rubber spatula to avoid breaking them too much into the cake.
Always Use a Water Bath: A water bath creates the perfect baking environment for a cheesecake. Keep reading to learn more!
Don’t Overbake! Overbaking is the leading cause of cracking. Although the edges of the cheesecake will be slightly puffy, there will be a 2 to 3-inch wobbly area in the center when it is finished baking. Just turn the oven off. It will form up as it cools.
Don’t Rush Cooling: Let the cheesecake cool inside the oven after baking to prevent cracks from forming. Then, remove it from the oven and let it come to room temperature. The gradual temperature change is ideal for this delicate cake.
Chill The Cheesecake: When it is down to room temperature, cover it tightly with plastic wrap and place it in the refrigerator to chill for a minimum of 2 to 3 hours before adding the ganache.
Perfect Slices: Heat the knife under hot water and dry thoroughly between slices for best results.
Don’t Cool Too Fast: Cooling too fast results in cracking. Allow the cheesecake to cool down slowly.
Surprisingly, this beautiful peanut butter cheesecake is easy to make. A dessert this good only deserves to be shared with the greatest of family and friends!
I hope you will share it with yours!

More Cheesecake Recipes?
If you like this recipe, please check out our other cheesecake recipes:
This is an updated recipe from April 2014.
Reese’s Cheesecake
Ingredients
Crust
- 1 package Oreo cookies
- 6 tablespoons unsalted butter melted
- 1 pinch salt
Cheesecake
- 32 ounces cream cheese (4) 8-ounce packages
- 5 eggs
- 1 ½ cups brown sugar
- 1 cup smooth peanut butter
- ½ cup cream
- 1 teaspoon vanilla
- 12 ounces Reese’s peanut butter miniature cups unwrapped and roughly chopped
Topping
- ½ cup cream
- 1 cup semi-sweet chocolate chips
- 8 ounce package Reese’s Minis
Instructions
The Crust
- Preheat oven to 325 degrees F.
- Put the cookies in a food processor or blender and blend until the crumbs look like garden soil.
- Pour in the melted butter and a pinch of salt; pulse a few times to combine.
- Press the mixture into the bottom of a 9-inch springform pan, making sure that the crumbs go about ¼ of the way up the sides of the pan.
- Place the pan into the preheated oven; bake for 10 to 12 minutes. Remove from the oven, then set aside to cool. When the spring-form pan has cooled, wrap aluminum foil around the sides.
The Cheesecake
- Beat the cream cheese with a mixer until smooth.
- Add the eggs one at a time, scraping down the sides of the bowl after the addition of each egg.
- Add in the brown sugar, peanut butter, cream, and vanilla; beat until combined. Scrap down the sides of the bowl a few time while beating. It will take a few minutes to get the peanut butter mixed in.
- Gently fold in the chopped up peanut butter cups with a spatula, then pour the mixture into the cooled crust.
- Heat a medium pot of water on the stove until steaming.
- Place the foil-lined spring-form pan inside a larger pan. Carefully pour the hot water into the larger pan, until the water is about 1 inch up the sides of the spring-form pan.
- Bake the cheesecake until just set, about 1 hour 15 minutes. Then turn off the oven, but leave the cheesecake inside. Allow the temperature to come down gently inside the oven. Let it sit for about an hour, then remove the cheesecake from the oven. Cool completely, then refrigerate until completely cool on a wire rack, about 2 to 3 hours before topping.
THE TOPPING
- Pour the cream into a small sauce pot. Heat until simmering, but not boiling. Remove from the heat and pour in the chocolate chips. Allow the mixture to sit a couple of minutes, then stir until smooth. Pour the chocolate mixture over the top of the cheesecake, allowing it to drip down the sides. Sprinkle the peanut butter cups over the top of the cheesecake.


Steve Quesenberry says
I am normally not a huge cheesecake fan. But this is awesome!! I enjoyed sharing this with Debbie and David at their home. I have even enjoyed some of it over the last week with my wife. Chocolate, Oreos, and Peanuts Butter cups are three of my favorite things and they really come together nicely in this cheesecake! I loved it! Thanks so much for sharing this sinfully good treat with us!
Debbie Spivey says
So happy to share it! Thank you!
Andy Oldham says
mmmmmmmmmmmmmm! What else is there to say?
Debbie Spivey says
That about covers it! 🙂
Modern Day Farm Chick says
O.M.G. This looks amazing!
Debbie Spivey says
It was good, if you like indulgence that is… 😉
Suzan says
I can say this was an amazing cheesecake! I loved it & the time with great friends! 🙂 Let’s do it again soon. I’ll have a special treat for y’all. 🙂
Debbie Spivey says
So glad y’all came! Looking forward to that special treat 🙂
Patrons of the Pit says
Good golly! There is no eating that guilt free. My bride would love it. I would too, come to think of it. Wow.
Debbie Spivey says
Thanks! You should bake her one. It is really easy to make. The hardest part is unwrapping all the peanut butter cups… Probably a gazillion calories, but you only live once and if you live through eating a slice, no harm, no foul! 😉
elizabeth brinster says
I’ll take 1 for Easter….just deliver to the Ponderosa….1029….
Debbie Spivey says
This is an easy one! The hardest thing is opening all those peanut butter cups. 🙂
Looking Out The Window says
I have a friend who adores peanut butter and I am marking this recipe for her birthday.
Debbie Spivey says
It is really good and even better the longer it sits. Enjoy!
Laura says
I would love to try this recipe for my family! Although I’ve never made a cheesecake before so I’m a little nervous. Is it okay to make the day before and store in the fridge?
The Mountain Kitchen says
Hi Laura! Great question… YES! This cheesecake gets better the longer it sits in the fridge. The only problem is trying to find out how good because it goes so fast! I really hope you will give this recipe a try. Don’t be nervous… make a couple of days early to take away the pressure. It will be great! 🙂
Laurel McClellan says
This looks & smells wonderful! It didnt seem like mine was done? It was still jiggly and when I tried to take spring form off it started cracking?
The Mountain Kitchen says
Hi Laurel! Did you allow the cheesecake time to sit before removing the springform pan? It sounds like your cheesecake may have needed to bake a little longer. However, not allowing it to cool will also cause it to crack. I hope it tasted good all the same! 🙂
Kristen says
What kind of cream should I buy?
The Mountain Kitchen says
Hi Kristen, I used “Heavy Cream”. Great question!
Pam says
The ingredients don’t call for salt in the crust, but in the mixing directions it says pulse in butter and salt. How much salt do you need?
The Mountain Kitchen says
Hi Pam! Thanks for bringing this discrepancy to my attention. There should be just a pinch of salt. If it were left out you’d probably never miss it. I have added it to the ingredient list. I hope you will try this recipe. It’s definitely one of our favorite cheesecake recipes. I hope it will become yours too! 😉
Deanne Lewis says
I want to make this for my birthday on Friday. I have never made a cheesecake with brown sugar and am a little hesitant. Can I substitute for regular? Or do you strongly recommend I stick with brown?
The Mountain Kitchen says
Hi Deanne, I have always used brown sugar for the recipe without any issues. Several others have tried it and it’s never been an issue that I know of. However, it is your birthday, so you could substitute if you are not sure. Enjoy your birthday cake!
Janine says
Make this for my youngest son as a going away “cake”! Everyone was very impressed and Loved the Reese’s Cheesecake!
I Loved making it — was Super-delicious!
The Mountain Kitchen says
Hi Janine! Thanks for that great review. Best wishes to your son!
Sam says
Curious if I can use heavy cream/ whipping cream instead of regular cream, and what the taste difference would be?
The Mountain Kitchen says
Hi Sam, for the ganache, either is fine. Hope you enjoy the cheesecake!