
This grilled cherry crisp recipe is so delicious. Serve it with ice cream or whipped cream, and you’ll impress your family and friends.
I’m a sucker for anything cherry, and the fact that this cherry crisp is kisses of grill smoke gives me a reason to love them even more.
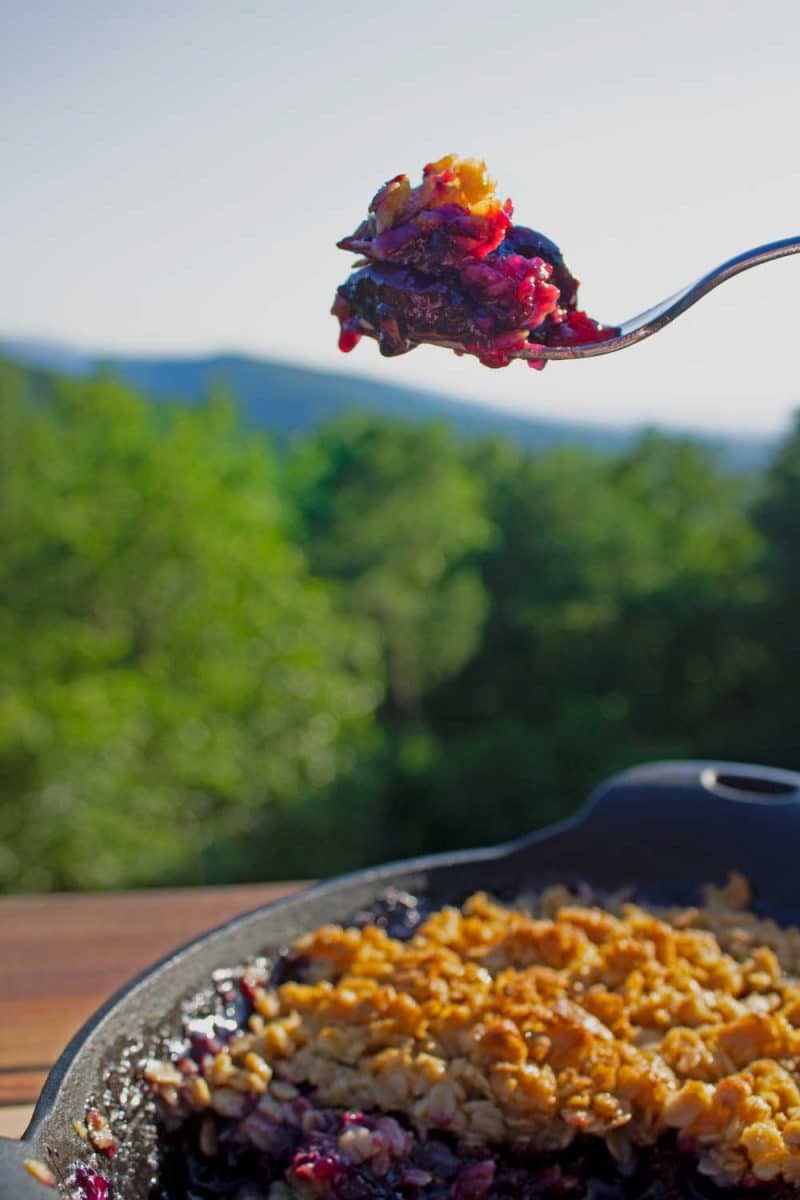
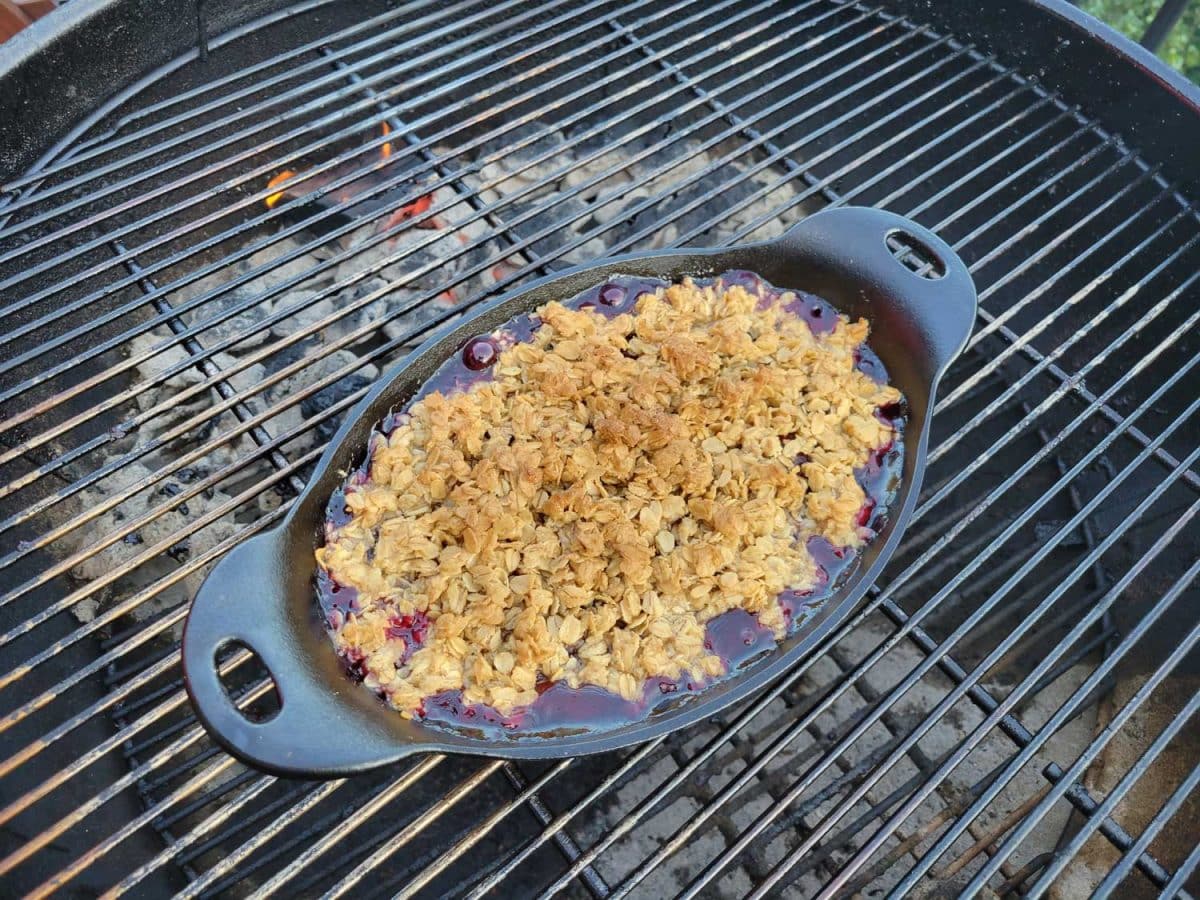
For this crisp, plump, sweet cherries are topped with a buttery-sweet crispy oat topping. The sweet smell of tangy cherry filling with buttery oatmeal had almost every critter on the mountain curious to know what we were eating!
The crisp bakes in a cast iron skillet on your grill right beside your main entre. So you can keep the heat out of your kitchen when making this delicious summer dessert.
Dust off that cast-iron skillet and let me show you how we made this delicious grilled cherry crisp!
What Is A Cherry Crisp?
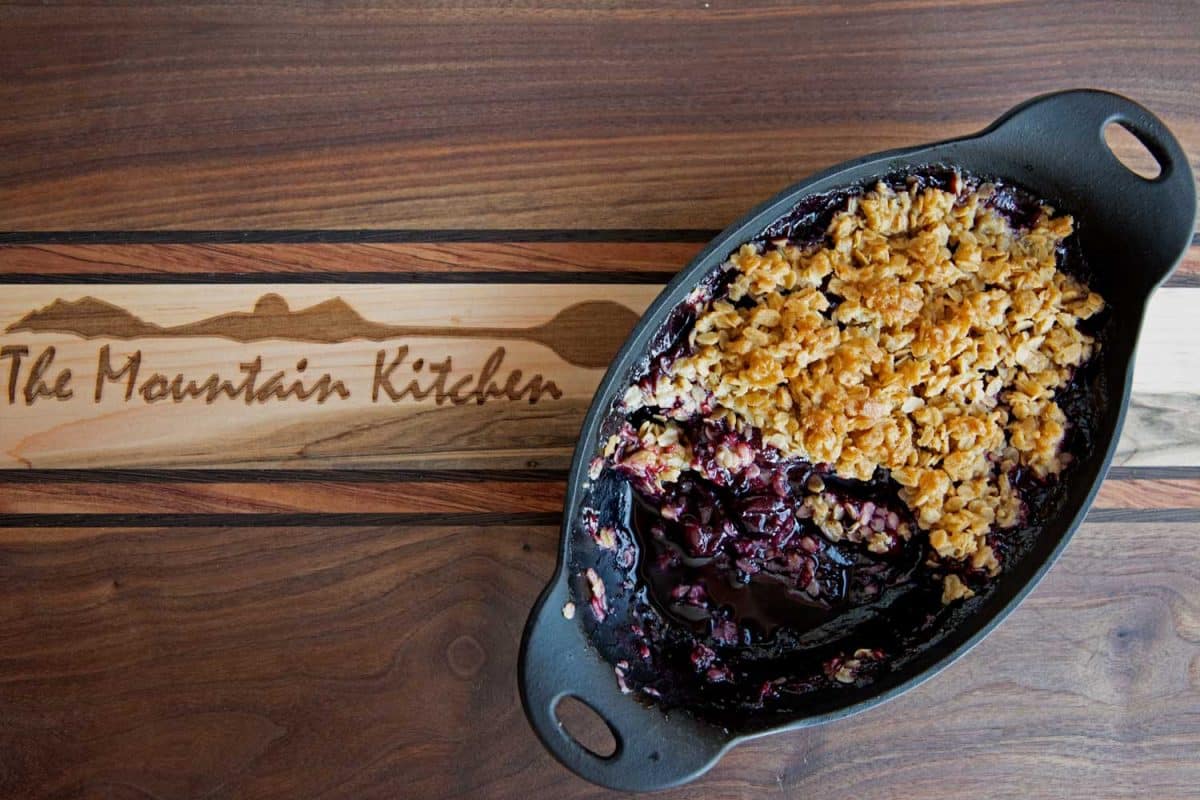
A cherry crisp is a dessert with a thick cherry base and a crispy topping that includes oats, flour, sugar, and butter. A cherry crisp is crunchier than a charry cobbler or cherry crumble, which is more cake-like with a biscuit and muffin-style topping.
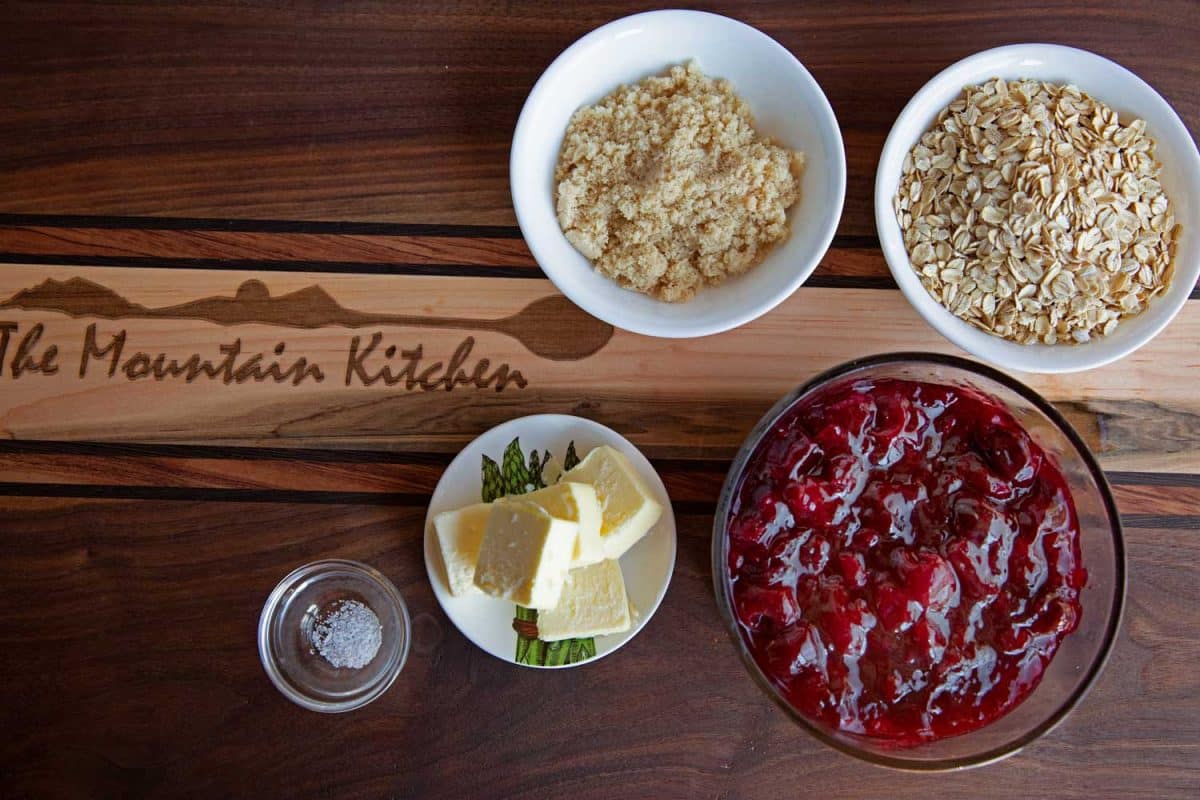
What You’ll Need to Make Grilled Cherry Crisp
Most of these ingredients are probably already in your pantry. All you need are the cherries!
The Cherry Filling
- Cherries: Fresh pitted sweet cherries are best! (see Tips and Variations below)
- Water: the cherries need a little liquid to help them start cooking.
- Lemon Juice: Fresh lemon juice helps offset all the sugar and sweetness from the cherries.
- Sugar: White granulated sugar helps sweeten the cherries even more.
- Cornstarch: Added to thicken the cherry filling.
- Almond Extract: Just a touch of almond extract provides amazing flavor to the cherries. You can use vanilla extract if you don’t have almond extract in your pantry.
The Oat Crisp Topping
- Rolled Oats: Regular old-fashioned rolled oats are mixed with butter, giving the topping a crisp cookie-like texture.
- Brown Sugar: adds a rich sweet molasses flavor to the topping. Use light or dark.
- Flour: All-purpose flour helps absorb some of the juices from the cherries making the filling thicker and aids in keeping the topping crispy
- Butter: unsalted butter aids in browning, helps to crisp up the topping, and adds a nutty flavor to the crisp.

How To Make Grilled Cherry Crisp
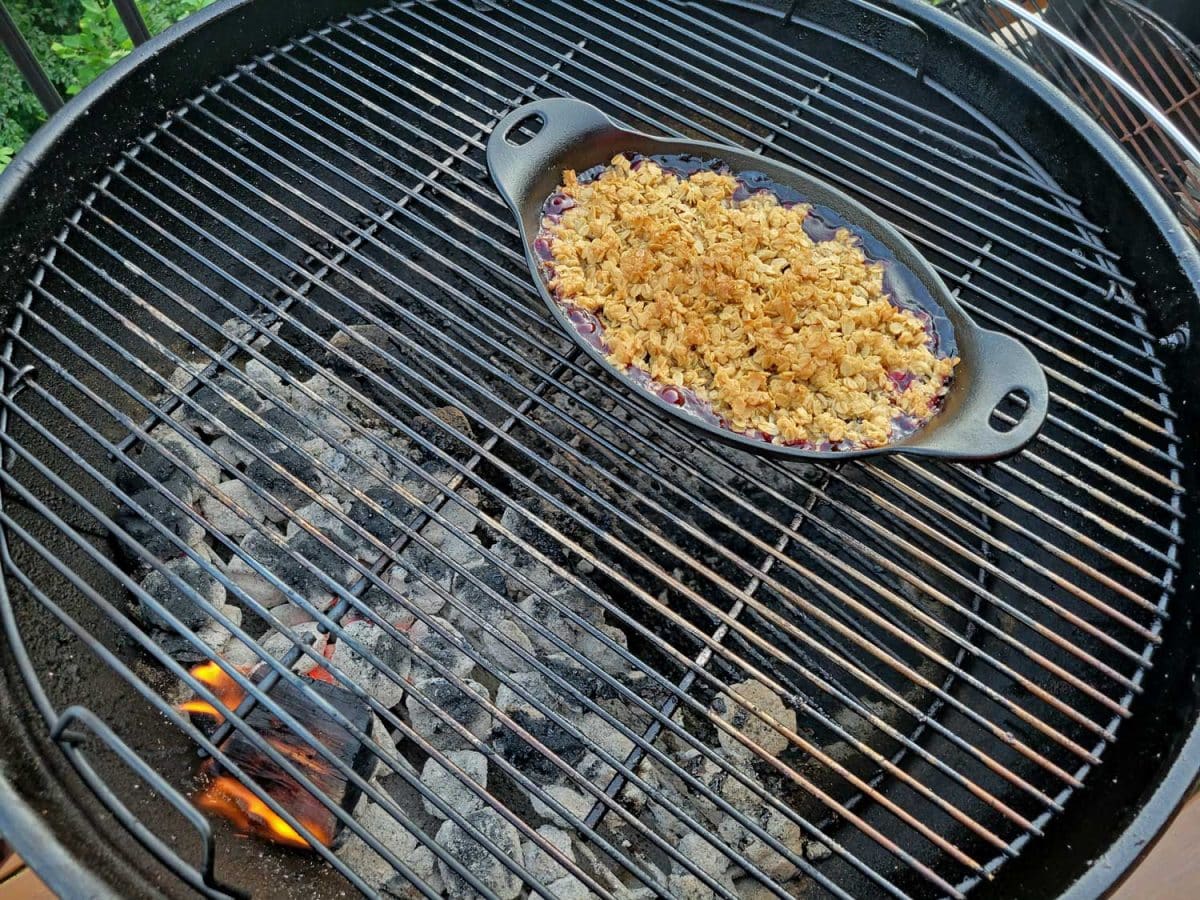
Grilling a cherry crisp is no different than baking one in your oven. The key is to bake the crisp over indirect heat, rotating about halfway through to ensure that both sides cook evenly.
Light The Grill:
Setup the grill for indirect heat and preheat to 375 degrees F.
For extra cherry flavor, add one dry chunk of cherry wood to the lit coals and wait for it to start to burn clean before adding the cherry crisp to the grill.
Prepare The Cherry Filling:
On the stovetop, combine the cherries, water, lemon juice, sugar, and cornstarch in a medium saucepan. Bring the ingredients to a boil over medium-high heat. Reduce the heat to low. Stirring frequently, cook for about 10 minutes. Remove the cherry mixture from the heat and stir in almond extract.
Prepare the Topping:
In a medium bowl, combine oats, brown sugar, and flour. Cut in butter with two knives or a dough cutter until the mixture resembles coarse crumbs.
Assemble the Crisp:
Pour the cherry filling into an oval cast iron pan or 8” cast iron skillet (use a baking dish for the oven only). Sprinkle the topping over the filling.
For the Grill:
Cook inside the 375 degree grill over indirect heat until the topping is golden brown and the filling is bubbling, about 20-30 minutes, turning halfway through.
For the Oven:
Bake in a preheated 375 degree F oven for 30 to 35 minutes, or until the fruit is tender and the topping is golden.
Serving:
Serve warm with a generous scoop of vanilla ice cream or whipped cream, if desired.

Recipe Tips And Variations
- Fresh, Frozen, or Canned Cherries: cherries aren’t always available, so use frozen or canned if that is all you have.
- Fresh Cherries: For this recipe, you’ll need to pit fresh cherries with a cherry pitter.
- Frozen Cherries: tend to be a little softer, so you may want to adjust your cooking time.
- Canned Cherries: usually come packed in heavy syrup. Drain and rinse off the juice before making the filling.
- Sweet or Tart Cherries: You can use either sweet cherries, tart cherries, or a combination of the two to make this crisp. If using only tart cherries, you may want to add more sugar to balance out the sourness. Adjust the sweetness to your taste.
- When making the filling, make sure the cornstarch is added to cold ingredients, or it will clump.
- Bake or Grill: Although this delicious dessert recipe is cooked on the grill, you could also bake it if you choose. The baking instructions are in the recipe card at the end of this post.
- Nuts: you can add nuts, such as chopped walnuts, pecans, or almond slices to the topping for extra crunchiness.
- Other Berries: you can use other fruit to make this crisp. Other options include strawberries, blueberries, raspberries, or a combination of each.
FAQs
Can I use canned cherry pie filling? The great thing about making the cherry filling is that you can control what goes into it. Canned pie filling can contain artificial colors and flavorings. Use canned pie filling if you desire, but your crisp will not be as good.
You can refrigerate leftover cherry crisp, sealed tightly for up to 4 days. I do not recommend freezing grilled cherry crisp.
I do not recommend freezing grilled cherry crisp because the smoke from the grill overpowers the crisp. However, you can freeze cherry baked cherry crisp. Cool completely and wrap tightly. Freeze for up to 3 months.
Either bake the remaining cherry crisp in the oven at 350 degrees F until warmed through, about 20-30 minutes. Or nuke it for 30 seconds in the microwave.
Serve this grilled cherry crisp with a scoop of vanilla ice cream or whipped cream to impress your family and friends this summer.
If you do, we’d love your feedback. Leave us a comment and a star rating below. We value your opinion and appreciate your time.
See ya on the mountain!

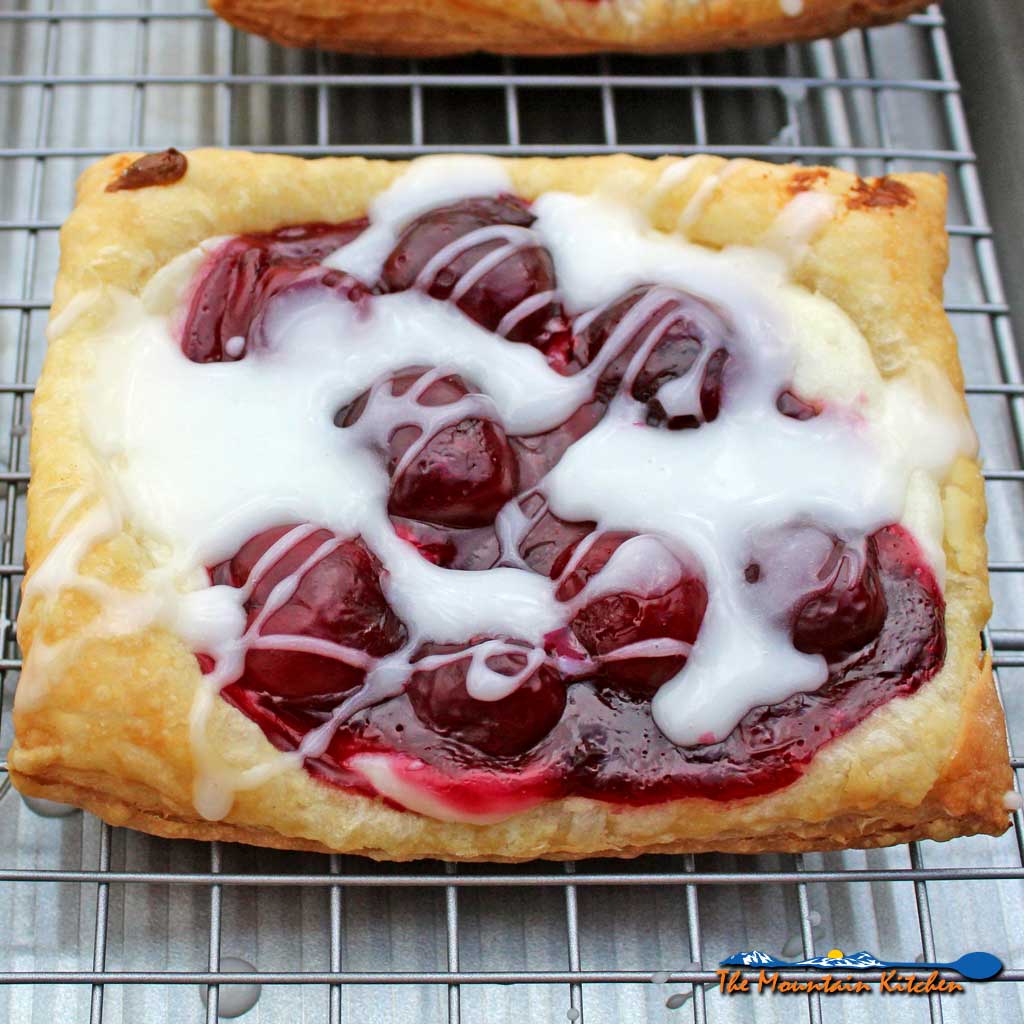
If you like this recipe, then you’ll love David’s, Cinnamon Peach Crisp or Apple Crisp!
Grilled Cherry Crisp
Useful Equipment:
- Cast Iron Serving Dish or 8" cast iron skillet
Ingredients
The Cherry Filling
- 5 cups cherries fresh, pitted
- ½ cup water
- 2 tablespoons lemon juice freshly squeezed
- ⅔ cup granulated sugar
- 3 tablespoons cornstarch
- ¼ teaspoon almond extract
The Oat Topping
- ½ cup regular rolled oats
- ½ cup packed brown sugar
- ¼ cup all-purpose flour
- ¼ cup unsalted butter
Instructions
Light the Grill
- Setup the grill for indirect heat and preheat to 375 degrees F.For extra cherry flavor add 1 dry chunk of cherry wood to the lit coals and wait for it to starts to burn clean before adding the cherry crisp to the grill.
Prepare The Cherry Filling:
- On the stovetop, combine the cherries, water, lemon juice, sugar, and cornstarch in a medium saucepan. Bring the ingredients to a boil over medium-high heat. Reduce the heat to low. Stirring frequently, cook for about 10 minutes. Remove the cherry mixture from the heat and stir in almond extract.
For the Topping:
- In a medium bowl combine oats, brown sugar, flour, and spices. Cut in butter, with two knives or a dough cutter, until mixture resembles coarse crumbs. Stir in nuts. Sprinkle topping over filling.
Assemble the Crisp:
- Pour the cherry filling into an oval cast iron pan or 8” cast iron skillet (use a baking dish for the oven only). Sprinkle the topping over the filling.
For the Grill:
- Cook inside the 375 degree grill over indirect heat until the topping is golden brown and the filling is bubbling, about 20-30 minutes, turning halfway through.
For the Oven:
- Bake in a preheated 375 degree F oven for 30 to 35 minutes, or until the fruit is tender and the topping is golden.
Serving:
- Serve warm with a generous scoop of vanilla ice cream or whipped cream, if desired.
Notes
- Storage: You can refrigerate leftover cherry crisp, sealed tightly for up to 4 days. I do not recommend freezing grilled cherry crisp.
- Reheating: Either bake the remaining cherry crisp in the oven at 350 degrees F until warmed through, about 20-30 minutes. Or nuke it for 30 seconds in the microwave.
Nutrition
The Mountain Kitchen is a participant in the Amazon Affiliate Program, an affiliate advertising program designed to provide a means for sites to earn advertising fees by advertising and linking to Amazon.com.
There is no extra cost to you for clicking! It just helps us afford to do what we do here at TheMountainKitchen.com. Thanks for your support!


Leave a Reply