Looking for a simple and delicious aioli recipe? This easy lemon aioli is a delicious accompaniment to any dish. Add flavor to any dish in just minutes!

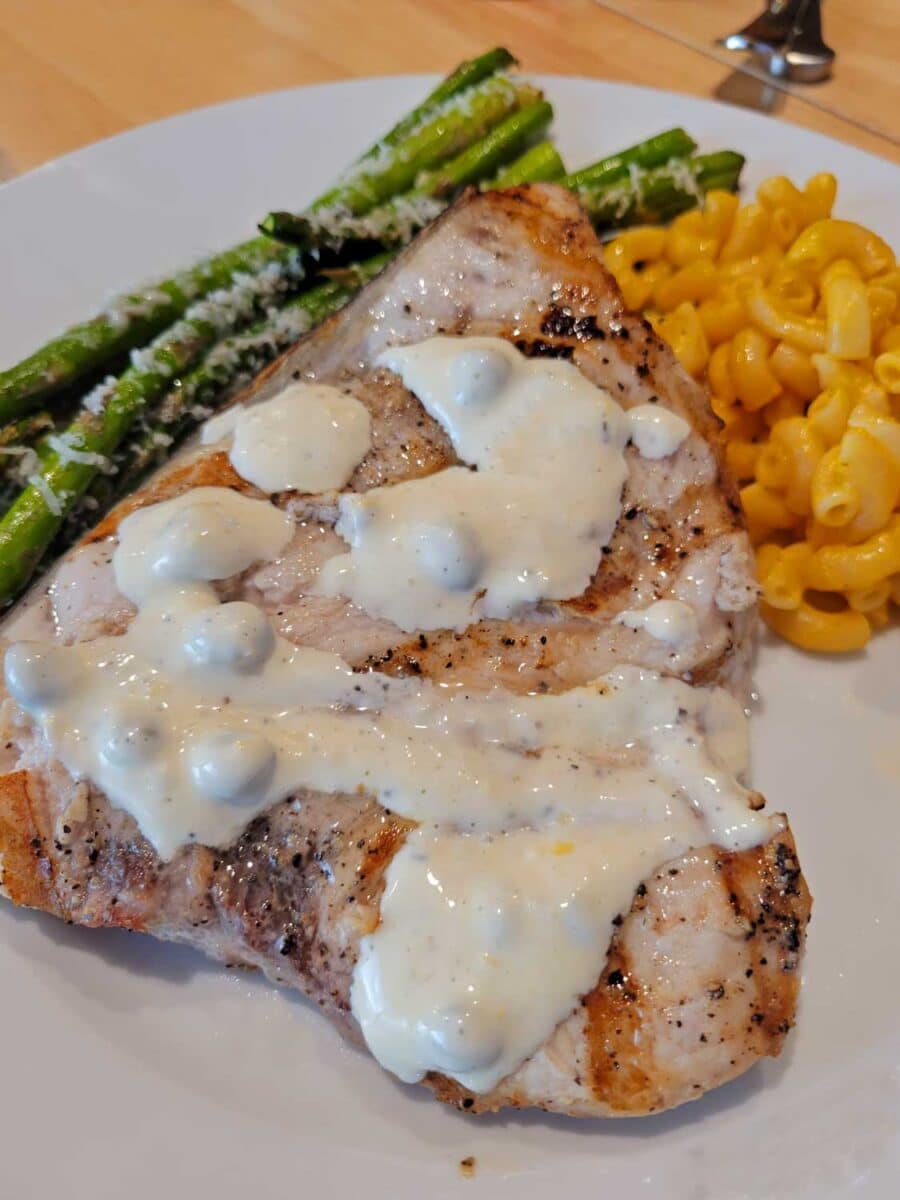
Thank goodness this lemon aioli is easy to make because David begs me to make it every time we have fish. I first made this sauce to accompany some fresh grilled swordfish filets. It’s creamy, garlicky, and tangy and not only pairs nicely with seafood but can be used as a dipping sauce for vegetables (especially French fries) or as a spread for sandwiches.
What is Lemon Aioli?
This easy lemon aioli is a mayonnaise-based sauce similar to garlic mayo with added flavor from Dijon mustard, lemon, and capers. This recipe is much easier because you don’t need special equipment such as a blender or food processor. I tell you, anytime I don’t have to clean up gadgets after cooking is a plus!
Traditional aioli involves using a blender or food processor to emulsify eggs, oil, and garlic, while this easier version is basically a flavored mayonnaise, which is already emulsified. It may sound like cheating to some, but it doesn’t cheat on flavor.
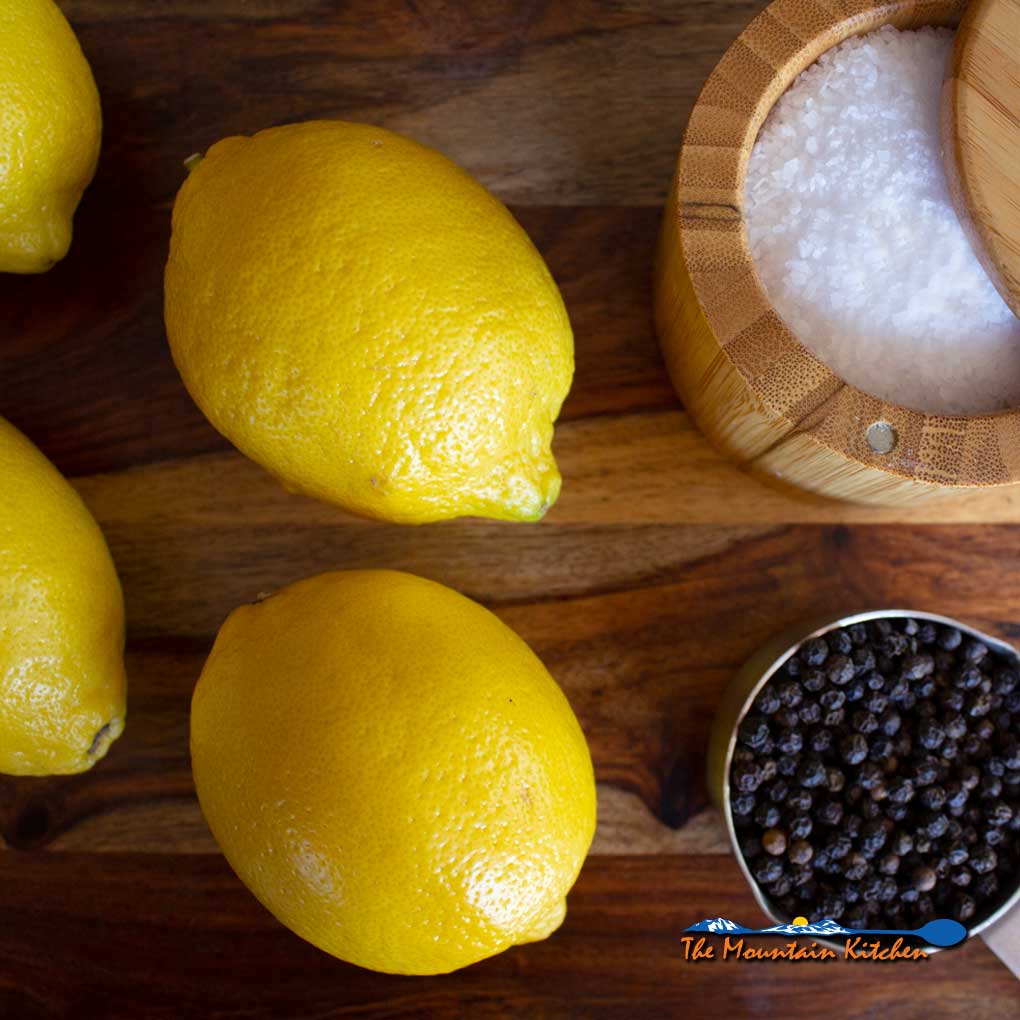
Ingredients You’ll Need
The ingredient list is short and sweet; you should have most of the ingredients in your fridge and pantry. The recipe card at the end of this post lists the full ingredient list with measurements.
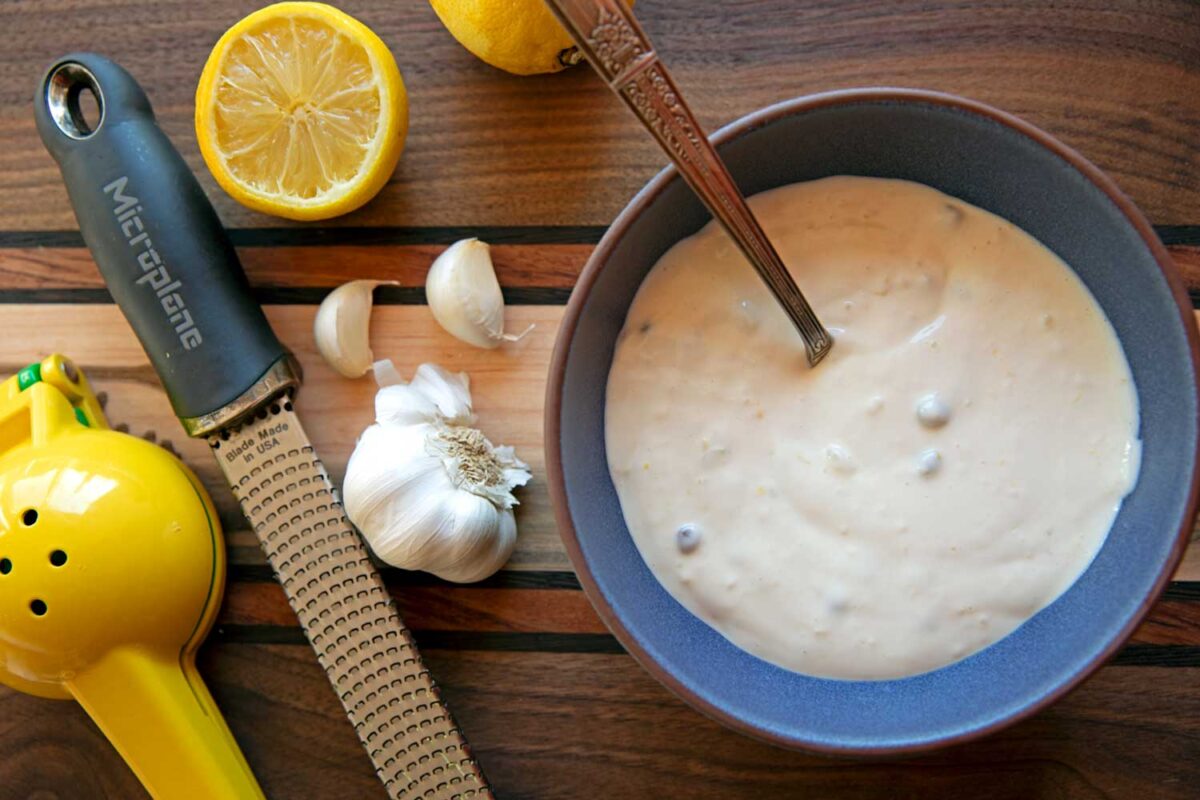
Mayonnaise: the base of your aioli. Make sure you use a really good mayonnaise with a smooth and creamy texture. I use Duke’s.
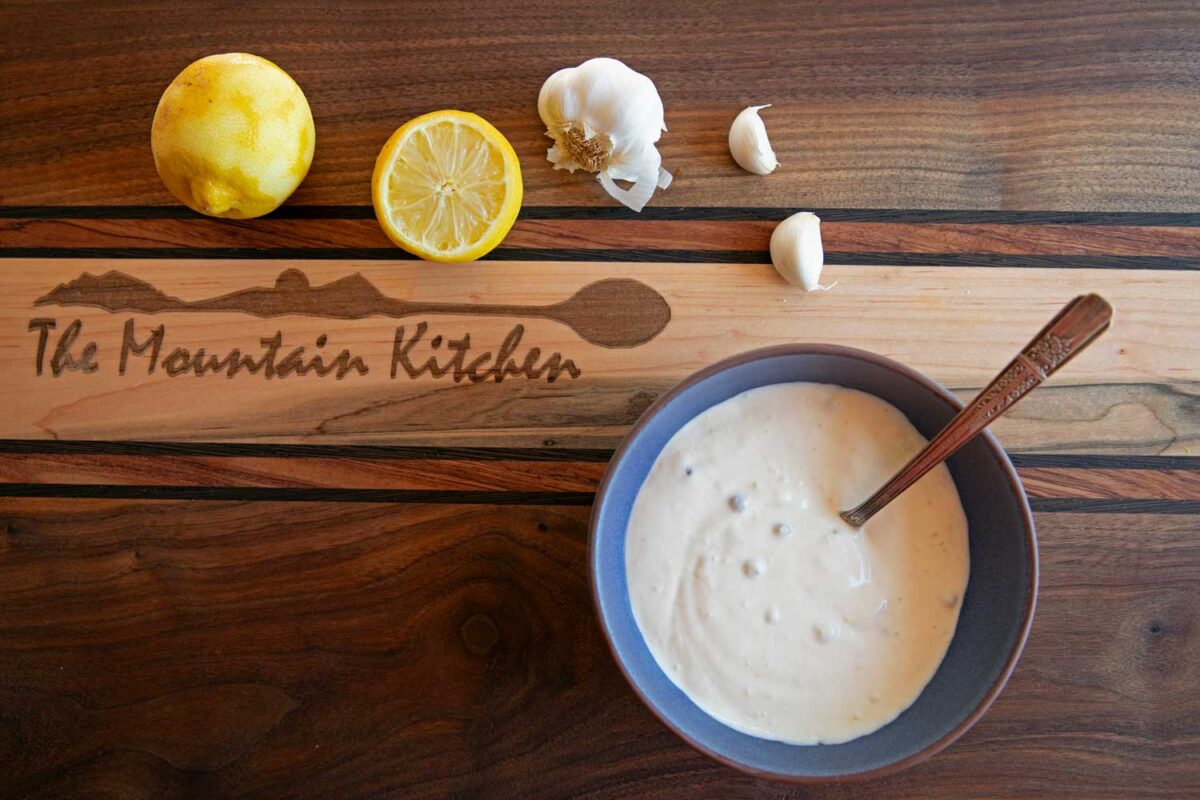
Lemon: fresh lemon is the star ingredient of the recipe. You’ll need both the zest and juice.
Garlic: gives aioli its distinctive flavor. You can add more if you really like garlic.
Mustard: Dijon Mustard adds extra tang and flavor while giving the aioli a warmth from spice.
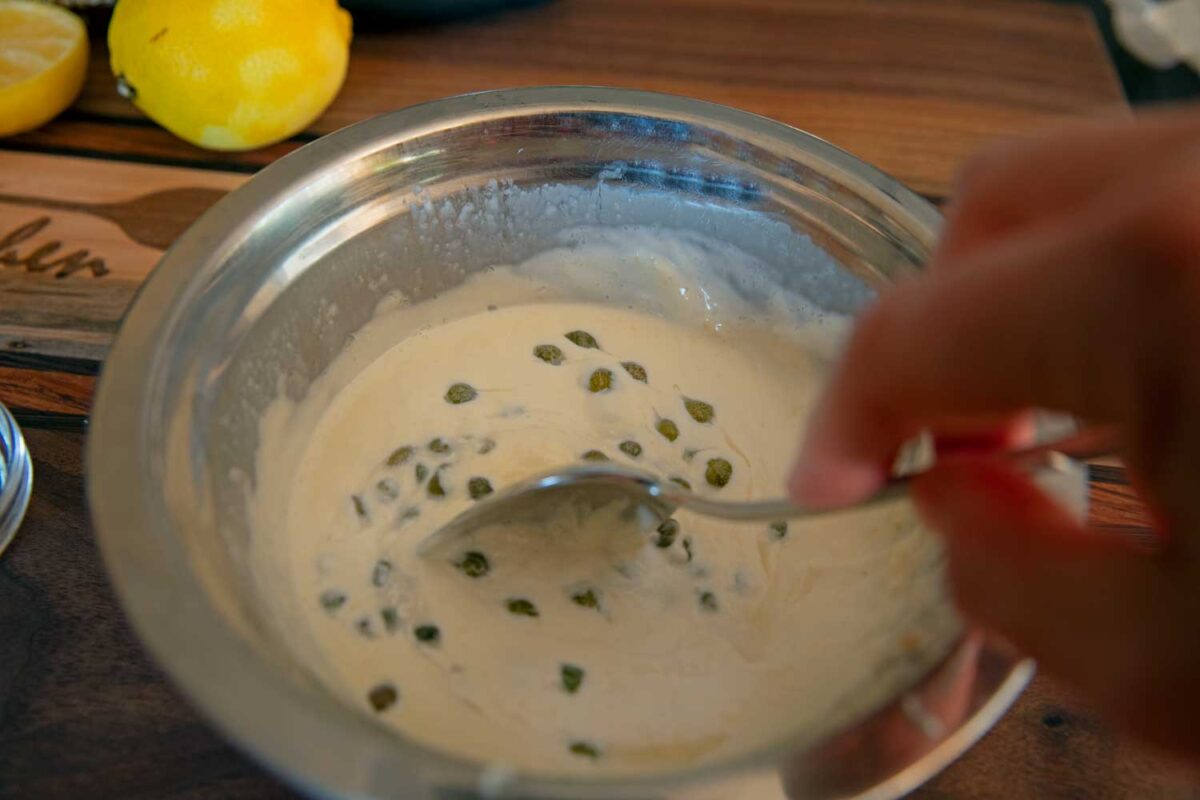
Capers: add brininess and even more tang to the aioli.
Seasoning: give the aioli a taste before seasoning with salt, to taste.
How to Make Easy Lemon Aioli
Making aioli is just combining ingredients. The recipe card at the end of this post provides detailed instructions.
- Soak the Garlic: Soak the minced garlic in lemon juice for 10 minutes while gathering the rest of the ingredients. The acid from the lemon juice will temper (cook) the harsh flavor that fresh garlic can have raw. You get the garlic flavor, and it doesn’t bite you back.
- Build the Flavor: Use the mayonnaise as the base and build flavor. Whisk in all of the ingredients except the capers. Once the ingredients are well combined, stir in the capers and adjust the ingredients to taste.
- Refrigerate until ready to serve.
Recipe Tips
- Storage: store aioli in an airtight container for up to a week.
- Microplane: it’s best to grate the garlic using a microplane so it isn’t chunky.
- Consistency: If your aioli is too thick, add some more lemon juice or olive oil to help thin it out. If it becomes too thin, add a little more mayonnaise.
- Spice it Up: add some heat with a dash or two of hot sauce, diced peppers, or cayenne pepper.
- More Flavor: add fresh chopped herbs such as basil, parsley, or cilantro to give the aioli more flavor.
How to Use Lemon Aioli?
We love using this easy lemon aioli on seafood, especially grilled fish, but don’t stop there. Try it as a spread for sandwiches, burgers, or vegetables. Try lemon aioli in these recipes:
- Oven Roasted or Grilled Asparagus
- Smashed Potatoes or Grilled Potato Wedges
- Grilled Red Snapper or Air Fryer Cod
- Burgers
Are you making this easy lemon aioli recipe? We’d love to hear your feedback. Leave us a comment and a star rating below. We appreciate you!
See ya on the mountain!


Easy Lemon Aioli
Ingredients
- 1 cup prepared mayonnaise
- 2 teaspoons fresh lemon zest
- 1 tablespoon fresh lemon juice plus more to taste
- 1 garlic clove finely grated
- 1 teaspoon Dijon Mustard
- 1 tablespoon capers drained
- Kosher salt to taste
Instructions
- Soak the minced garlic in lemon juice for 10 minutes while gathering the rest of the ingredients.
- Whisk together the mayonnaise, lemon zest, lemon juice, garlic, and Dijon mustard in a medium bowl. Stir in the capers.
- Taste the aioli, add salt, and adjust the ingredients as needed. Refrigerate until ready to serve.


Susan says
Love this recipe!!! I made it exactly as written and used it on my kale salad. I rubbed it on the kale to soften it before I added the rest of my ingredients. I have made it twice already! One of the things I like so much about this recipe is I have all the ingredients on hand so I could actually make it as written-which does not happen often!! Thanks for the recipe 😊