
Nothing is more American than a perfectly formed, grill-mastered, juicy hamburger. Our guide will teach you how to build a hamburger from scratch. Here are 10 steps on how to build a better hamburger.
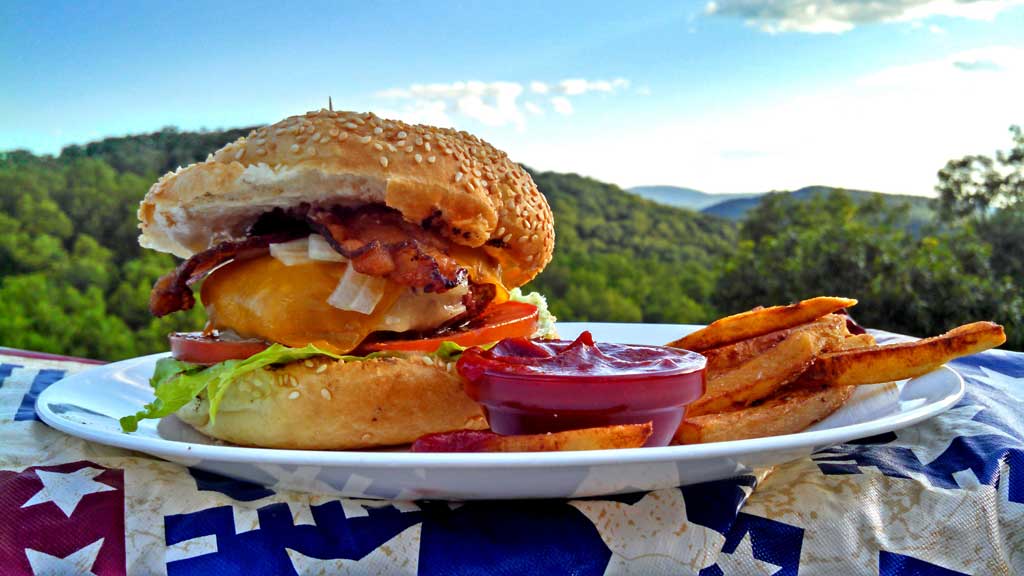
10 Steps to Build A Better Hamburger
Nothing is more American than a perfectly formed, grill-mastered, juicy, succulent, satisfying hamburger. So Memorial Day weekend marks the opening to “grilling season” (whatever that is). Let’s kick it off right by building the perfect burger! Our guide will teach you how to build a hamburger from scratch.
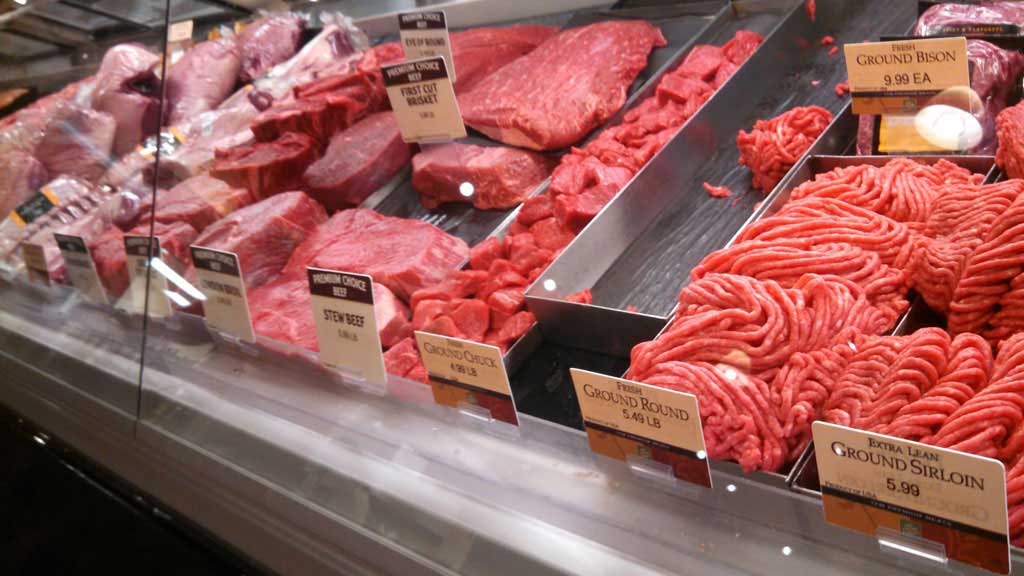
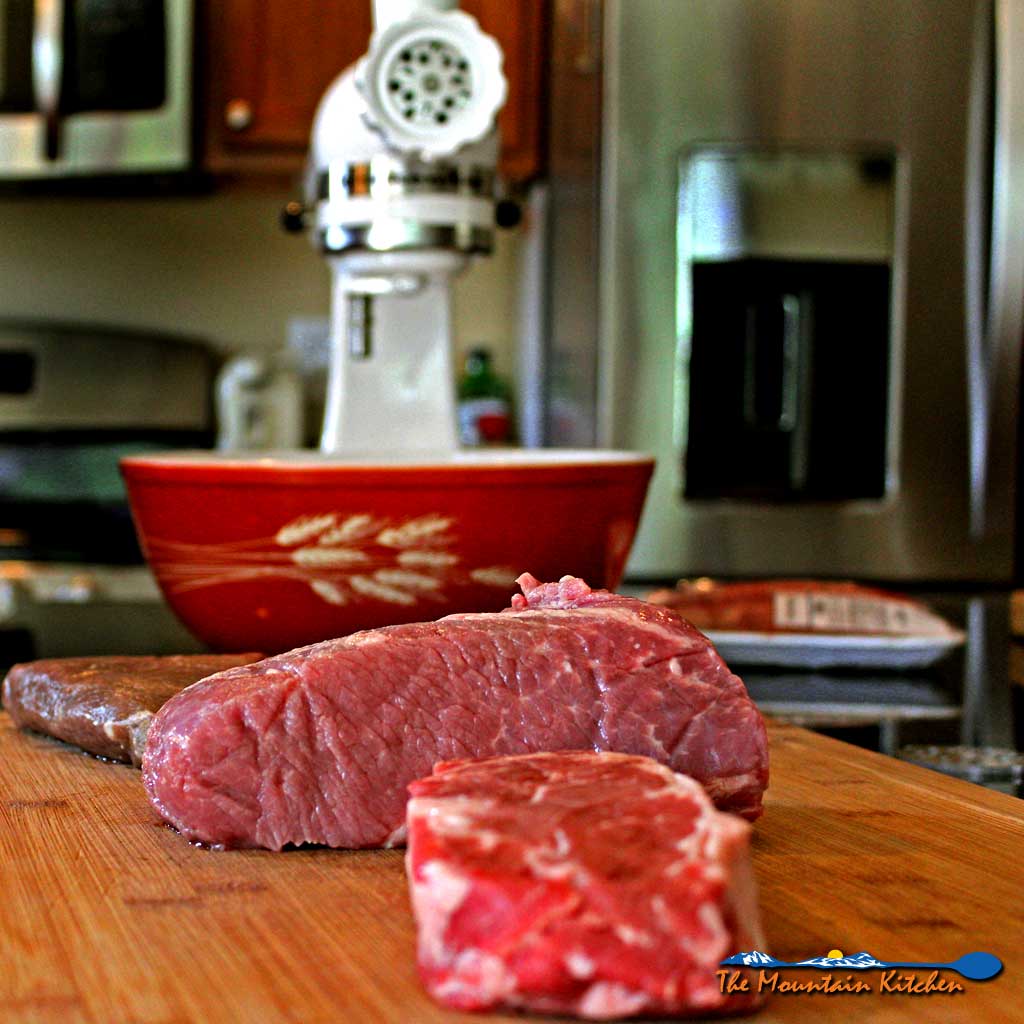
Step 1: Buying the right meat.
Fat equals juiciness and flavor, people! This is why the lean-to-fat ratio in ground beef is critical. If you want a good burger, 80/20 is definitely the way to go. 20% fat is ideal for cooking your burger anywhere from medium-rare to medium-well. Of course, if you like your burger well done, then maybe you should be more like 40% fat, but if you want it to be really rare, you should bring down the fat content. Trust me, you don’t want a lot of unrendered fat in your burger.
Key factors when shopping for meat:
- Shop for the freshest and best quality meat you can find.
- 80% lean, ground chuck
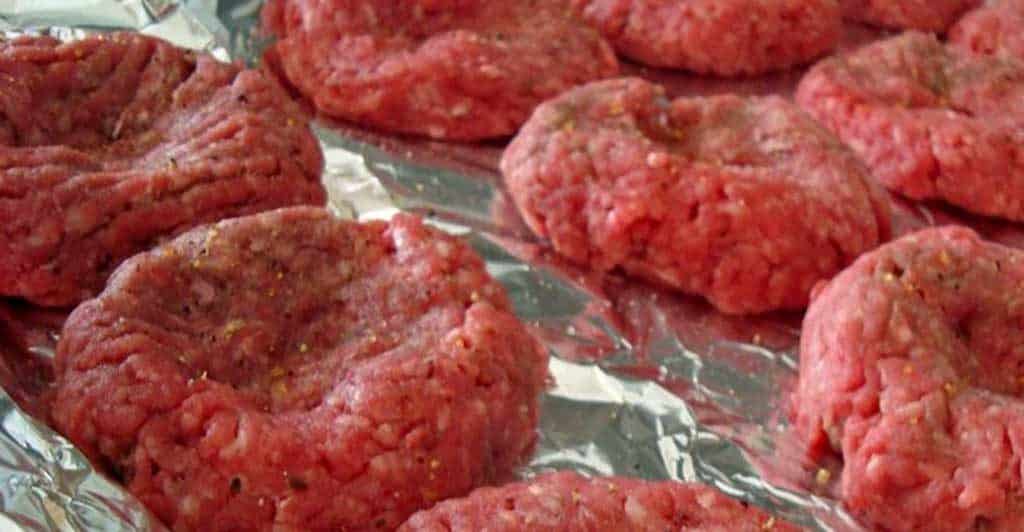
Step 2: Don’t overwork the meat while forming the perfect patties.
The more you handle the meat, the tougher your burger will be. In a large bowl, pull the meat apart into small chunks, add salt or other seasonings, and toss gently with fingers spread apart until loosely mixed.
Key factors when forming patties:
- Use Wet Hands to Form Burger Patties — A bit of dampness at the start will keep your hands from getting sticky. It also allows the meat to come together faster and prevents overhandling.
- Make Burger Patties With a Dimple In the Center — Divide the meat into equal portions and form patties about ¾-inch thick at the edges and ½-inch thick in the center. The burgers will shrink and pull in as they cook. The dimple will even out as the burgers cook. When the burger is done, the patty will be more even-shaped.
- All you need is salt and pepper — good burgers do not need special seasonings. Maybe some Montreal Steak Seasoning, which is pretty good. But if you really want to taste the beef, how you prepare the meat is the key to a great-tasting burger.
Step 3: Keep ‘Em Cold!
Put the patties in the refrigerator while the grill heats up. This helps more of the flavor-carrying fat stay in the meat. Unlike other meats that will cook up better if brought to room temperature before grilling, keep your patties cold. This will help them stay together and it will keep them juicy.
Step 4: A Clean Grate.
Start with a clean cooking grate. Bits of debris encourages sticking as well as un-oiled surfaces and too low a temperature. You want your burgers to sizzle immediately, firm up quickly, and release from the grill.
Step 5: You need a hot grill or skillet.
You want to keep your grill at a steady high heat. Hold your hand a few inches away from the grate for 2-3 seconds to check for consistent heat.
Key Factors For A Hot Grill:
- CHARCOAL: You want ash-covered coals to produce even heat.
- GAS: Keep the lid down while cooking
Step 6: Handling your meat properly.
- Flip Burgers Once and Only Once! Constant turning will toughen and dry out meat; if you flip too soon, your burgers will stick. Cook 2 minutes per side for rare, 3 for medium-rare, 4 for medium, and 5 for well-done.
- Don’t Press Burgers While Cooking! This is an all too common mistake when grilling burgers. When a cook mashes down on the burger with a spatula, the juice pours onto the flame, taking all that moistness and flavor with it. JUST DON’T DO IT!
- Add Butter for Extra Flavor! While grilling, top the burger patties with a slice of butter. Butter makes them richer.
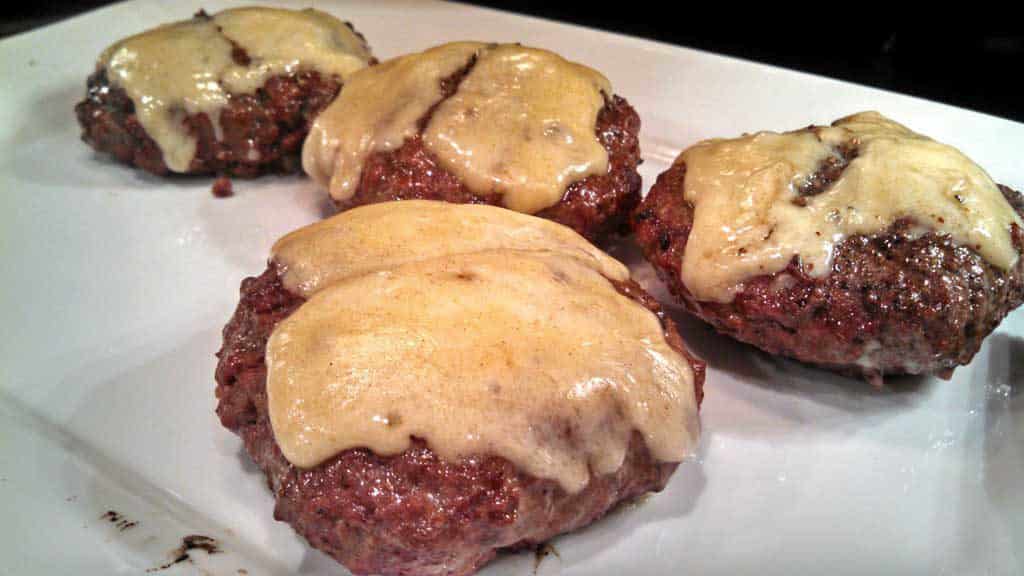
Step 7: Cheese them babies and toast those buns.
If you are making cheeseburgers, add your chosen cheese 2 minutes before the burger is done. David loves adding Sharp Cheddar and Swiss cheese to our burgers for maximum cheesiness.
When the burgers are topped with cheese, now is the perfect time to toast the burger buns. Toasting the buns not only brings out the flavor of the hamburger buns but also gives them a firmer structure and helps prevent them from absorbing too much moisture.
Types of Hamburger Buns:
Traditional plain or sesame seed buns, brioche buns, and potato buns. All are perfect for sandwiching your burger patties.
Step 8: A rested burger is a juicy burger.
Allowing the burgers to rest allows the meat to finish cooking and gives the juices time to redistribute throughout the patty for maximum juiciness. 5 to 10 minutes will make a difference.
Step 9: Lettuce should not be a topping.
When building your burger, put the lettuce on the bottom underneath it. This will prevent the greasy goodness from the burger from saturating your bun, help keep it together longer, and make eating it a little less messy. Trust me, IT WORKS!
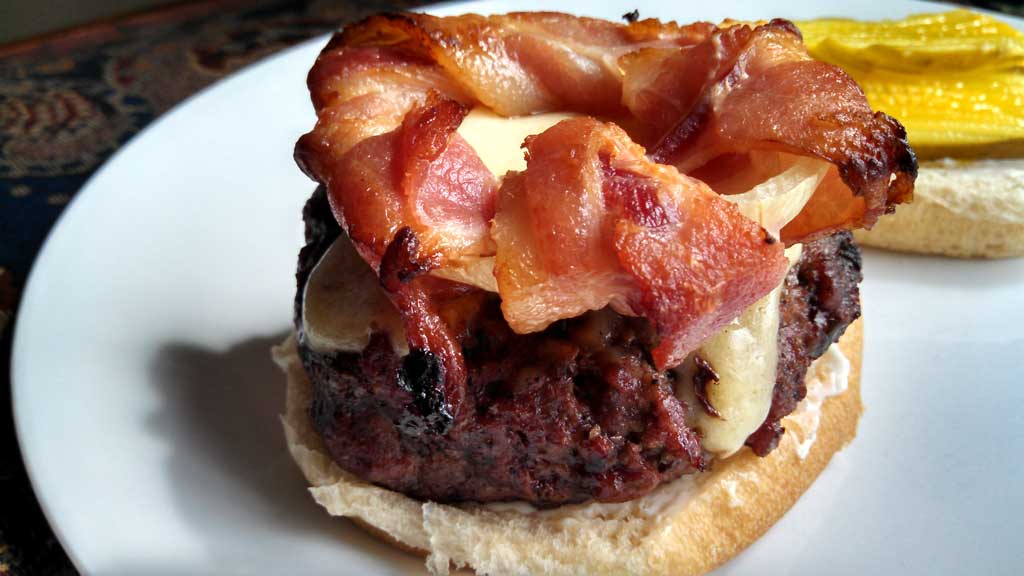
Step 10: Crown your burgers with bacon.
We always top our burgers with bacon, but ever since I made those first Bacon Onion Burger Crowns to top ordinary cheeseburgers, it has become a staple when making burgers. It is an onion with bacon wrapped around it.
Click HERE to learn how to make bacon onion burger crowns for your burgers.
Hamburger Toppings
Don’t put on that top bun yet! We need to talk about the traditional toppings for hamburgers.
Condiments:
- Ketchup
- Mayonnaise
- Mustard
- Aioli
- Classic BBQ Sauce
Toppings:
- Lettuce – iceberg lettuce, romaine or curly
- Tomato
- Onions – red onions are my favorite!
- Pickles – sweet pickles or dill pickles
- Candied Jalapenos
BONUS: Adorn your burger with a crown!
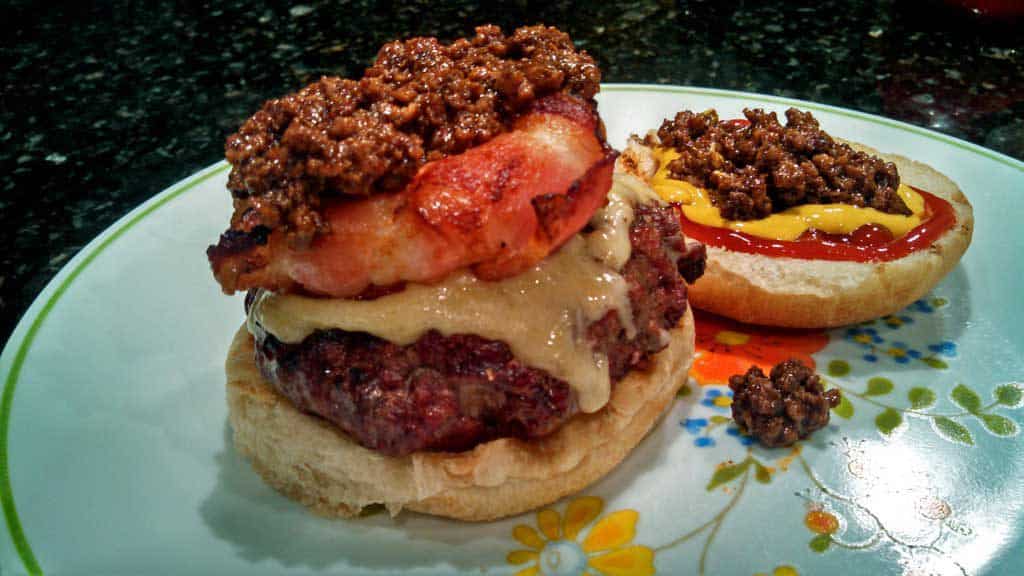
After making your crowns, you’ll have a nice halo of bacony goodness for your toppings.
- Chili — David makes a really nice beef chili using ground beef, chili powder, ketchup, a wee bit of mustard, and a splash of Worcestershire Sauce.
(Sorry, folks. We haven’t worked this out to precise measurement yet. Stay tuned…)
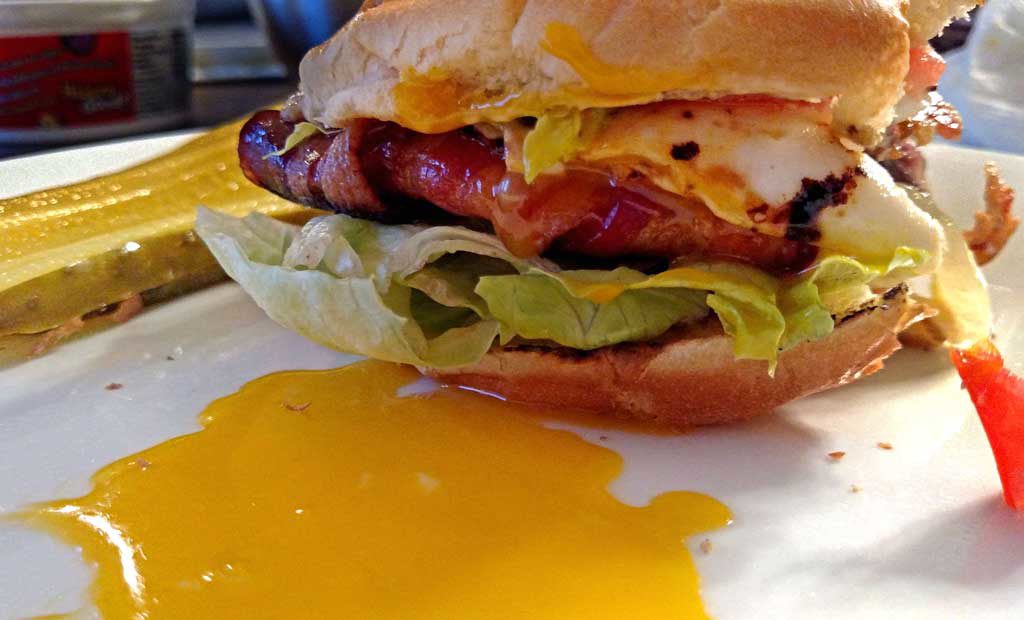
- Fried Egg – If you have never tried a fried egg on your cheeseburger. YOU HAVE TO!! I first tried a fried egg on my burger at Red Robin. The creamy yolk oozed into the juicy meat and cheese, encompassing it into this little package of heaven inside your mouth.
- If you decide to top your hamburger with an egg, fry the egg while your burger rests. It doesn’t take long to fry an egg; once you’ve tried it, you will understand the euphoria this adornment can give you. TRY IT!
We hope our guide on how to build a hamburger will help your burger game.
So what are you waiting for? GET GRILLING!







Dor says
Now I can’t wait for a hamburger! Never knew about dimpling and/or not mashing down on ’em. This is a very valuable post! Thanks for sharing. 🙂
The Mountain Kitchen says
Dor, follow these 10 steps to hamburger bliss. You’ll never want to eat out again! 😉
Sandra Robichaux says
Thanks for the tips. Is an egg useful in making hamburgers to hold them together?
The Mountain Kitchen says
Hi Sandra,
We do not recommend it, but it is a matter of personal preference. The key to keeping the burger together is less handling and a good sear!
Debbie
Colleen says
Double the bacon and I’m in!!!
The Mountain Kitchen says
Good thinking!!!! 🙂