Learn how to make smoked pulled pork with this easy recipe. A crowd-pleasing main course for any BBQ, party, or just a hearty meal at home.
Ahhhh, there’s nothing quite like tender, juicy pulled pork cooked low and slow kissed with smoke. Not to mention, it can feed a large crowd of folks.
You know, It’s kind of funny; smoked pulled pork is so good, but really, there’s nothing fancy about it. It’s not even hard to do. It’s basically pork, spice rub, wood smoke, and heat from your grill or smoker. However, if you’ve never smoked a big chunk of pork, it can be a little intimidating. But we’re here to help you master this recipe!
There are lots of ways to make pulled pork. In this post, we will guide you through the difference between pork shoulder and Boston butt, the grill setup, the best wood for smoking a pork butt, the pork rub, how to smoke the pork, and troubleshooting tips and tricks to make the best smoked pulled pork you’ve ever had… maybe even better than you’re favorite BBQ restaurant!
Selecting the Meat – Pork Butt vs. Pork Shoulder
When it comes to pulled pork, you need some meat with nice fat marbling running through the meat. The two most popular cuts of pork are the pork butt (Boston Butt) and the pork shoulder.
Everyone seems to have their opinion of which is best for pulled pork. Both are relatively cheap cuts of meat and unlike brisket or ribs, pulled pork is pretty forgiving when cooked on the grill. If you cook it to temperature, it may be a little tough but still good. Alternatively, if you overcook it, it’s even better!
David and I wrote a post as to which one we think is better called: “Pork Shoulder vs Pork Butt – Which Is Better?” you can read more about it to help you decide which cut of pork you’d like to purchase.
Pulled Pork Serving Calculator
Plan ⅓ to ½ pounds of pulled pork per guest. It’s better to cook and send your guests home with leftovers than not have enough. Typically, a five-pound pork butt will yield about three pounds of meat. Use the chart below to plan your meal.
| Pork Butt (5 Pound Raw Weight) | Number of Servings (⅓ pound per person) | Number of Servings (½ pound per person) |
| 1 | 9 | 6 |
| 2 | 18 | 12 |
| 3 | 27 | 18 |
| 4 | 32 | 24 |
Things to keep in mind when figuring out how much pork to cook:
- Expect a 50-70% yield for pork butt. The yield goes down the more you trim the meat and the longer you cook it.
- Every piece of meat is different, so your results may vary.
- Always cook more than the estimated amount to account for big eaters and leftovers.
Ingredients Needed For Smoked Pulled Pork
There are only two main ingredients to making delicious smoked pulled pork: the meat, and barbecue rub.
The Meat: look for a 6-10 pound pork butt or pork shoulder
Dry Rub: We make our own all-purpose pork dry rub (see recipe card below). However, use your favorite pork dry rub.
Best Wood For Smoking Pulled Pork
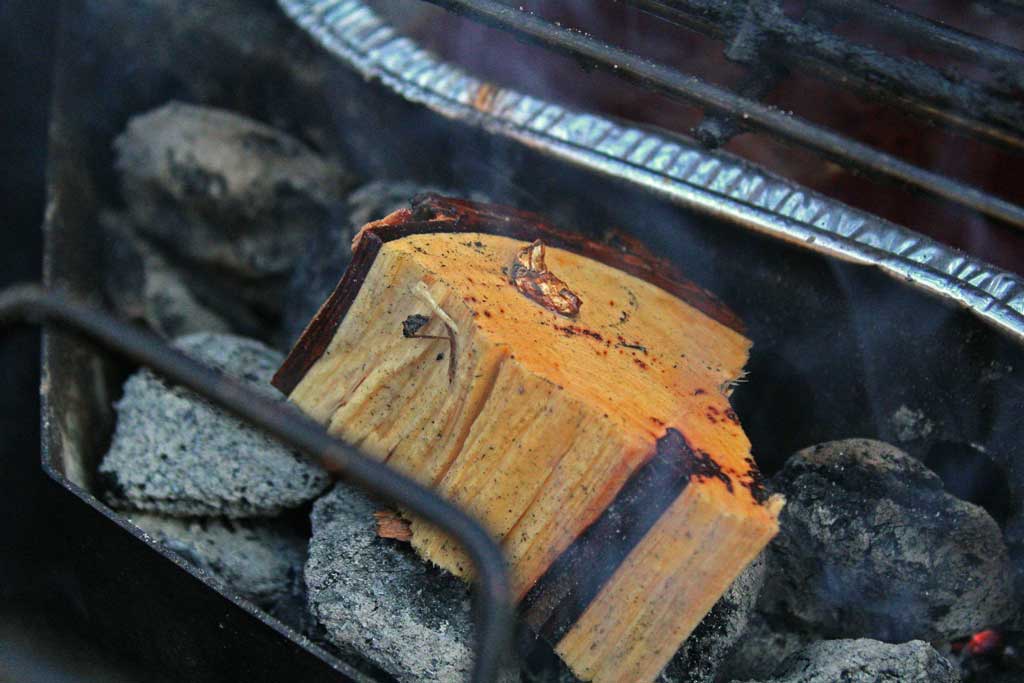
Hickory wood is David’s go-to wood smoke for smoking pork, but any fruit wood offers a nice flavor. Some popular choices include oak, cherry, applewood, and pecan. Each wood offers a unique flavor profile to your barbecue. Experiment to find out what wood smoke flavor is your favorite.

How To Smoke Pulled Pork
Here’s a brief summary of the steps we take to make smoked pulled pork. We’ll cover some of the steps in more detail later, so keep reading. The recipe card at the end of this post provides detailed instructions with times and temperatures.
- Score the Fat: Scoring the fat helps give the meat more flavor. Keep reading to find out how!
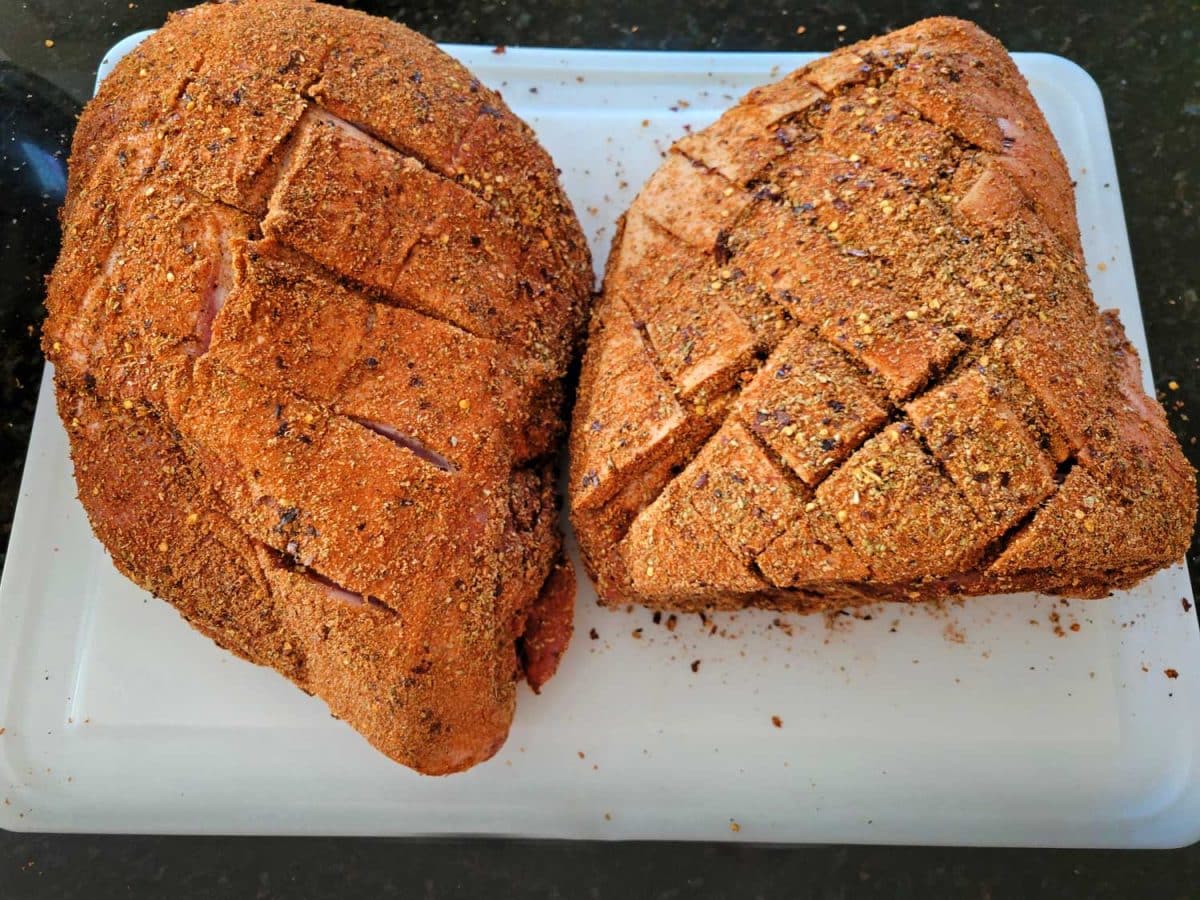
- Rub: The dry rub forms the delicious crust on the outside of the meat and adds amazing flavor to your meat. Rub an even layer of pork dry rub all over the pork.
- Smoke:
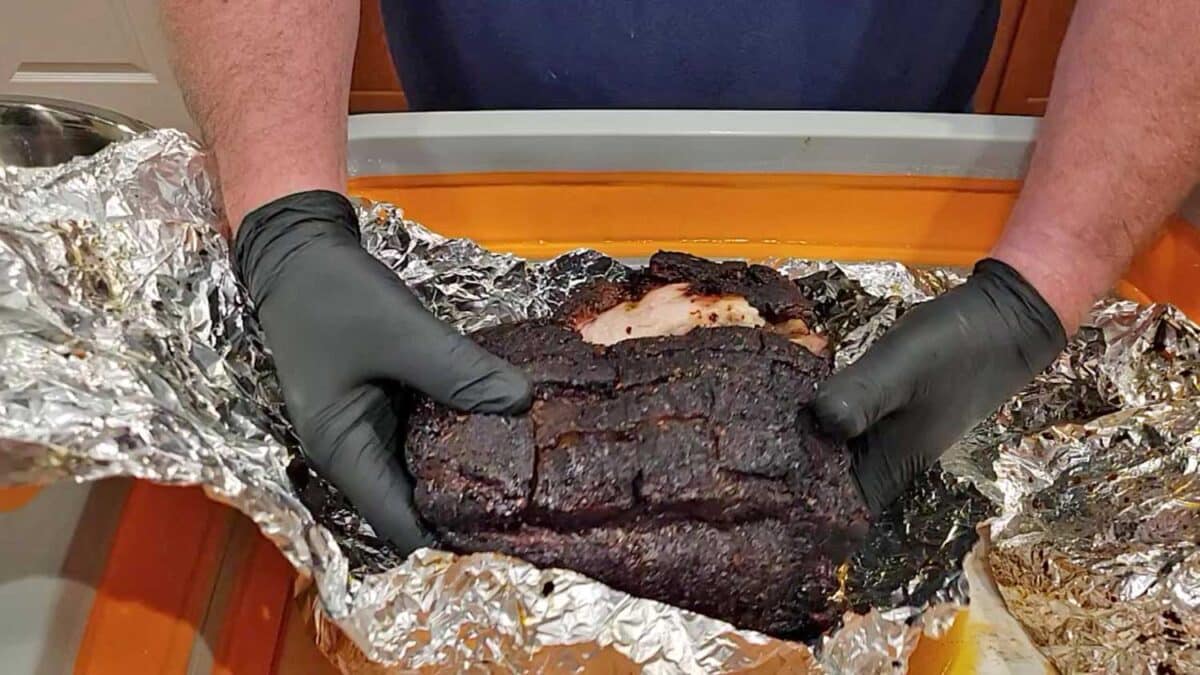
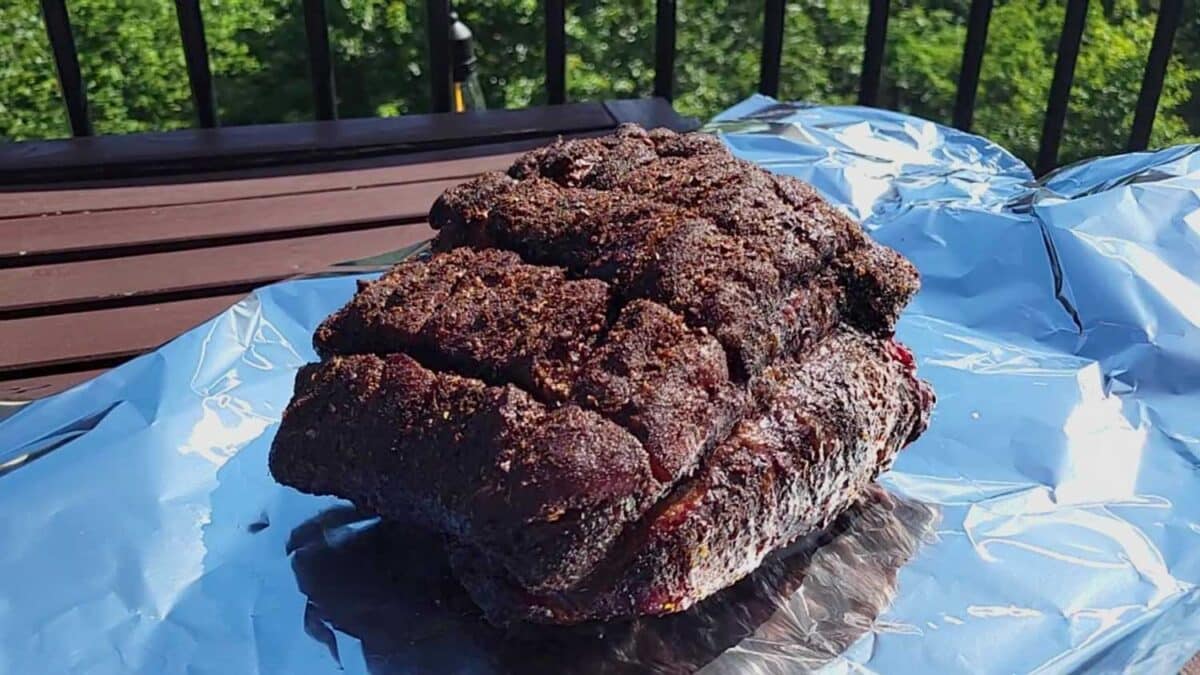
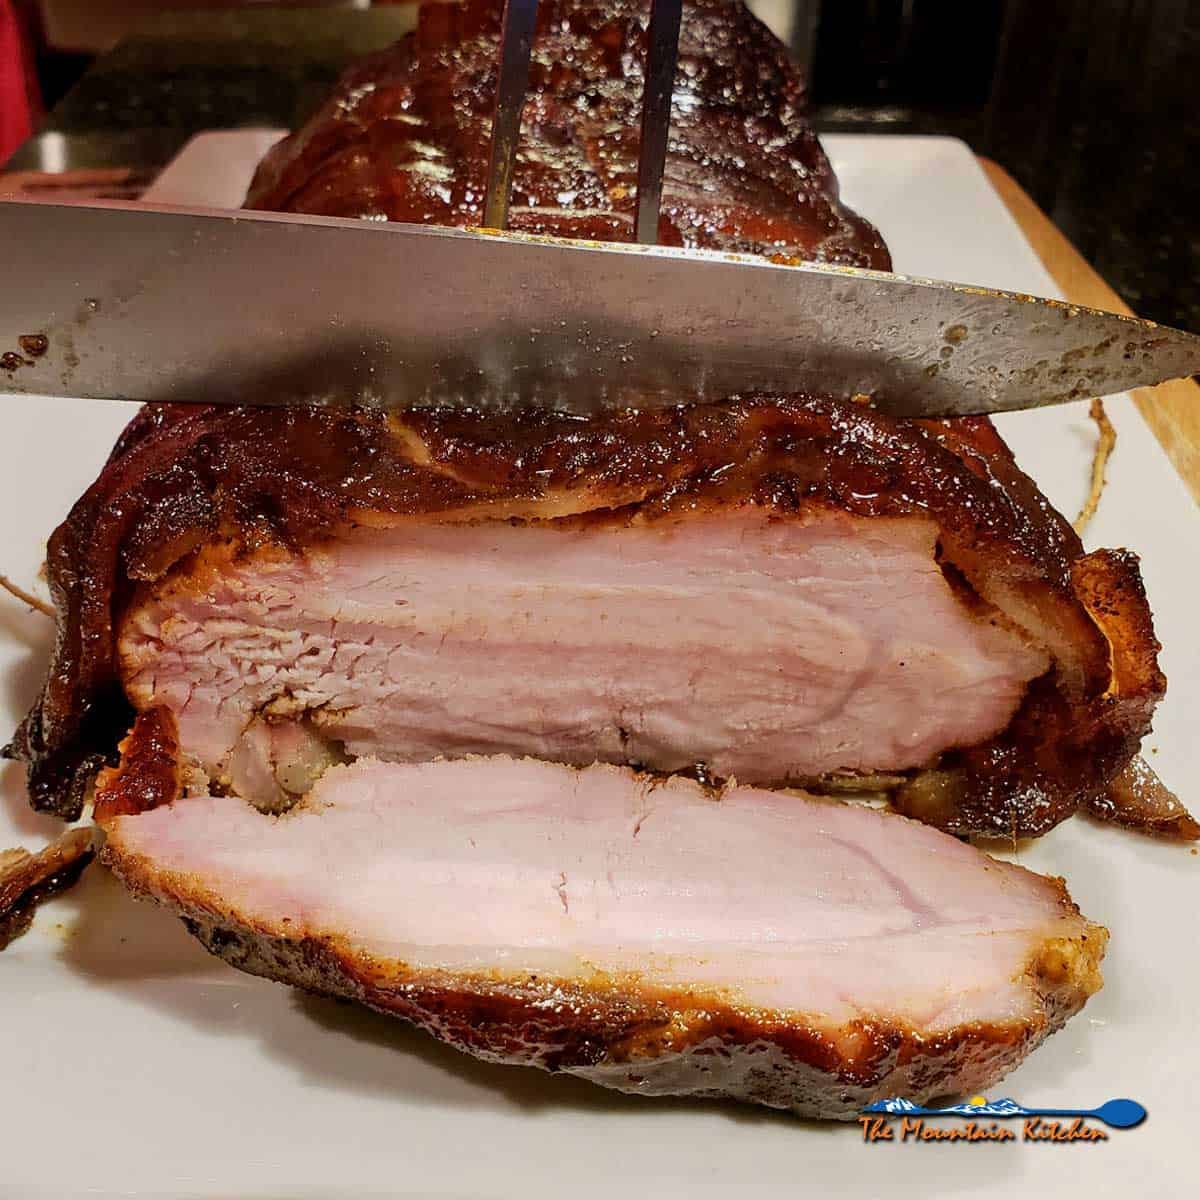
- Wrap: Smoke the pork until the meat forms a bark (outside crust) that is mahogany in color and not black (around 160-170 degrees / 6-7 hours).
- Raise the Heat: Continue to cook at 300 degrees until you reach the ideal temperature of 195-205 degrees F.
- Rest: Resting (or Holding) helps tenderize the roast by allowing some carryover cooking, which helps melt tough connective tissue. The foil captures the natural au jus, and resting allows the surface parts that have dried out during cooking to absorb some of the juice. Leave the meat wrapped and place it inside a cooler or in a pan inside an UNHEATED oven for 1 hour.
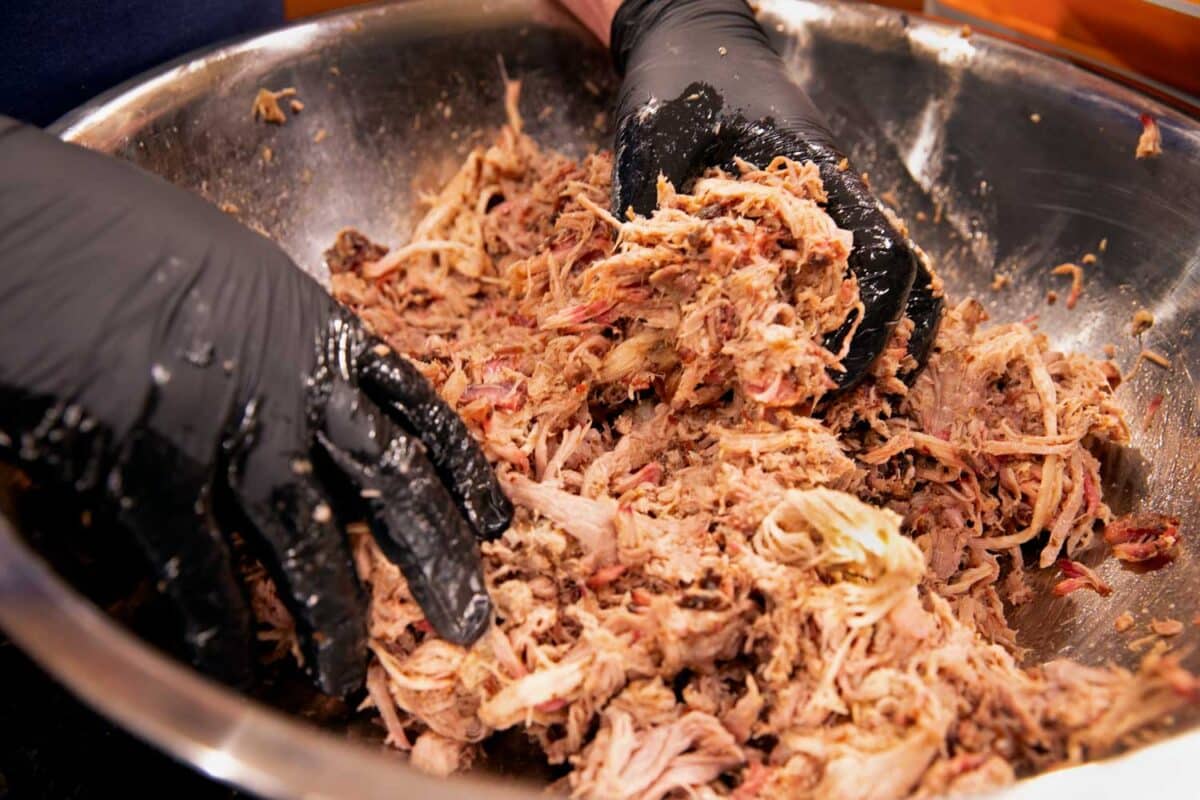
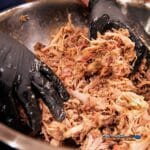
- Shred and Serve: The meat should be so tender that it nearly falls apart on its own. Use your hands with insulated gloves or meat claws like this.
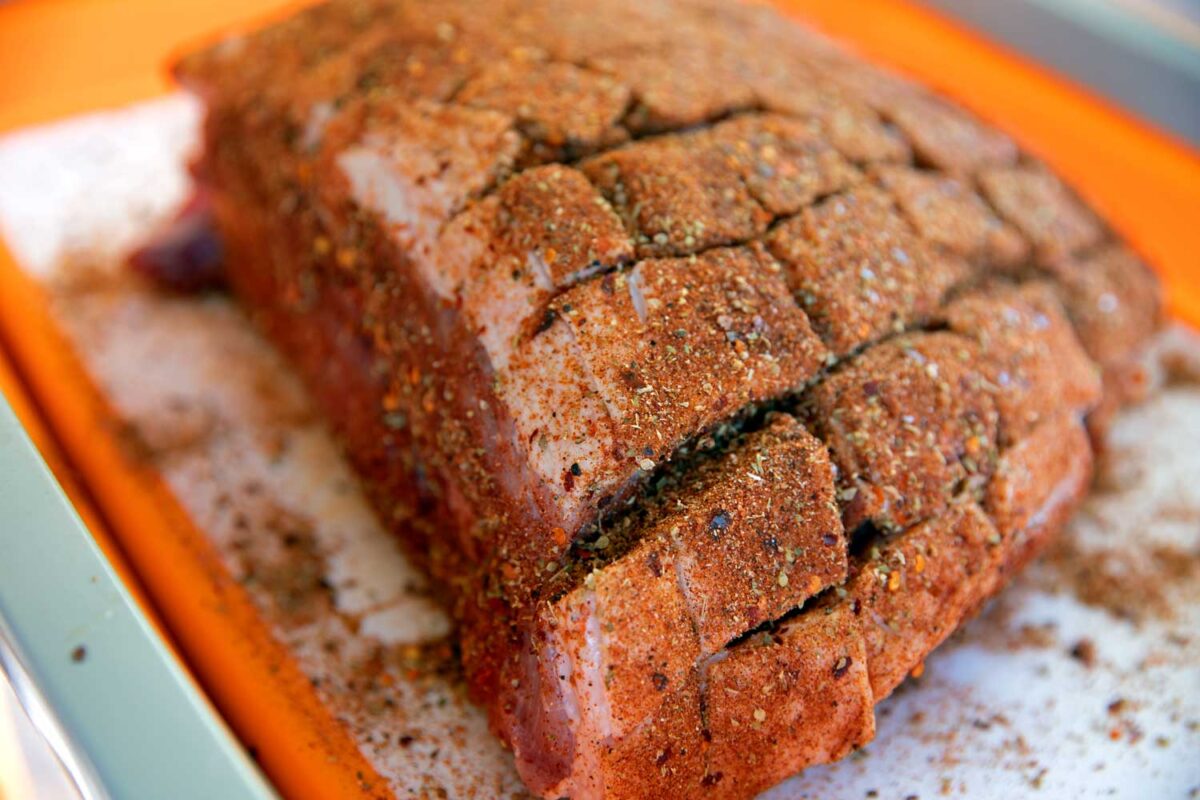
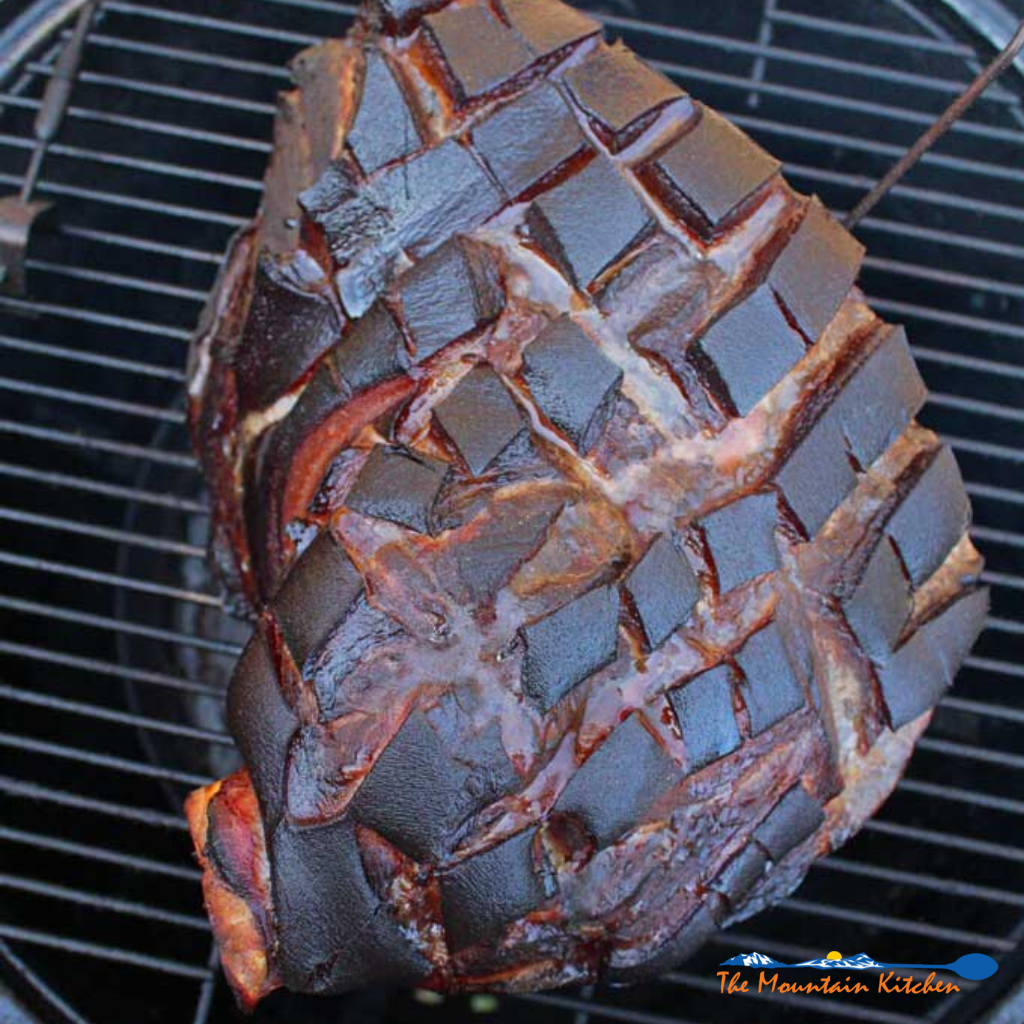
Scoring the Fat Cap
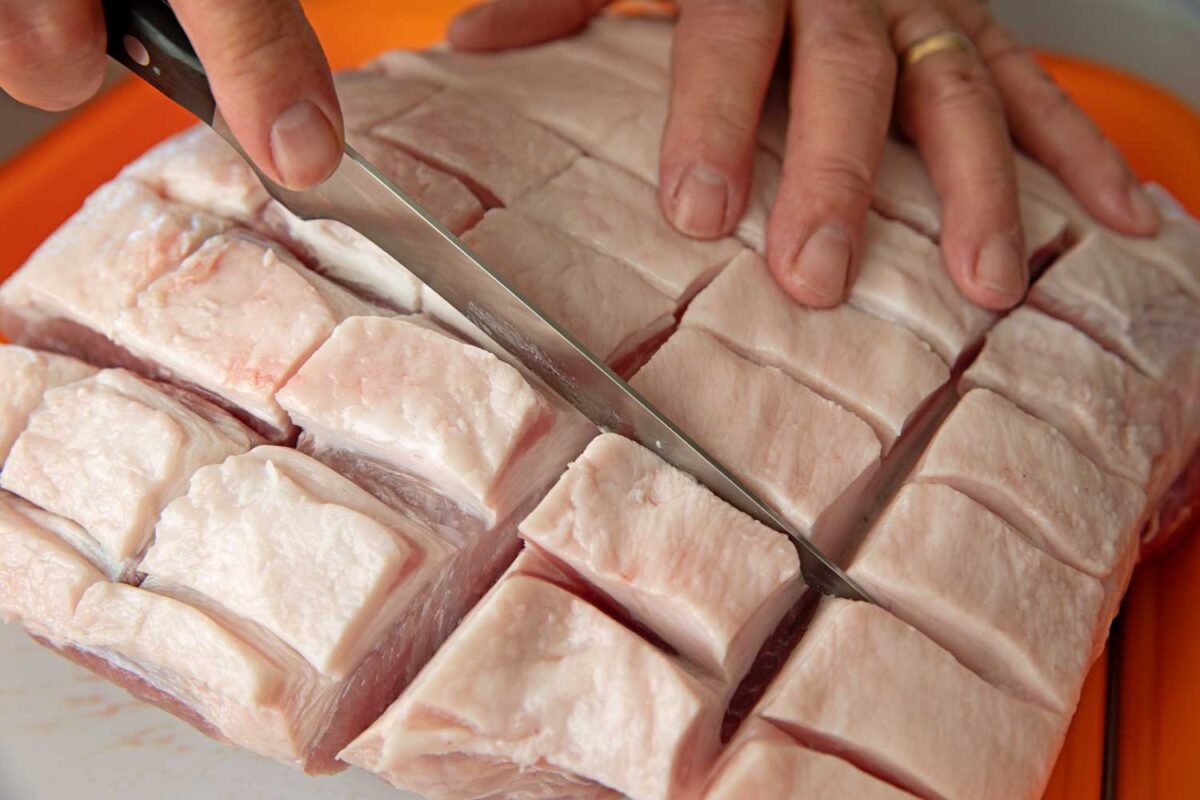
David always scores the skin and fat cap of the pork rather than trimming. Scoring meat is a culinary term that means cutting slits on the surface of the food. Scoring helps the smoke and seasoning penetrate the meat better, allowing the fat to render when smoked.
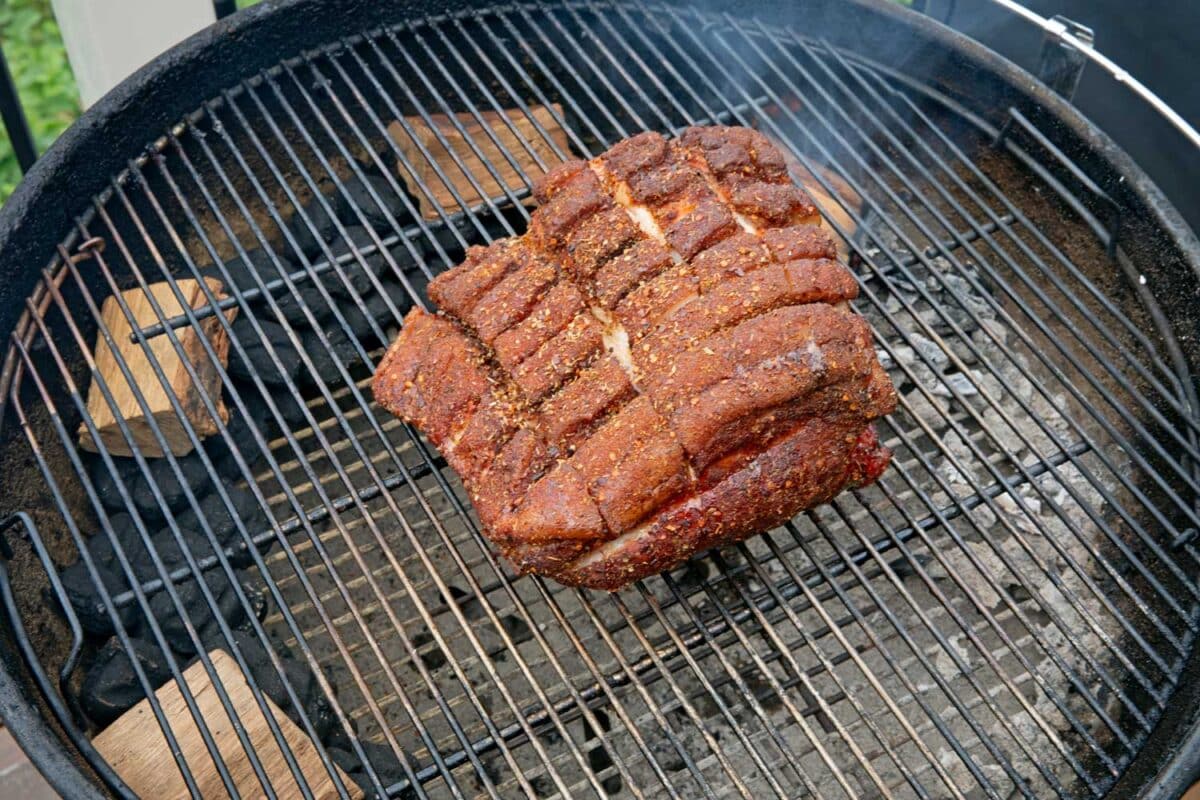
Score the skin side of the pork butt or shoulder by following the steps below:
- Use a sharp knife to make diagonal cuts approximately 1-2 inches apart across the skin of the shoulder. Allow the knife to penetrate the skin and fat without slicing into the meat below.
- Turn the meat 90 degrees and make a crosshatch score across the skin in the opposite direction. (see the photo above)
How To Smoke Pulled Pork On a Charcoal Grill
Prepare the grill or smoker for indirect heat and preheat it to a smoking temperature between 225 and 250 degrees F.
For long cooks, David loves using the snake method (also known as the fuse method) when using the Weber kettle. It’s easy to control and practically maintains a consistent heat without having to tend the grill.
To cook using the snake method, lay a chain of charcoal in a half-circle along the outer edge of the grill. There should be three layers, with two charcoals on the bottom and one on top. Place a chunk of hickory wood every few inches along the top of the “snake.”
Turn the charcoal chimney upside down and light only a small handful of charcoal. When the charcoals are hot, you just drop the lit coals onto one end of the “snake” to start the cook.
When the coals are ready to cook, place the pork butt on the hot grate, fat (scored) side up. Close the lid and bring the temperature back up between 225-250 degrees F, using the vents to regulate the temperature.
What Temperature is Smoked Pulled Pork Done?
Pork shreds at 195-205 degrees F. If your pork roast does not reach this temperature range, it will not shred and will have to be chopped.
How Long Does It Take To Smoke Pork For Pulled Pork?
It’s more important to concentrate on the temperature of your meat than the time it takes to get there. Keep in mind there are many variables that determine when your pork. Smoking an 8-10 pork butt can take anywhere from 8-16+ hours, depending on what temperature you run your grill or smoker.
With your grill or smoker running steadily between 225 and 250 degrees F, plan on about 1 ½ to 2 hours per pound of pork. However, if you wrap it after you get the color bark you want, you can stoke up the heat and get the pork done a lot faster.
For example, David wrapped his 8-pound pork roast at about 160-170 degrees F and cooked it over indirect heat at 300 degrees F for the remainder of the cook. Using this method, he cooked the pork up to 190-195 degrees F for 8 hours (but pulled it early because he had a date).
How To Use Smoked Pulled Pork
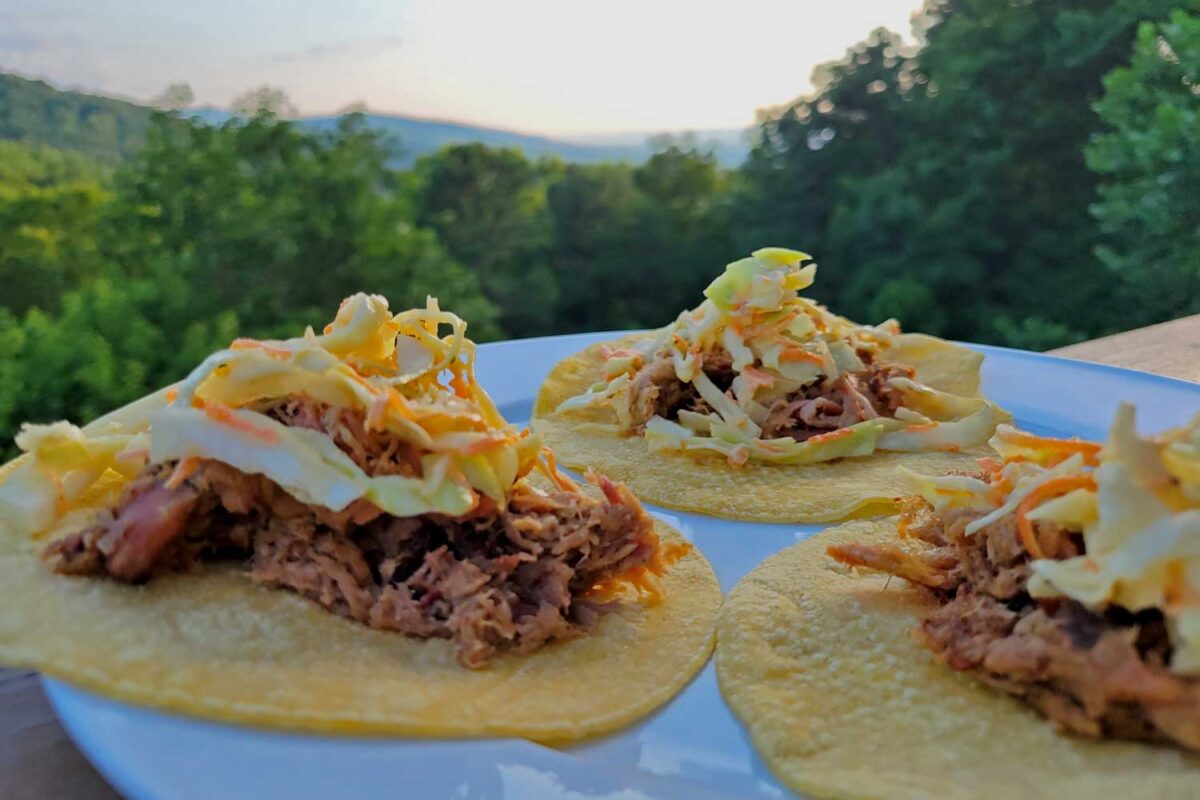
There are so many ways to use smoked pulled pork. Piling it up on a bun with some crunchy coleslaw is our favorite way to enjoy pulled pork. Here are some other ways to use smoked pulled pork:
- Tacos with cheese and jalapenos (and/or leftover slaw)
- Nachos
- Burritos
- Soups
- Stews
- Chili
- Salads
- Wraps
- Pizza
- Cuban sandwiches
- Mac and Cheese
Tips and Troubleshooting Smoked Pulled Pork
We’ve smoked lots of pork butts. Here are some of our tips and tricks for making smoked pulled pork.
Should I Use A Binder?
A binder helps the barbecue dry rub adhere to the meat better. If the rub doesn’t stick to the meat, use a binder, such as yellow mustard, to rub evenly over the meat so that the dry rub sticks.
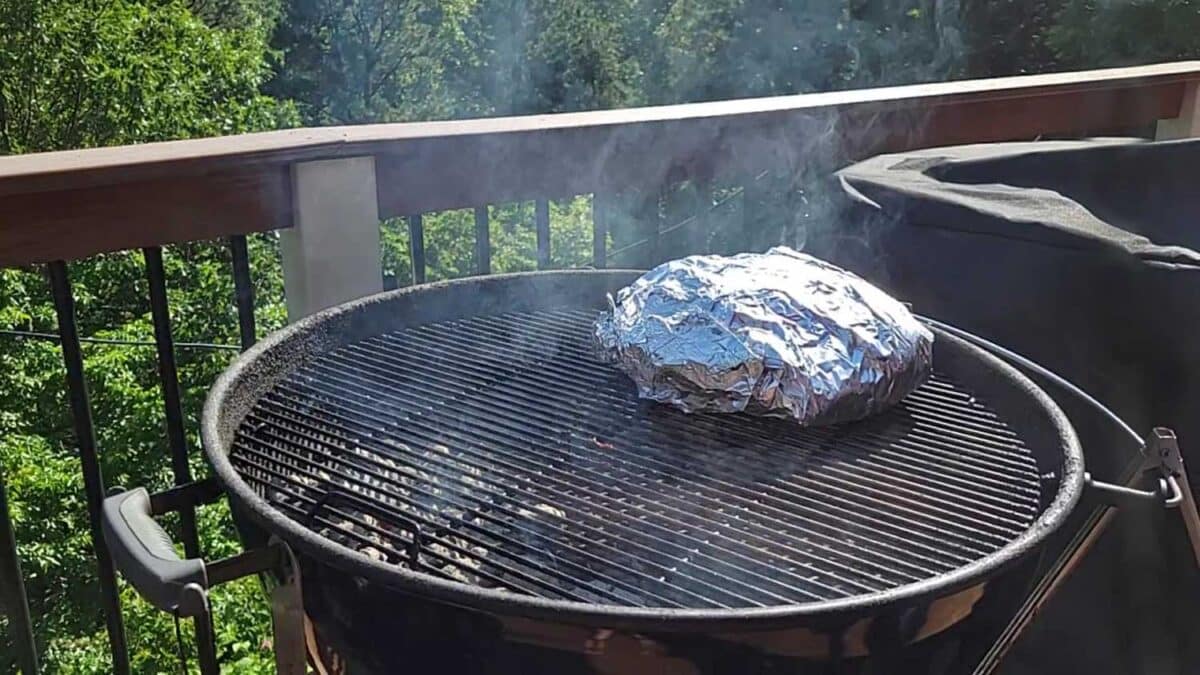
Wrapping The Pork Butt (Speeds Up the Cook Time)
Wrapping the meat will prevent it from taking on any more smoke flavor. It also allows you to stoke up the heat to finish the cook faster and helps with tenderness. It’s a really good way to get past the “stall” when the meat doesn’t rise past 145-165 degrees F for a long period of time. A meat stall is perfectly normal and can happen when smoking pork or beef.
Fat Side Up or Down?
David always smokes the meat fat side up. The fat slowly melts and bastes the meat naturally. If you are concerned about too much heat from the bottom of your grill or smoker, perhaps you should consider smoking your pork fat cap down so the meat is protected with a fatty barrier.
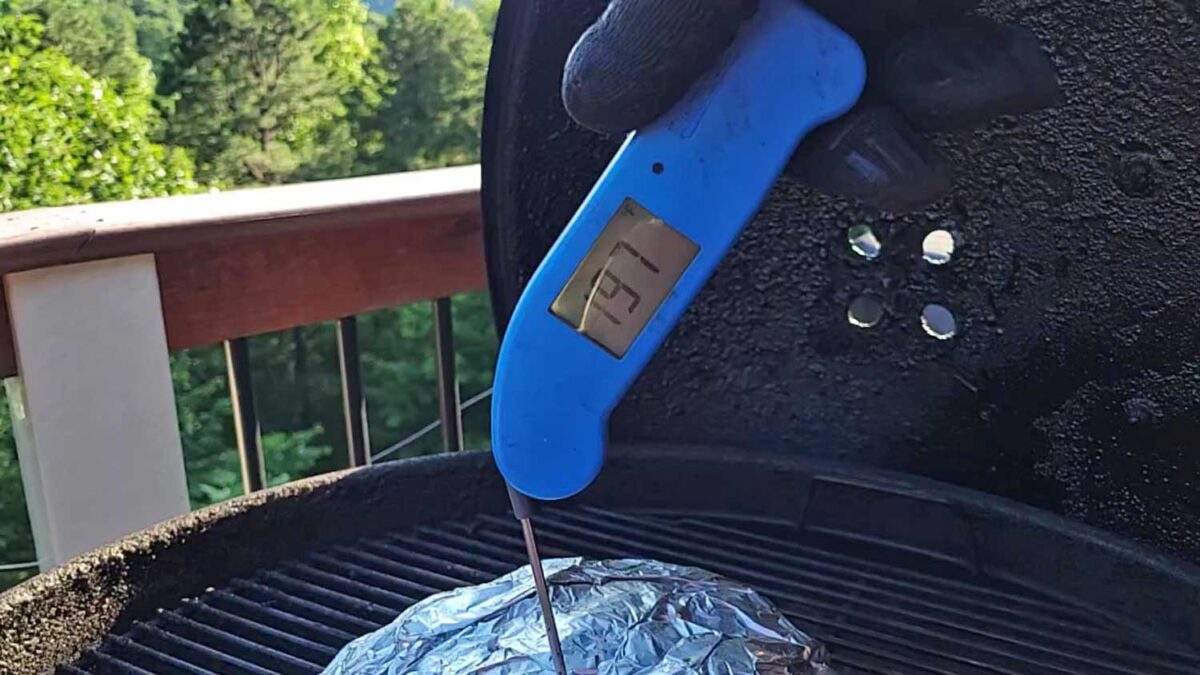
Probe Thermometer and Instant-Read Thermometer
Probe Thermometer: Use a probe thermometer to help monitor the temperature of your pit and meat. We love our Thermoworks Smoke, which monitors both the grill or smoker temperature and the meat temperature. Learn more HERE!
Instant Read Thermometer: A digital instant-read thermometer can take the internal temperature of the meat in various places to ensure the pork cooks consistently on all sides. This will help monitor any hot spots that can cause uneven cooking. We use a ThermapenOne from Thermoworks like this one.
How to Freeze Smoked Pulled Pork
David and I love to cook, but sometimes we get lazy. We’re always excited to have packages of smoked pulled pork in the freezer to enjoy anytime we don’t feel like cooking! Surprisingly, leftover pulled pork freezes remarkably well!
Place the pork inside a freezer bag or use a vacuum sealer. Freeze for up to 6 months. Follow these tips to freeze packages of pulled pork:
- Allow the pork to cool completely before freezing. We recommend waiting for the pork to cool in the fridge overnight to prevent freezer burn. Warm meat will steam, causing moisture to be inside the bag. Ice crystals form on the meat, which can cause freezer burn and ruin the flavor of the pork you worked so hard for.
- Use freezer-safe bags or freezer-rated vacuum sealer material.
- We use pint-size freezer bags. They hold about a pound, and the pork can be smashed flat, which makes defrosting a breeze!
- Press the pork out flat inside the bag, pressing out as much air as possible.
Reheating Smoked Pulled Pork
Slow Method: Remove the bag from the freezer and place it inside the fridge for 24 hours.
Quick Method: Rip the frozen bag off the pork. Place the chunk of frozen pork in a skillet and cover with a lid over medium-low heat. Simmer covered, flipping the pork every 5-10 minutes until it begins to break apart on its own. Continue to simmer until the pork is fully reheated, about 20-30 minutes.
- There should be enough moisture to cause the pork to steam within the skillet, heating the pulled pork up and keeping it tender and juicy without drying it out. If it seems too dry, you can add a tablespoon of water to help generate more steam.
Are you making this recipe? We’d love to hear your feedback. Please leave us a comment and a star rating below. We really appreciate it!
See ya on the mountain!

Smoked Pulled Pork
Useful Equipment:
- Charcoal grill
- Hickory Wood Chunks
- Charcoal
- Heavy-Duty Aluminum Foil
- Pink butcher paper
Ingredients
- 6-10 pound Boston Butt pork butt
- ½ cup All-Purpose Dry Rub any pork dry rub of choice
Spicy Dry Rub
- ¼ cup brown sugar
- ¼ cup paprika
- 4 teaspoons black pepper
- 4 teaspoons sea salt
- 4 teaspoons garlic powder
- 4 teaspoons onion powder
- 2 teaspoons cayenne pepper
- 2 tablespoons oregano
- 1 tablespoon cumin
- 2 tablespoons red pepper flakes
Instructions
Prepare the pork butt or shoulder
- Score the skin side using a sharp knife to make diagonal cuts approximately 1-2 inches apart across the skin of the shoulder. The knife should penetrate the skin and fat without slicing into the meat below.
- Turn the meat 90 degrees and make a crosshatch score across the skin in the opposite direction.
- Season the meat on all sides, top and bottom, with the homemade spicy dry rub. (use mustard to coat the meat if the dry rub does not adhere)
Prepare the Charcoal Grill or Smoker
- To cook using the snake method, lay a chain of charcoal in a half-circle along the outer edge of the grill. There should be three layers, with two charcoals on the bottom and one on top. Place a chunk of hickory wood every few inches along the top of the “snake.”
- Turn the charcoal chimney upside down and light only a small handful of charcoal. When the charcoals are hot, you just drop the lit coals onto one end of the “snake” to start the cook.
Smoking The Pork Butt or Shoulder
- When the coals are ready to cook, place the seasoned pork roast, fat (scored) side up, in the middle of the hot grate, away from the direct heat of the coals. Close the lid and bring the temperature back up to 225 degrees F, using the vents to regulate the temperature.
- Smoke the pork until the meat forms a bark (outside crust) and has a mahogany color and not black (around 160-170 degrees / 6-7 hours). Remove the meat from the grill and wrap it in heavy-duty aluminum foil or pink butcher paper.
Crank up the Heat
- Light some more coals and turn out on one side, leaving the other side cool. Return the wrapped pork butt back to the grill. Continue cooking the pork butt at 300 degrees F until the internal temperature of the meat is 195-200 degrees F. This can take anywhere from 6-12+ hours, depending on the size of the pork butt and how consistent the heat of your grill or smoker is.
Rest The Pork Butt
- Remove the meat from the offset smoker. Leave the pork wrapped tightly in the foil or butcher paper, wrap it in a clean towel, and place it inside a cooler to rest for at least 1 hour.
Shred and Serve
- Pull apart the pork butt, discarding the bone and any chunks of skin, fat, and gristle. Sprinkle with more barbecue rub or your favorite barbecue sauce, and enjoy!
Notes
- If the rub doesn’t stick to the meat, use a binder, such as yellow mustard, to rub evenly over the meat so that the dry rub sticks.
- Wrapping the pork butt speeds up the cooking time, prevents it from taking on any more smoke flavor, and helps with tenderness. It’s a really good way to get past the “stall” when the meat doesn’t rise past 145-165 degrees F for a long period of time.
- Smoke the pork fat side up so that the fat slowly melts and bastes the meat naturally. If you are concerned about too much heat from the bottom of your grill or smoker, perhaps you should consider smoking your pork fat cap down so the meat is protected with a fatty barrier.
- Place the pork inside a freezer bag or use a vacuum sealer. Freeze for up to 6 months.
- Allow the pork to cool completely before freezing. We recommend waiting for the pork to cool in the fridge overnight to prevent freezer burn. Warm meat will steam, causing moisture to be inside the bag. Ice crystals form on the meat, which can cause freezer burn and ruin the flavor of the pork you worked so hard for.
- Use freezer-safe bags or freezer-rated vacuum sealer material.
- We use pint-size freezer bags. They hold about a pound, and the pork can be smashed flat, which makes defrosting a breeze!
- Press the pork out flat inside the bag, pressing out as much air as possible.
- There should be enough moisture to cause the pork to steam within the skillet, heating the pulled pork up and keeping it tender and juicy without drying it out. If it seems too dry, you can add a tablespoon of water to help generate more steam.


Leave a Reply