
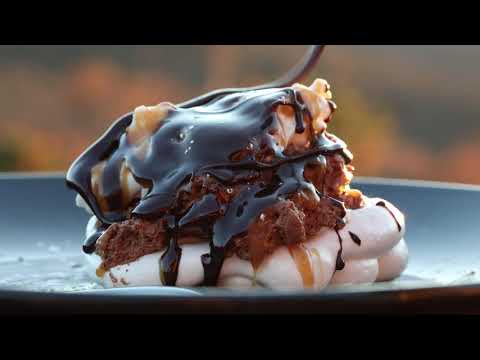
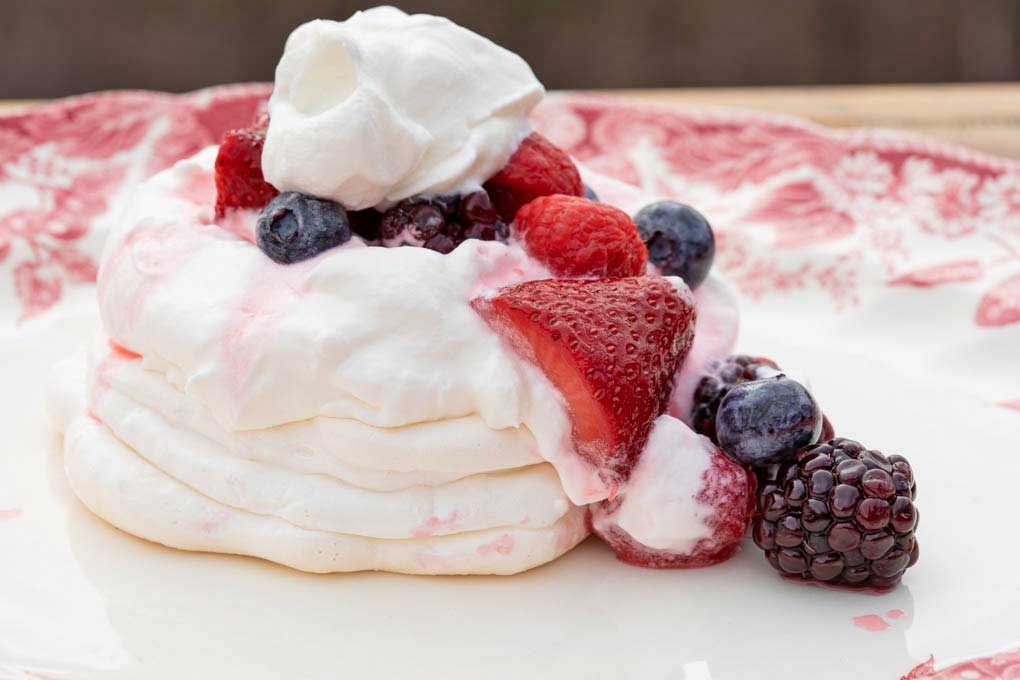
Imagine a pillowy marshmallow cloud with crispy edges and a soft creamy center with rich, velvety-smooth chocolate mousse nestled on top. Or how about that same pillowy cloud topped with sweetened whipped cream and a juicy variety of fresh berries. This my friends is pavlova!
Wait, a what?!?
Pavlova.
As you can imagine, David and I were wondering the same thing the first time we had pavlova at a local restaurant in our hometown of Front Royal, Virginia.
That night at the restaurant our service was not up to par. We waited an extremely long time each time our server left our table. I guess they were super busy that night. We didn’t complain, but it was obvious we were annoyed when we started to track down our waitress.
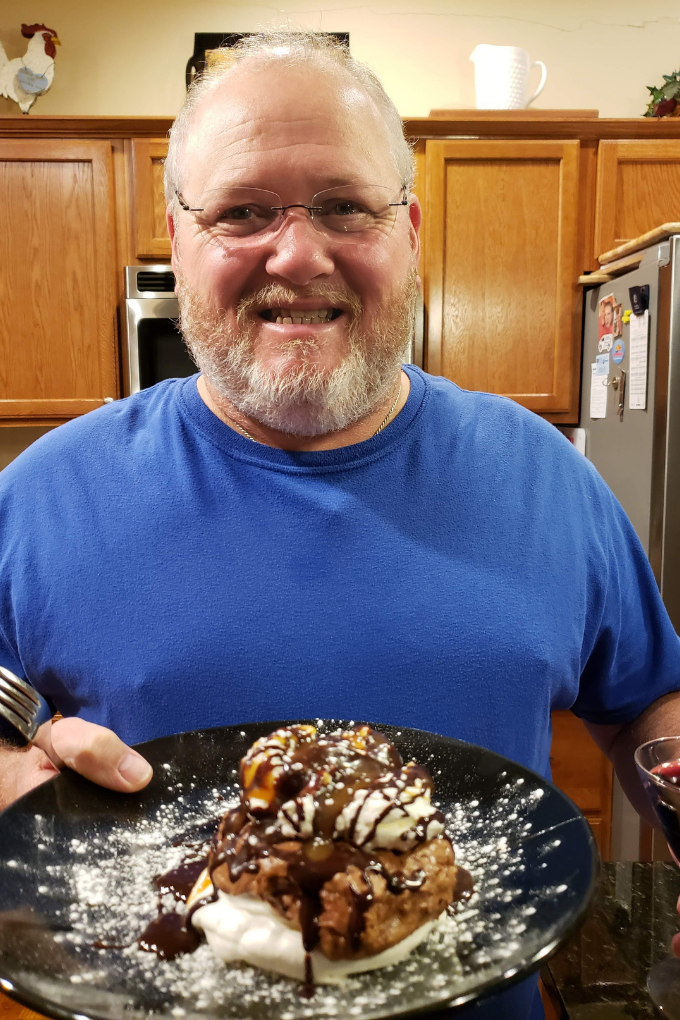
To make up for it, the restaurant owner sent dessert to our table, on the house! Within minutes a most magnificent dessert we may have ever seen was placed on the table in front of us. We stared at it in amazement for a moment. It was all I could do to keep David and all his sweet teeth from diving headfirst into it before I could get a picture. We scarfed the pavlova down in just minutes and have never looked at dessert the same since that night.
What is Pavlova?
Pavlova is an impressive, beautiful, and elegant meringue dessert that can be served from everything from a romantic dinner for two or a dinner party. This meringue cake has a delicate crispy crust on the outside with a chewy soft creamy center piled high with whipped cream, and fresh berries, chocolate mousse, or even lemon curd, all of which make this an amazingly natural gluten-free dessert.
Despite the controversial debate, Pavlova was first created in either New Zealand or Australia. It was named “Pavlova” in honor of the Russian ballerina, Anna Pavlova, who toured throughout New Zealand and Australia in the early 1900s.
What Ingredients Are Needed?
You only need 5 ingredients, all of which you probably already have in your refrigerator or kitchen pantry. They are:
- Egg whites – the base.
- Sugar – to sweeten the egg whites but also sugar is essential because it is what helps keep the egg whites together and keeps them from collapsing.
- Acid – cream of tartar also helps stabilize the egg whites (Don’t worry, if you don’t have any you can use vinegar or lemon juice. It will not affect the taste!)
- Cornstarch – helps the texture. Makes the center fluffier.
- Vanilla extract – 100% for the flavor.
WATCH HOW TO MAKE PAVLOVA
Tips for Making Pavlova
As extravagant as it looks, pavlova is not that hard to make, just a little patience and some undivided attention. Here are some tips for making pavlova.
Egg Whites
- Separate the eggs at room temperature. Eggs separate easier when they are cold and less likely to break. However, when it comes to beating whites for meringue, they are best whipped at room temperature.
- No grease! It’s important to use an extra clean bowl and utensils when making meringue. One little droplet of grease will keep the egg whites from whipping up and reaching their maximum volume.
The Sugar
- Use superfine sugar! To keep the meringue from being flat and grainy, use superfine (caster) sugar and add it in two additions beating well between each addition. Caster sugar dissolves faster.
- If you don’t have any in your pantry, you can take regular sugar and grind it with a spice grinder or food processor.
- Caster sugar is different from powdered sugar because powdered sugar contains cornstarch and caster sugar does not.
Beating
- Beat well, but not too much. A meringue has no leavening agents, so be sure to whip up the egg whites well before adding other ingredients.
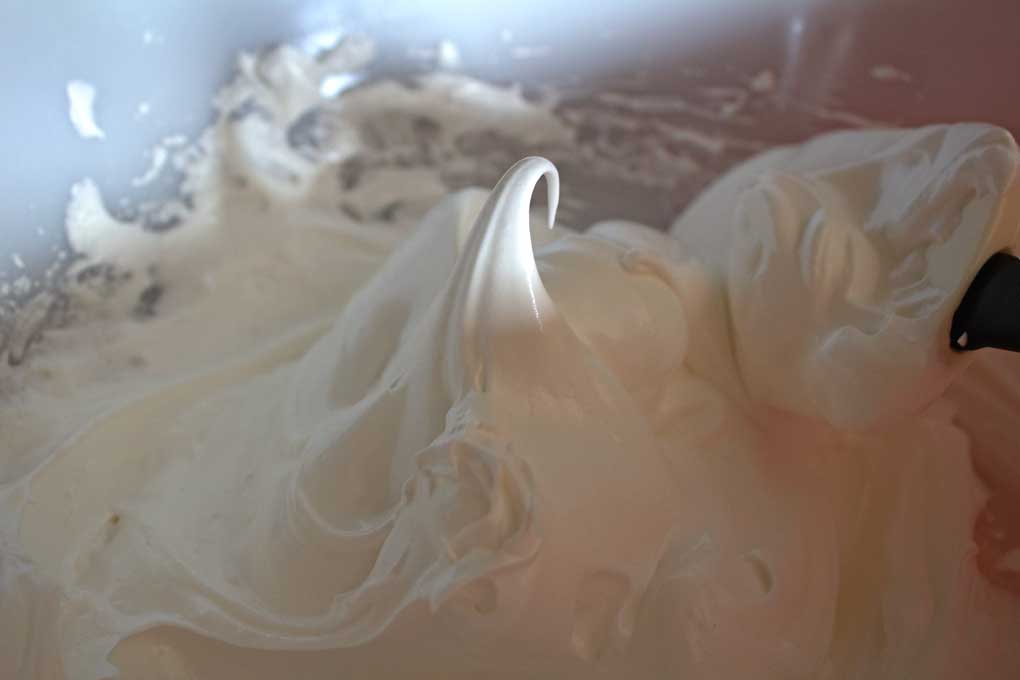
- Whip the egg whites until soft peaks form before slowly adding in the sugar a little at a time. At this point, the peaks should be soft but not dry.
- When all of the sugar is incorporated, whip the egg whites until stiff peaks form and all the sugar has dissolved (give a taste for texture). Any undissolved sugar can lead to cracks in your pavlova.
- Do not overbeat the egg whites. They will lose their volume and deflate when folded with other ingredients.
Baking
- Use parchment paper for easy removal after baking. Do not use wax paper, because it will stick!
- Low and slow temperature! Low and slow isn’t just a rule for David’s smoker. It’s best to bake meringue in a low oven slowly.
- To ensure the exterior dries correctly, let the pavlova rest inside the warm oven and cool down slowly with the oven. Removing it after it is cool.
- Knowing your oven is important. If it tends to run too hot or too cold, adjust the temperature to what you know will work best.
- Too much heat is worse than not enough. If the oven is too hot the pavlova can expand too quickly and crack when it cools down. If you overcook the meringue, syrupy droplets form on the surface a telltale sign that the pavlova is overcooked.
- Don’t use convection bake or flap the oven door. Dramatic temperature changes can cause cracks in the pavlova. If your oven has a fan that cannot be turned off, bake the pavlova at 180 degrees instead of 200 degrees F. Air movement causes the temperature to fluctuate, so don’t keep flapping that oven door all that.
How to Shape Pavlova
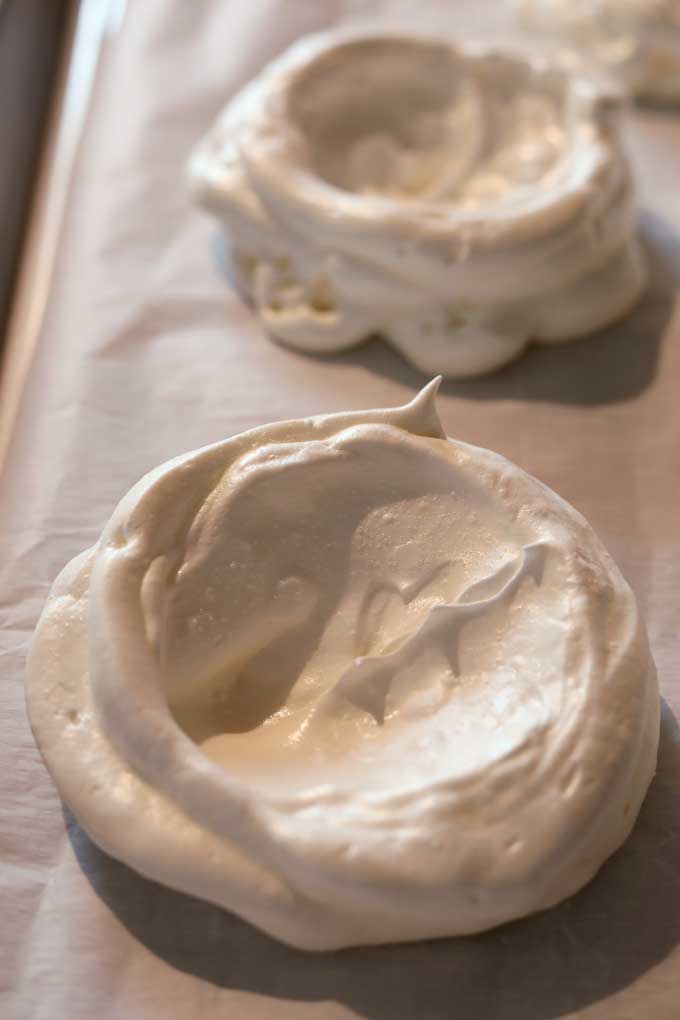
- You don’t need a fancy piping bag and you don’t even have to go through the trouble of piping the pavlova mixture at all. Simply dollop and smooth out with a spoon, making decorative peaks, if desired.
- If you don’t have a piping bag, a zip-top bag works just fine.
- For really impressive meringue designs knock yourself out! Feel free to use a piping bag with decorative tips. Heck, you can even trace circles onto the parchment paper to make the pavlovas more uniform. Let your inner pastry chef emerge!
Large Cake vs. Minis
You can also spread the pavlova mixture into a large circle (8-10) inches to form a large cake. Just make sure you leave a dip in the center to hold your toppings. However, it does take longer to cook. Remember to adjust your cooking time to 90 minutes for large cakes.
Why Did My Pavlova Crack?
If your pavlova cracks, don’t worry about it!! Your pavlova will still be good. Large pavlovas are especially prone to cracking. Everything from air bubbles to temperature changes and even oven inconsistencies can cause cracks. The tips I mentioned earlier will help prevent cracking, but if your pavlova cracks, remember that’s nooks and crannies that toppings can cover!
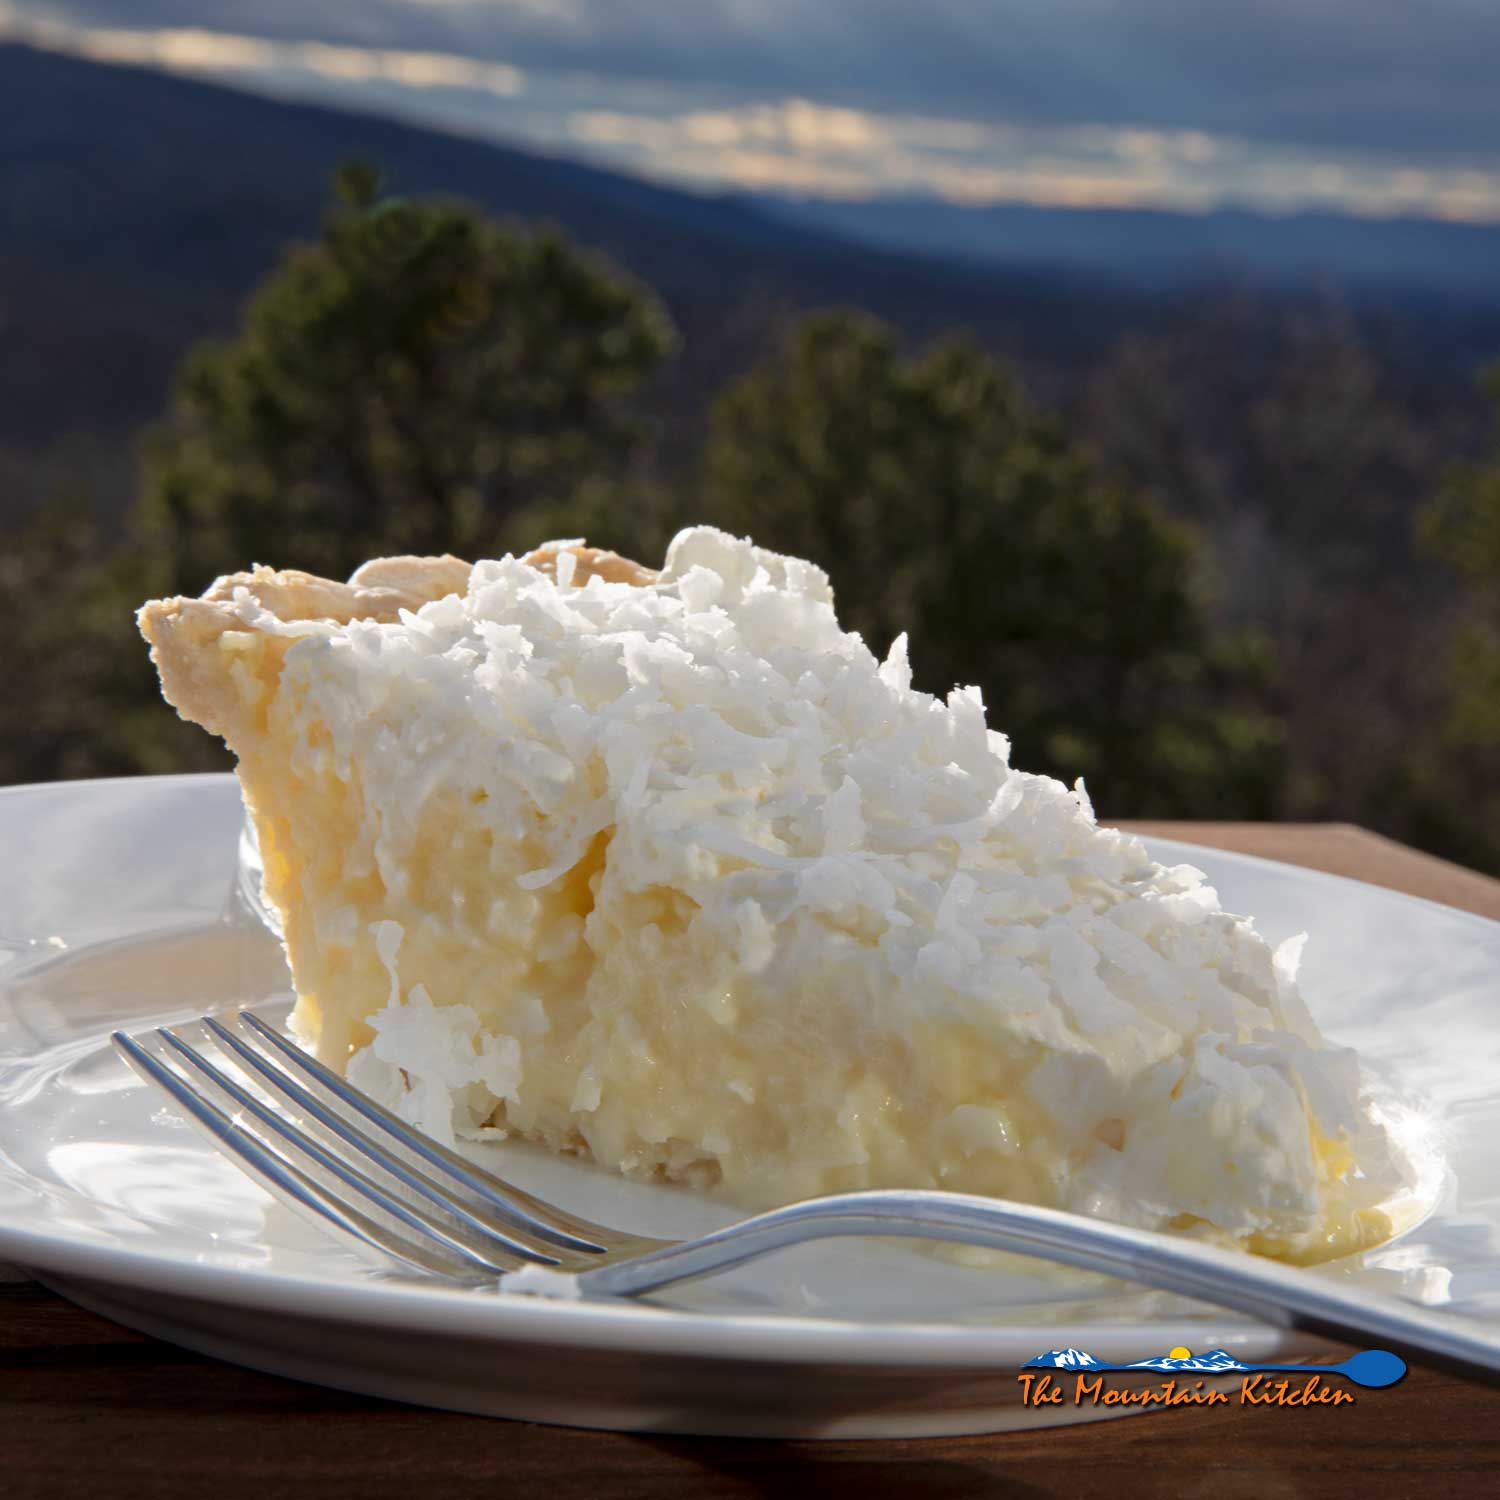
How Is Pavlova Served?
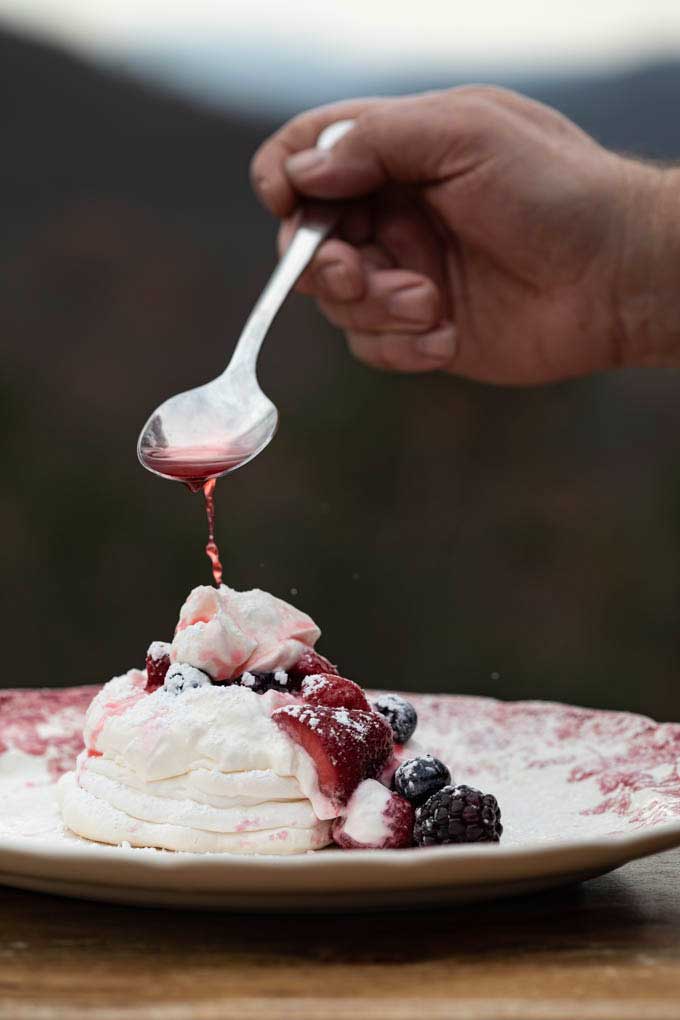
Traditionally pavlova is served mounded with whipped cream topped with fresh berries. However, that show-stopping dessert we had at the restaurant that night pushed this heavenly dessert to the limits.
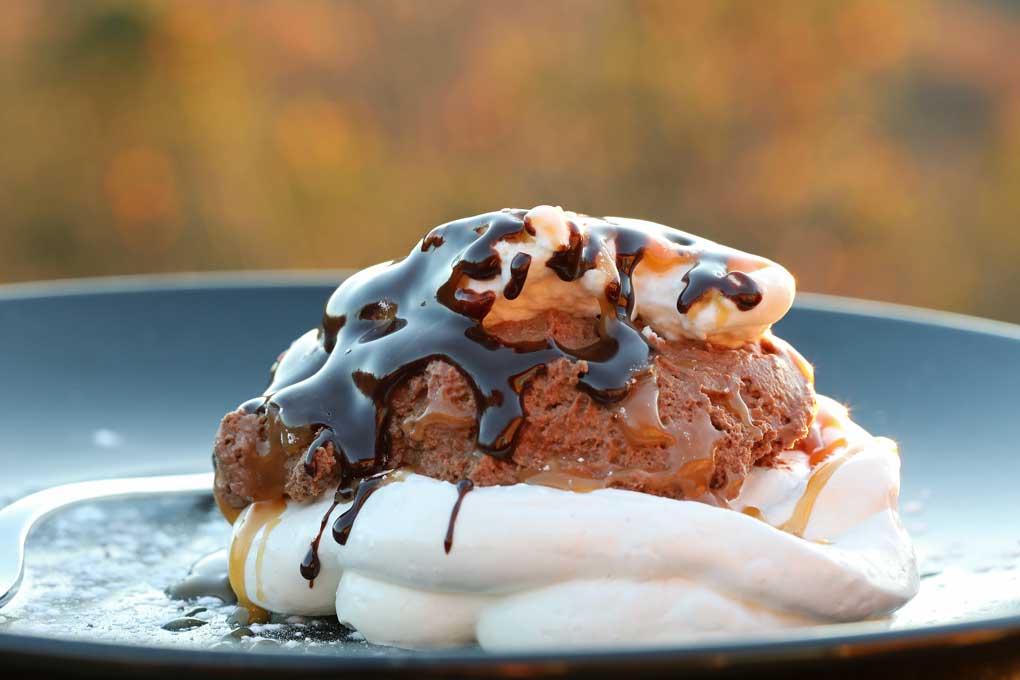
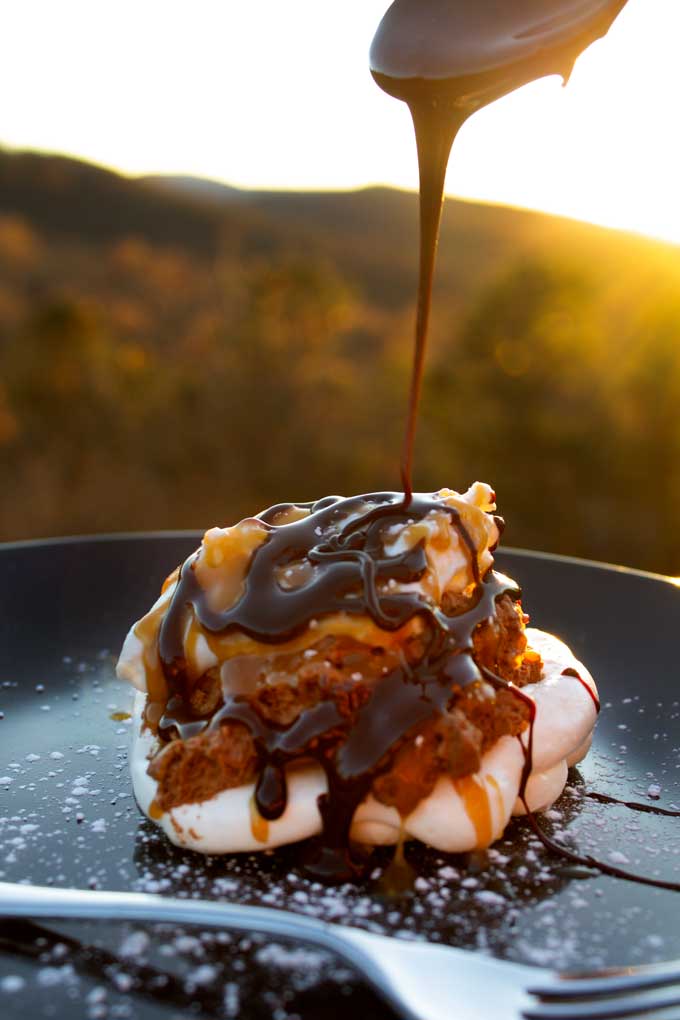
Chocolate Mousse Pavlova
To make the same dessert that I made for David’s birthday you will need the following ingredients:
- Sweetened Whipped Cream – please DON’T cheapen this dessert by using Cool Whip! Read the ingredients on the label… bleh!
- Chocolate Mousse
- Chocolate Sauce
- Caramel Sauce
- Powdered Sugar
Mound the pavlova with a layer of whipped cream, with a thick layer of chocolate mousse on top. Then top the chocolate mousse with a little more whipped cream and drizzle with caramel and chocolate sauces. Dust the chocolate mousse pavlova with powdered sugar and serve.

Suggested Toppings
- Sweetened Whipped Cream
- Chocolate Mousse
- Chocolate Sauce
- Caramel Sauce
- Fresh Berries
- Seasonal fruits, such as peaches or strawberries
- Lemon curd
- Powdered Sugar
Make-Ahead
Eat up the pavlova stored at room temperature within 4 days and toss any leftovers. Unfortunately, pavlova cannot be frozen. Boo!
Celebrate this holiday season or any special occasion with pavlova. It will be unforgettable!
Pavlova
Useful Equipment:
Ingredients
- 4 large egg whites at room temperature
- 1 cup superfine sugar (see notes)
- 1 teaspoon vanilla extract
- ½ teaspoon cream of tartar (see notes about acid)
- 1 teaspoon cornstarch
Suggested Toppings:
- Sweetened Whipped Cream
- Chocolate Mousse
- Chocolate Sauce
- Caramel Sauce
- Fresh Berries
- Seasonal Fruits such as peaches or strawberries
- Lemon Curd
Instructions
- Preheat the oven to 350 degrees F (You will drop the temperature down, just before baking). Line a baking sheet with parchment paper.
Mixing:
- Using a handheld mixer or a stand mixer with a whisk attachment. Beat the egg whites until soft peaks form; about 4-6 minutes.
- Add half of the sugar, beat the egg whites for 30 seconds, then add the second half and beat on high speed until stiff peaks form; about 3 minutes. Stiff peaks should hold steady and not move.
- Use a rubber spatula to fold in the cream of tartar and cornstarch.
Forming:
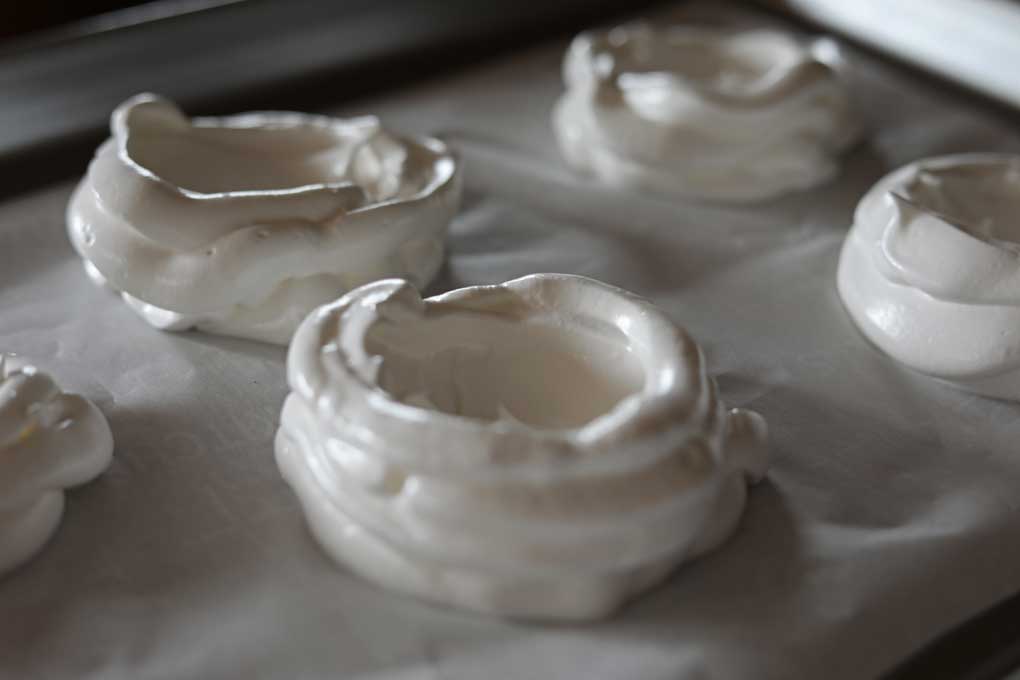
- Now the fun part! Place a zip-top bag inside of a large plastic cup or glass with the edges folded around the outside of the cup. Add the mixture to the zip-top bag. Remove the bag, massaging the mixture to one corner of the bag. Snip the corner off of the bag with scissors and pipe it into 4-6 mini pavlovas. Make sure they are equal in size for even baking. Use the back of a spoon to smooth out the center. Be sure to leave a dip in the center to hold the toppings. (see notes)
Baking:
- Place the pavlovas in the oven and immediately REDUCE THE HEAT OF THE OVEN TO 200 DEGREES F! Bake the pavlovas until they are firm and dry; about 35 to 40 minutes. Be sure to rotate the baking sheet if browning occurs too much on one side, but limit the amount of cool air that is exposed to them by opening the oven.
- When the pavlovas are firm and dry, turn off the oven, leaving them inside to cool down with the oven. When they are cool, use them right away or store them until needed at room temperature for 3 to 4 days.
Serving:
- Mound the cool pavlovas with sweetened whipped cream and whatever toppings you desire. Serve immediately because this dessert will not hold up for more than 3 to 4 hours assembled.


Leave a Reply